Kitchen
23 Open Kitchen Shelf Ideas That Never Feel Cluttered
By Anna Wells · · 20 min read
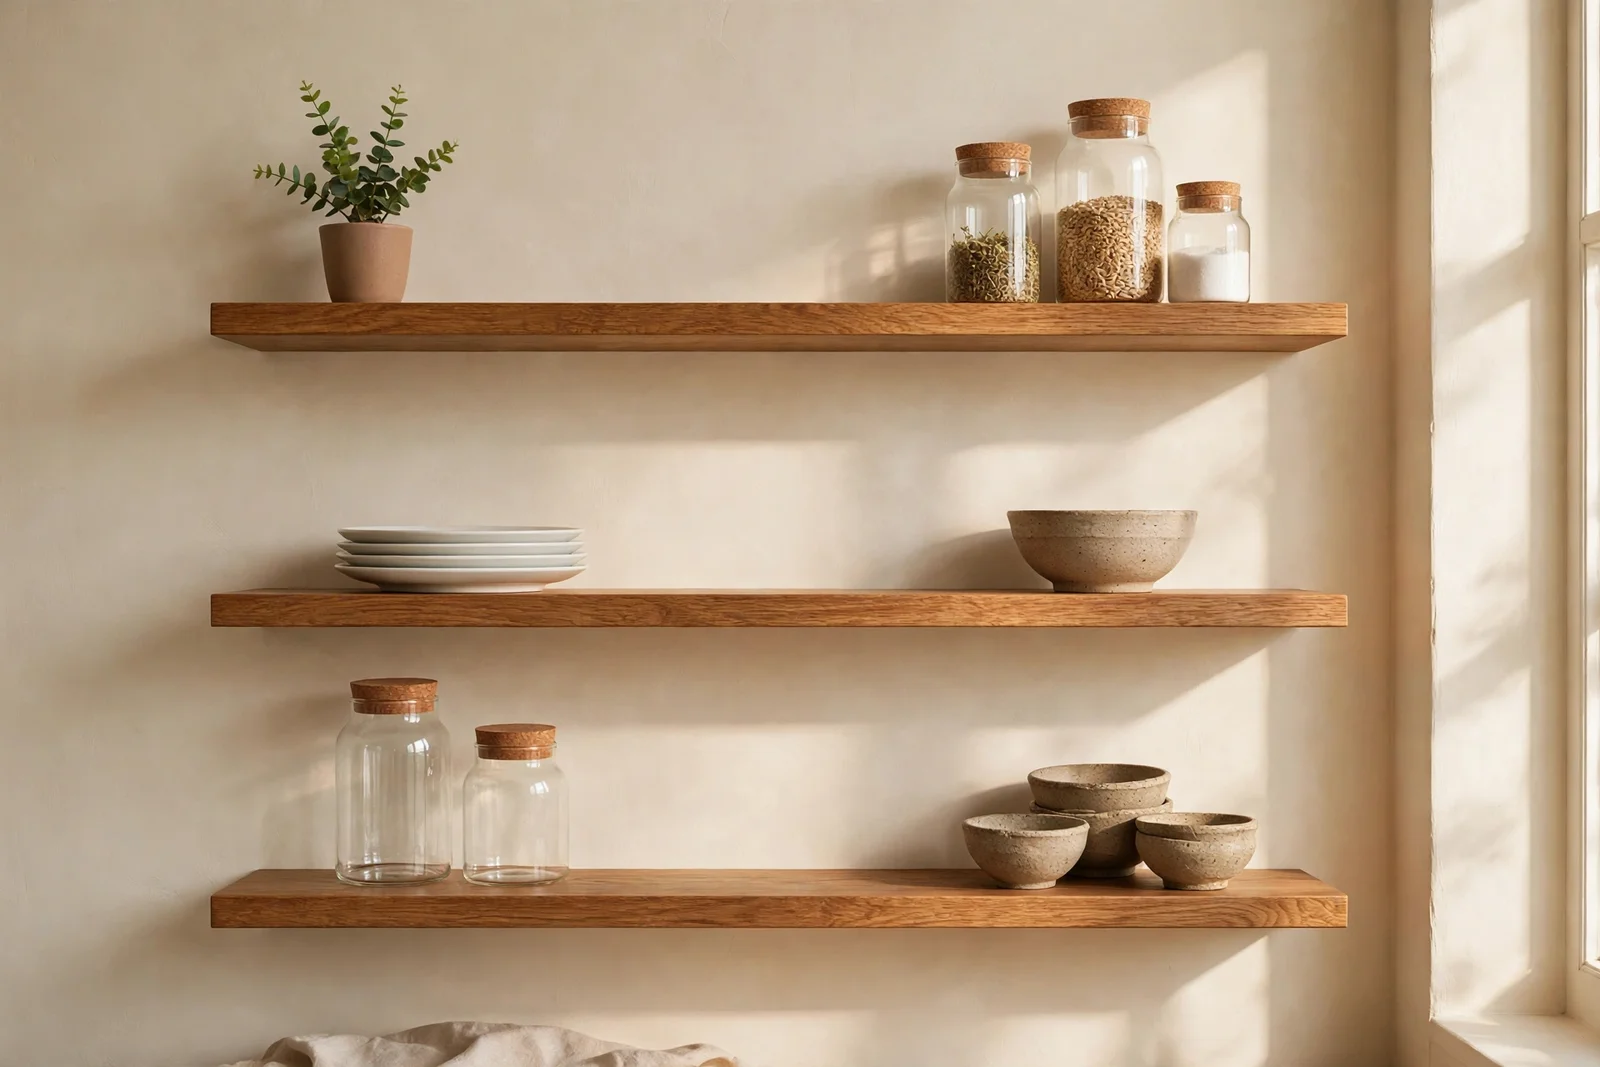
A warm, practical guide to open kitchen shelves that stay calm: exact heights, depths, grouping rules, dust care and a one shelf starter plan.
Morning light falls across the kettle, and the kitchen feels calm before the day begins. That quiet is what open shelves can give you, but only when they are edited with intent rather than filled by accident. A shelf holds what your hands reach for daily; everything else belongs behind a cupboard door.
Most cluttered shelves share the same few causes: mixed patterns, heavy stacks, and no empty space for the eye to rest. The good news is that each cause has a simple rule, and every rule is something you can measure with a tape or decide in a single afternoon.
In this guide you will find 23 concrete ideas covering what to display and what to hide, the exact heights and depths that work above a worktop, how to group by colour and type, and an honest answer to the dust question. There is also a one shelf starter plan if you are still unsure.
1. Keep Everyday Plates on Display and Move Occasion Ware to Cupboards
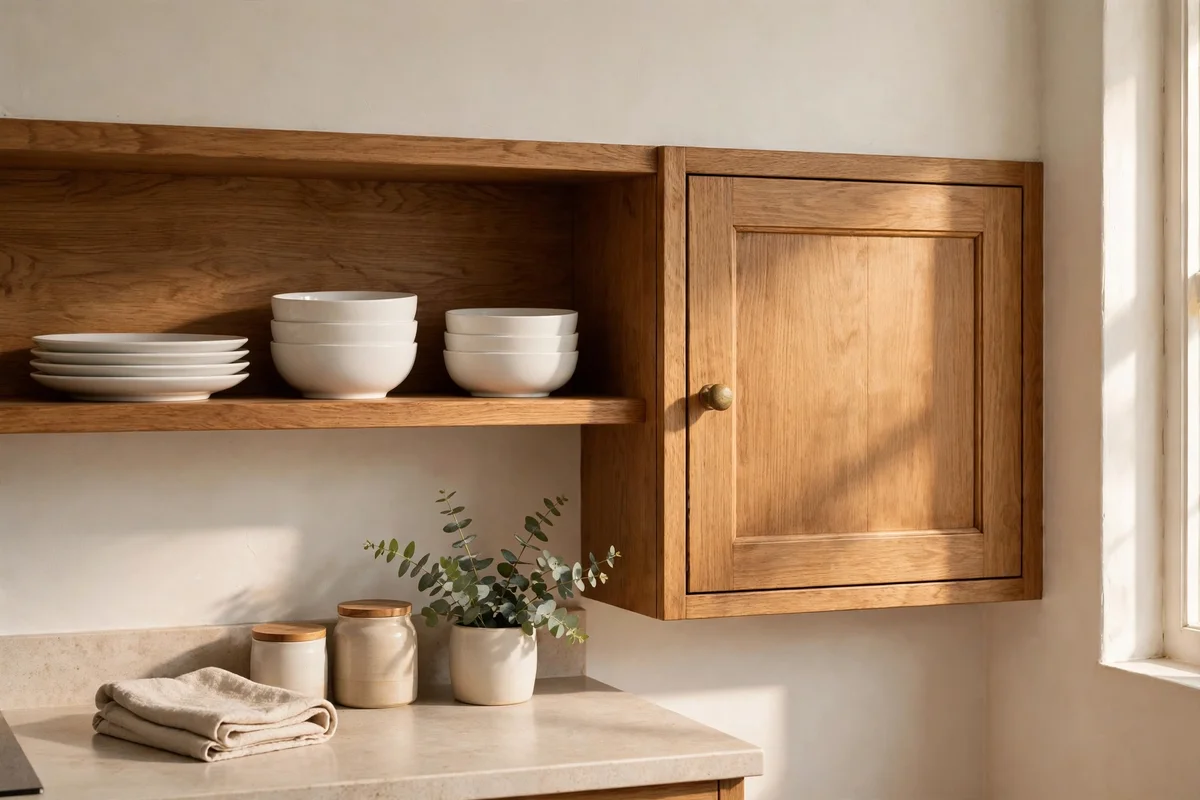
The first editing rule is simple: shelves hold what you use every single day, and cupboards hold everything else. If a plate leaves the shelf only at a wedding dinner or a family gathering, it belongs behind a door where dust cannot settle on it. Your daily six to eight plates, four bowls and four mugs earn their place; the punch bowl and the fondue set do not.
A useful test is the weekly touch rule: anything you have not lifted in seven days gets stored out of sight. Lift each suspect item, wash it, dry it fully and place it in a labelled cupboard box or on a high closed shelf. The common mistake is keeping souvenir plates and rarely used gadgets on show for sentiment; they gather dust and break the calm. Photograph the souvenir, then store it safely.
2. Group Dishes by Type So Bowls, Cups and Glasses Each Have a Home
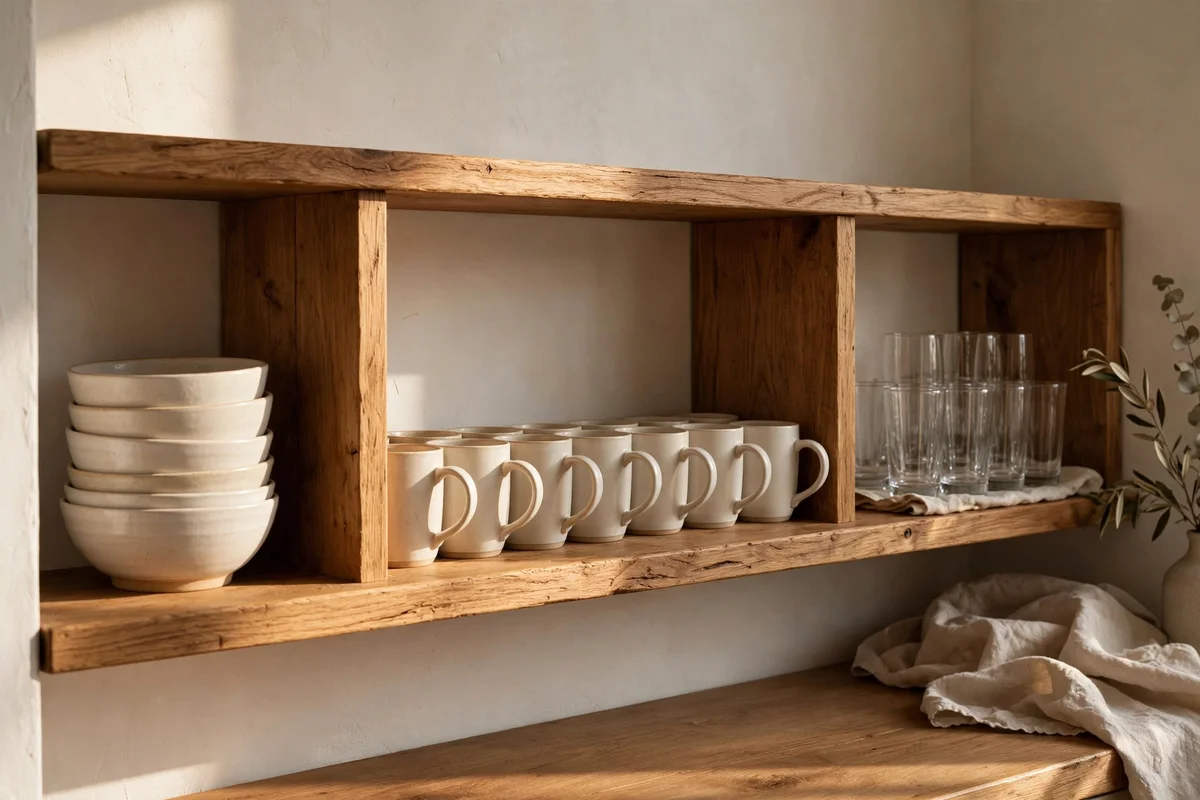
Shoppers in a market do not mix bowls with cups, and neither should your shelves. Give each type its own zone: dinner plates in one stack, bowls in another, mugs on hooks or in a tidy row, and drinking glasses grouped together at the back of the shelf. When every item sits beside its own kind, the shelf reads as organised even from across the kitchen.
Count your zones before you start so one shelf does not end up doing four jobs. A good ratio is two zones per shelf on a two shelf arrangement, with the third shelf holding overflow and jars. The mistake to avoid is the mixed stack: three plates, a bowl, then a mug on top, which looks like a cupboard tipped over. Keep heights level within a zone so the silhouette stays even and calm.
3. Sort Every Piece by Colour Family: White, Cream and Stoneware Blues
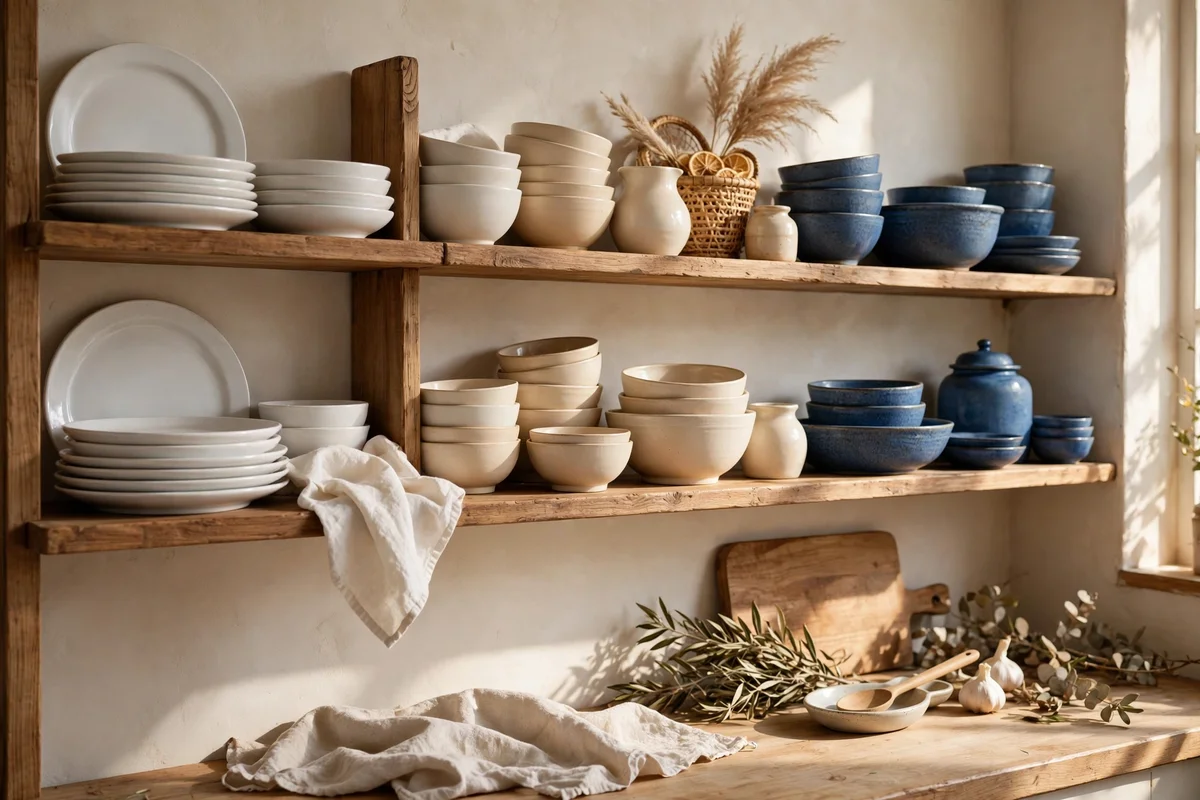
Colour grouping is the fastest way to make mixed shelves look calm. Sort every displayed piece into families: whites and creams together, soft greys beside them, then stoneware blues and greens in their own zone. The eye loves a gentle gradient, so arrange shelves from lightest pieces on the left to slightly darker on the right, and the whole wall starts to feel composed.
If your crockery is already mixed, begin with the largest pieces since plates set the tone. Choose two colour families at most for what stays visible and store the outliers in a cupboard. A budget trick is painting nothing at all: a single set of eight plain white plates from a discount store ties every shelf together for under 25 pounds or dollars. Avoid bold red or black patterns on open shelves unless every piece matches.
4. Decant Flour, Rice and Lentils Into Plain Glass Jars
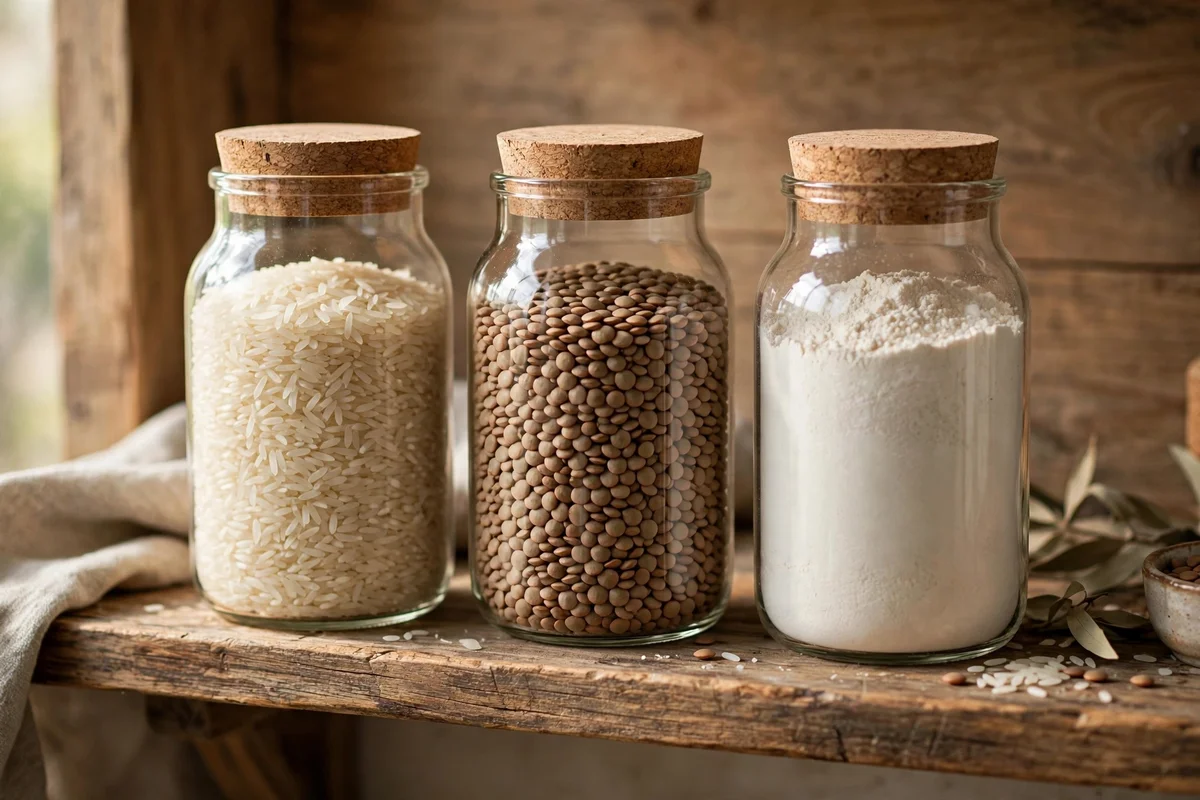
Torn bags and printed packaging are the quickest way to undo calm shelves, so decant dry goods into plain glass jars. Choose jars with simple cork or wooden lids and no readable labels on the glass; a tiny tag tied with string on the lid is enough to tell rice from lentils without breaking the look. Square jars pack tighter than round ones, saving around a fifth of the shelf space.
Fill jars only three quarters full so pouring is easy and the contents look abundant rather than stale. Keep the two or three staples you cook with weekly, like rice, lentils and flour, on the middle shelf within arm’s reach, and store bulk refills in a cupboard. The mistake to avoid is buying twelve jars at once; start with three, live with them for two weeks, then add more only if the system feels right.
5. Leave a Third of Every Shelf Deliberately Empty as Negative Space
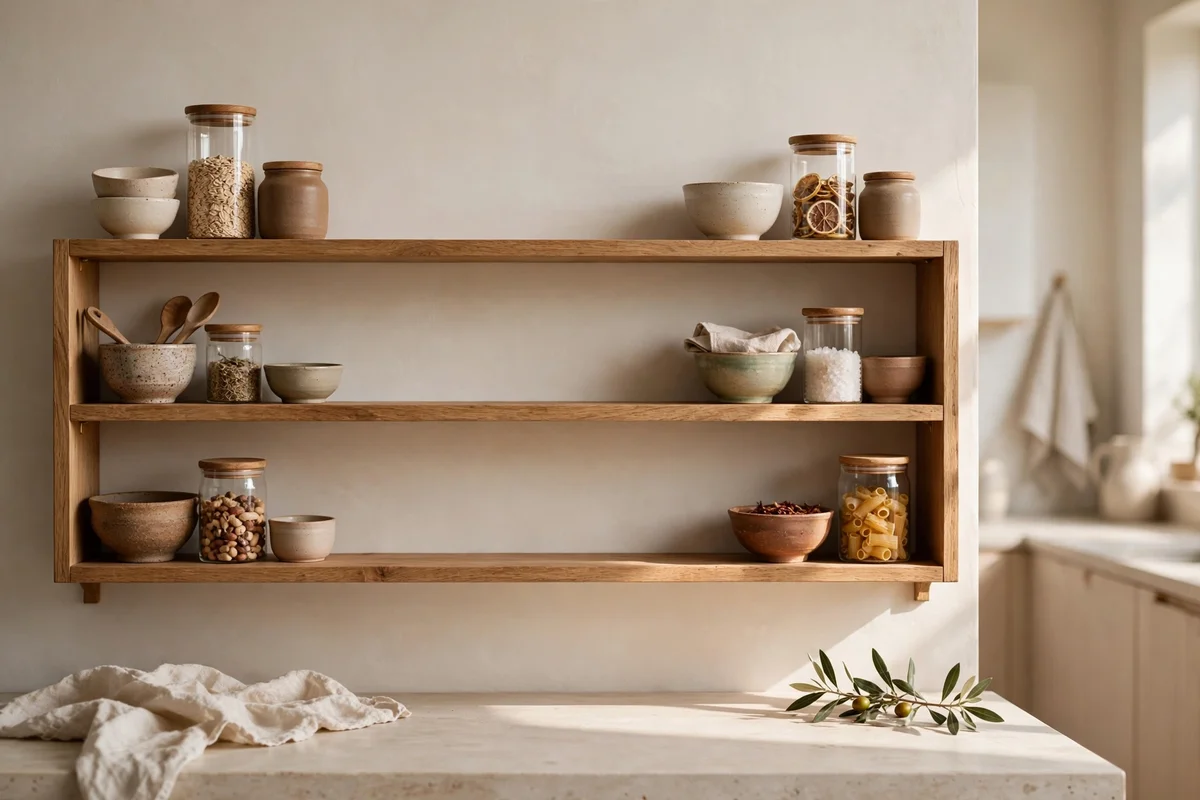
Empty space is not wasted space; it is what lets every object on the shelf be seen. Aim to leave roughly one third of each board empty, and spread that emptiness in two or three gaps rather than one long void at the end. When bowls and jars have air around them, the shelf looks like a styled display instead of a storage overflow, and dusting becomes far simpler.
Treat the empty third as a design material with its own job: it frames the grouped items and keeps the wall behind visible, which makes small kitchens feel larger. If a gap keeps filling up, place a single low object there, like a small wooden bowl, to mark the boundary. The mistake to avoid is the one in one out drift where every new purchase lands on the shelf; let new items earn the space by replacing something.
6. Mount the First Shelf 45 to 50 cm Above the Worktop
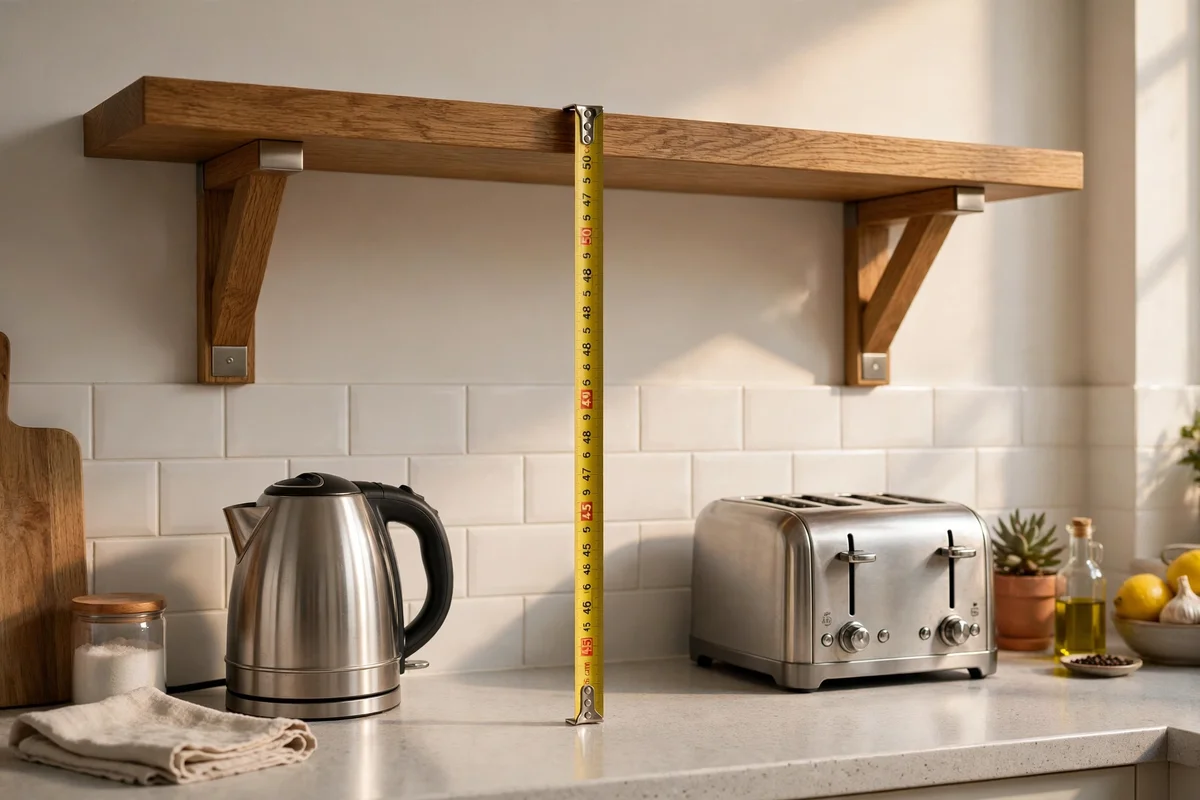
The lowest open shelf should sit 45 to 50 cm above the worktop, about 18 to 20 inches, so you can lift a plate down without stretching or knocking a mug. This height also clears most countertop appliances: a standard kettle is around 25 cm tall, and a toaster about 20 cm, so nothing bangs against the shelf above it. Measure from the worktop surface itself, not from the floor, since worktop heights vary.
Between the first and second shelf, leave 30 to 35 cm of clear space so tall oil bottles and pitchers stand upright without tipping. Fix the board into wall studs or solid masonry anchors rated for the load, since a shelf of plates and jars can weigh 10 to 15 kg. The mistake to avoid is hanging shelves so high that you need a step stool daily; hard to reach shelves are soon ignored and slowly turn into dusty displays.
7. Choose a 28 to 30 cm Shelf Depth for Dinner Plates and Big Bowls
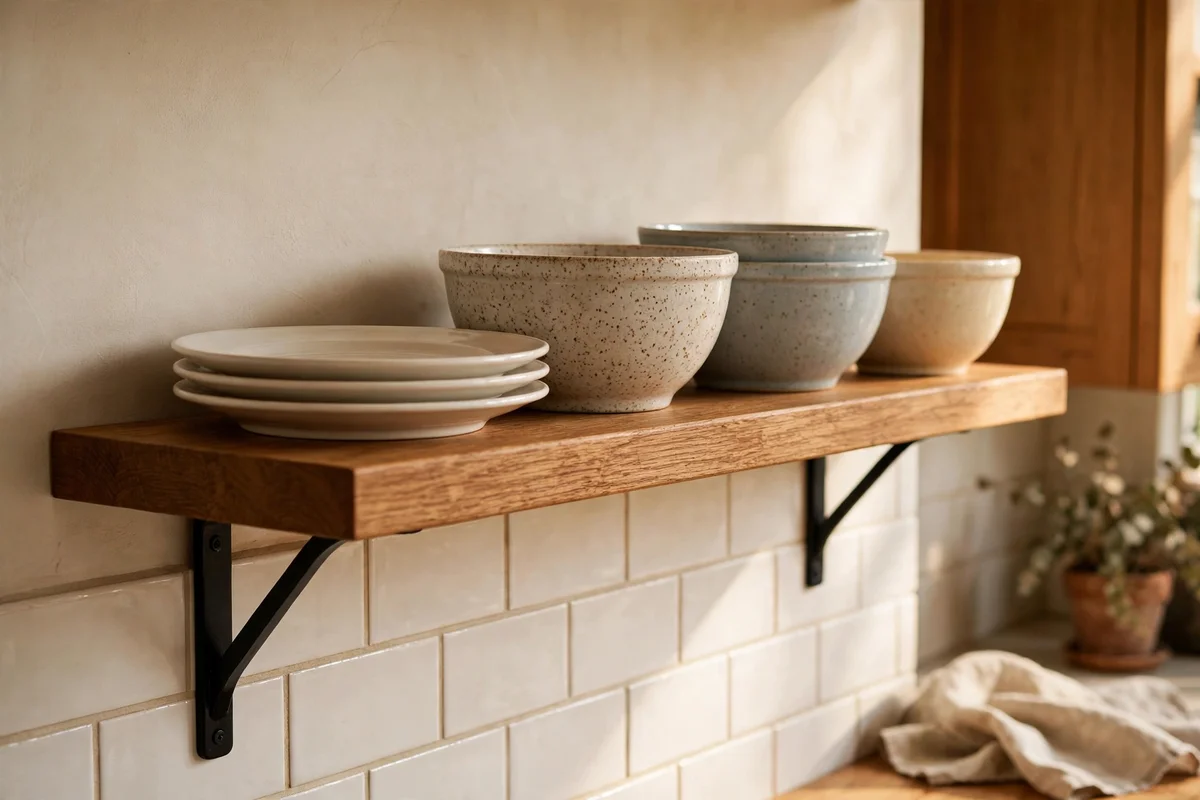
A board depth of 28 to 30 cm, about 11 to 12 inches, is the sweet spot for kitchens: dinner plates rest fully on the board and mixing bowls sit without wobbling over the edge. Shallower 20 cm boards suit mugs and jars, but plates will overhang and look precarious. Deeper than 32 cm and items hide behind each other in shadows, which defeats the point of open display.
Match bracket depth to the board so supports reach at least two thirds of the way forward; a bracket that stops at the wall leaves the front half unsupported. Pine boards at this depth cost little and take paint or oil well, while oak costs more but ages beautifully in a busy kitchen. The mistake to avoid is a thick chunky board with tiny brackets: the proportions look top heavy and the fixings carry strain they were never rated for.
8. Space Shelf Brackets 80 to 100 cm Apart for Safe Plate Support
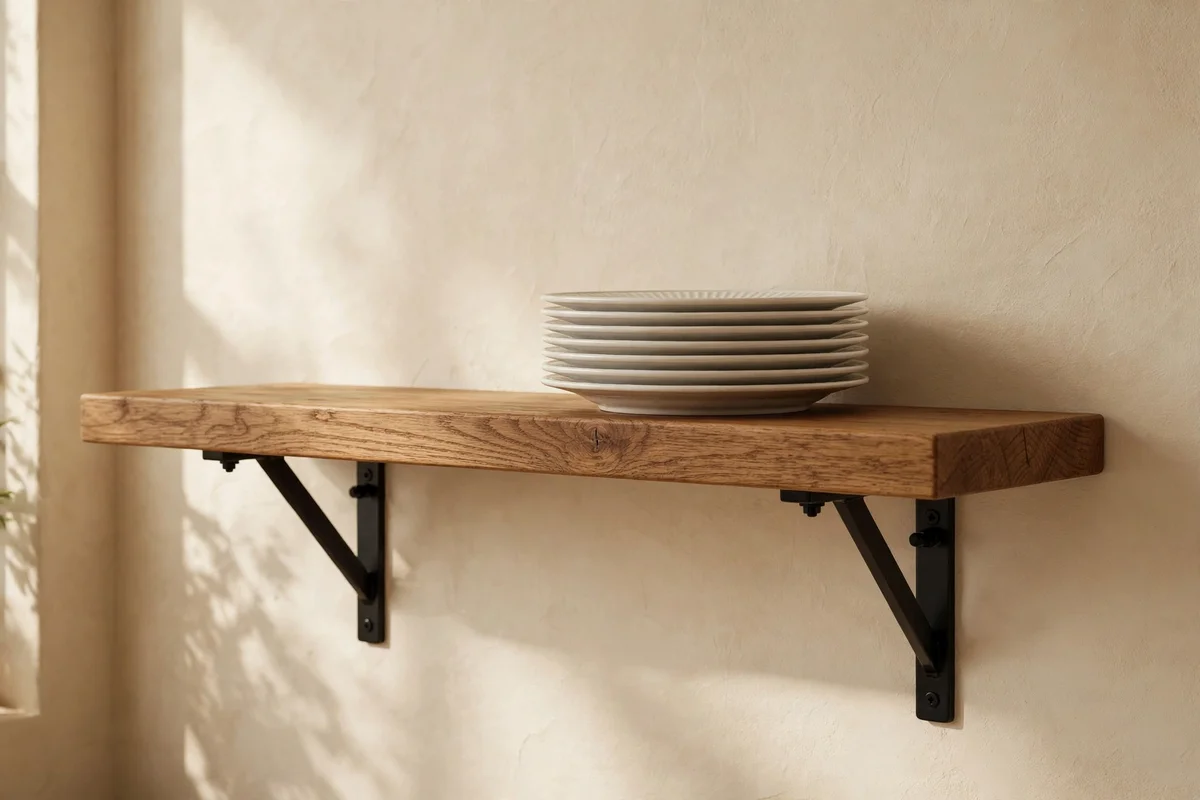
Brackets carry everything, so spacing matters more than most people expect. Place brackets 80 to 100 cm apart, roughly 32 to 40 inches, with one always within 15 cm of each board end so the shelf cannot flex and tip. Each bracket should be rated for at least 15 kg, and fixings must go into wall studs or proper masonry plugs, never into bare plasterboard alone.
Black metal brackets suit modern kitchens, unlacquered brass suits warm classic ones, and both disappear visually if they match your tap or cabinet pulls. Mark bracket positions with a spirit level before drilling so the board sits perfectly flat; even a 5 mm tilt sends glasses sliding slowly toward the edge. The mistake to avoid is three brackets clustered in the middle of a long board, which leaves both ends bouncing and rattling every time you take a plate.
9. Answer the Dust Question Honestly With a Weekly Ten Minute Wipe
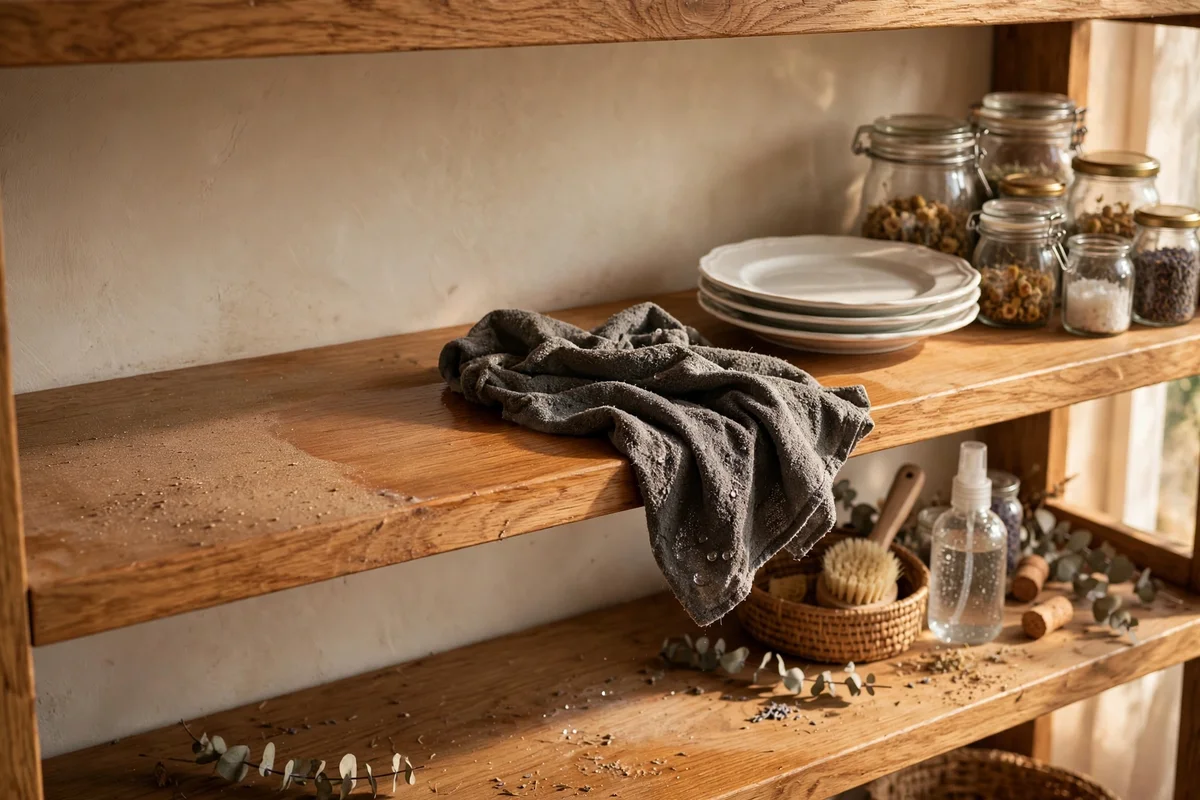
Open shelves do gather dust, and it is kinder to say so than to promise a miracle. In a calm kitchen away from the hob, a week’s dust is a light film that lifts with one pass of a damp microfibre cloth. Shelves within a metre of the hob catch greasy steam too, so keep that zone for cups and jugs you wash often, or leave it out of open shelving altogether.
Make the weekly wipe a small ritual: ten minutes with a damp cloth over boards, jar lids and the tops of stacked plates, then a dry pass on the same surfaces. Everyday dishes rotate through the dishwasher anyway, so they never sit long enough to gather much. The mistake to avoid is storing rarely used items on open shelves; anything untouched for a month will look grey, so box those pieces and give the shelf back its breathing room.
10. Style the Top Shelf Lightest With Tall Pitchers and Breathing Room
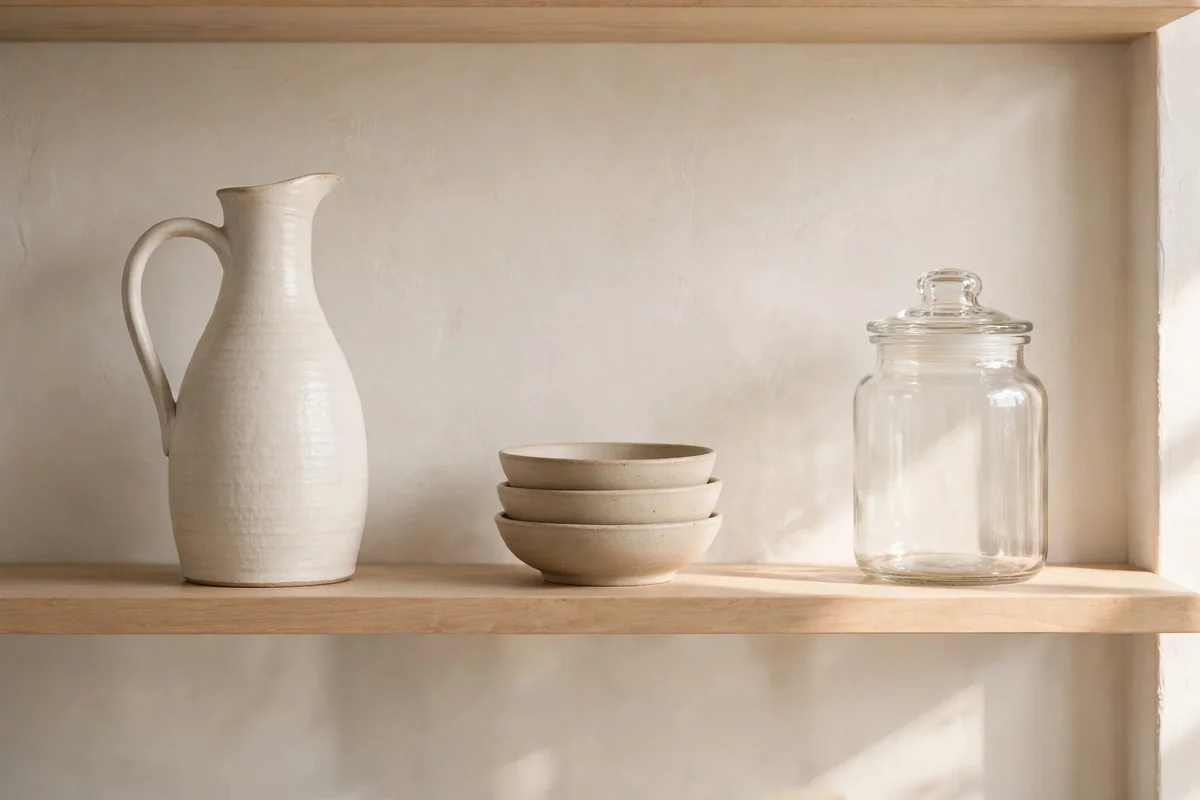
The top shelf is the one you see first and touch least, so style it lightest. Keep it for tall pitchers, a small stack of pretty bowls and one or two glass jars that look fine with a little dust between wipes. Leave extra air around each piece here, more than on the lower shelves, because height naturally draws the eye and crowded heights feel heavy over the whole kitchen.
A good ratio for the top shelf is half full at most: three to five items on a 120 cm board, arranged in two small groups with a wide gap between. A small trailing plant or a single framed print leaning against the wall softens the height without adding weight. The mistake to avoid is loading the top shelf with heavy serving dishes; high shelves get used least, cleaned least, and a heavy platter at head height is simply awkward to lift down.
11. Keep the Bottom Shelf Heavy and Practical for Daily Mugs and Bowls
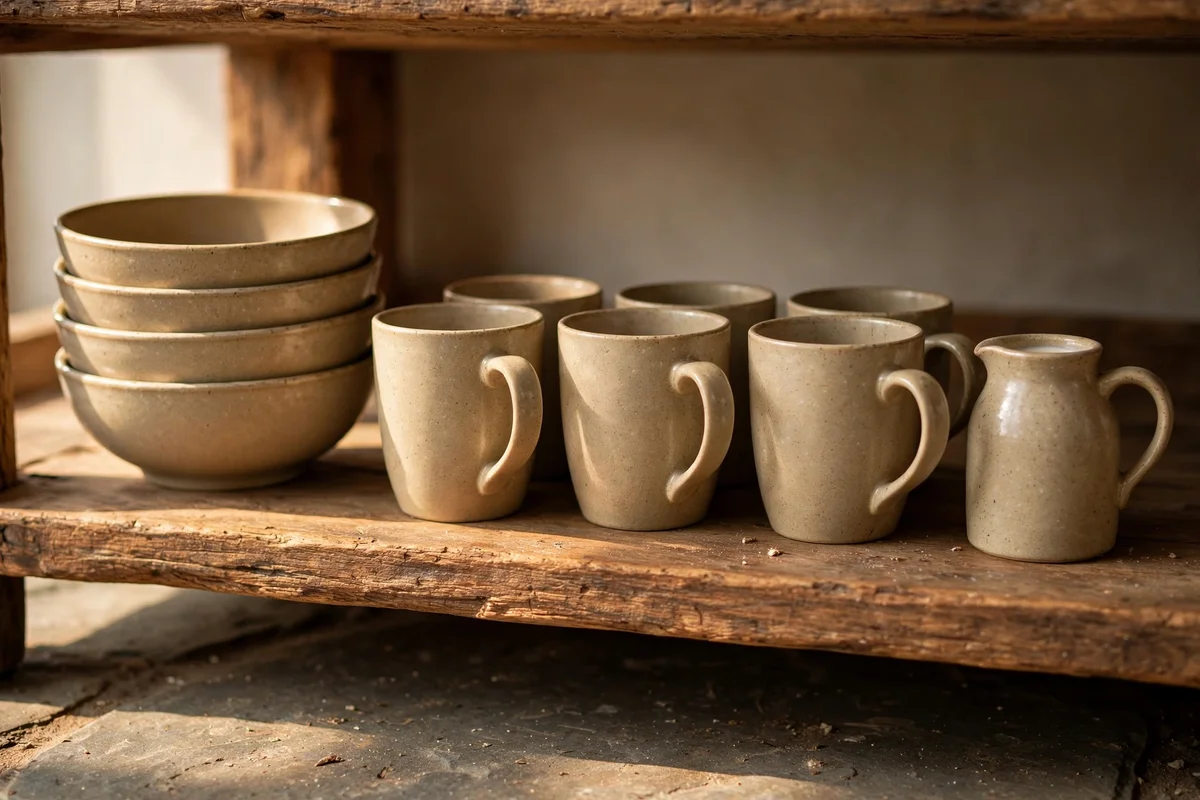
The lowest shelf does the hardest work, so load it with the pieces you grab a dozen times a day. Keep breakfast bowls in one short stack, daily mugs in a row of four to six, and one small jug for milk or water. Because this shelf sits closest to the worktop, steam and splashes reach it first, which is exactly why everyday items belong here: they get washed before grime ever settles.
Leave 40 to 45 cm of clear space below this shelf if it is the first one above the worktop, so you can lift a stack of bowls without clipping the shelf above. Keep the colour here simple: one family of mugs rather than six souvenirs, since repetition reads as calm. The mistake to avoid is placing delicate glasses on the busiest shelf; elbows and rush are constant here, so save fragile pieces for a quieter corner of the wall.
12. Limit Open Shelves to Two or Three and Hide Everything Else
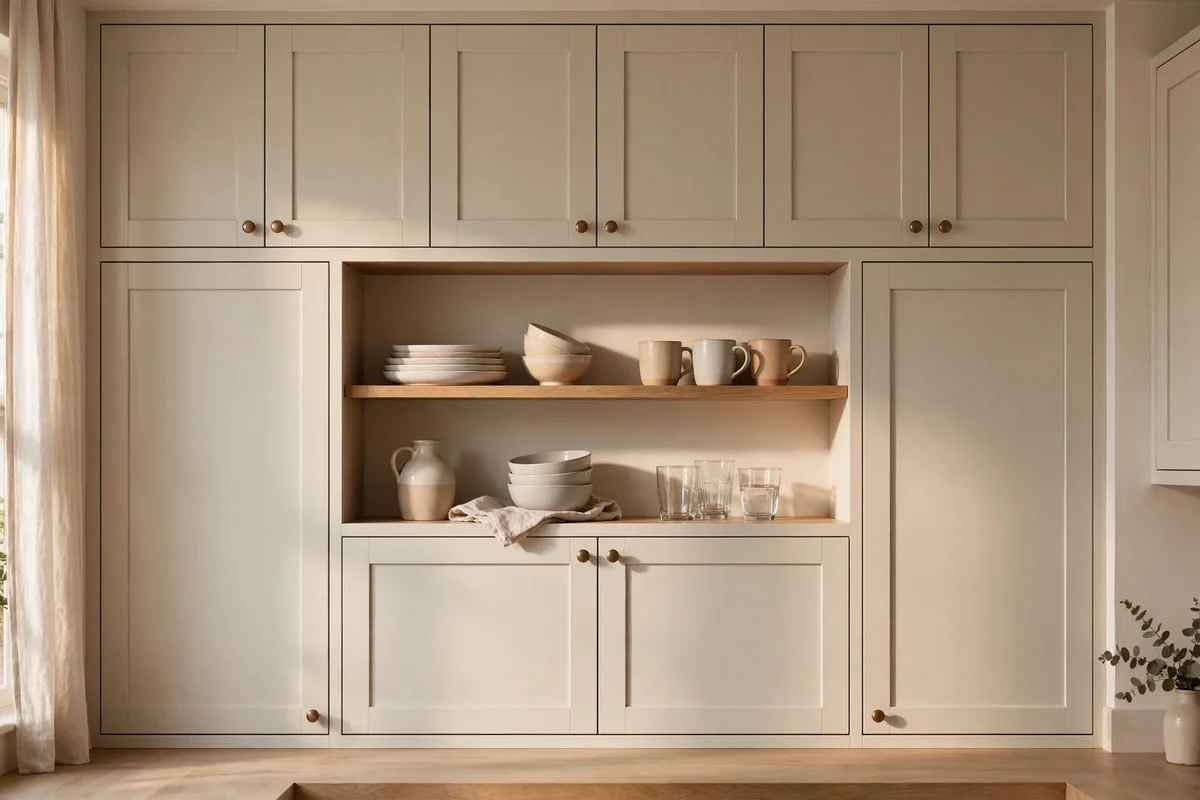
Restraint in number is as important as restraint in objects. Two or three open shelves give you enough display room for daily crockery while the rest of the kitchen stays behind cupboard doors. Beyond three shelves, the wall becomes a storage wall rather than a styled feature, and the dust care triples with every board you add. One confident run of two shelves beats five tired ones.
Decide what the cupboards absorb: small appliances, plastic containers, odd shaped gadgets, cleaning supplies and anything with loud packaging. A fair ratio is that open shelves hold about a fifth of your kitchen things and cupboards hold the rest. The mistake to avoid is treating shelves as extra cupboards for overflow; the moment overflow lands there, the calm is gone. Edit cupboards first, then fill shelves from what is left.
13. Match Everyday Crockery Instead of Mixing Clashing Patterns
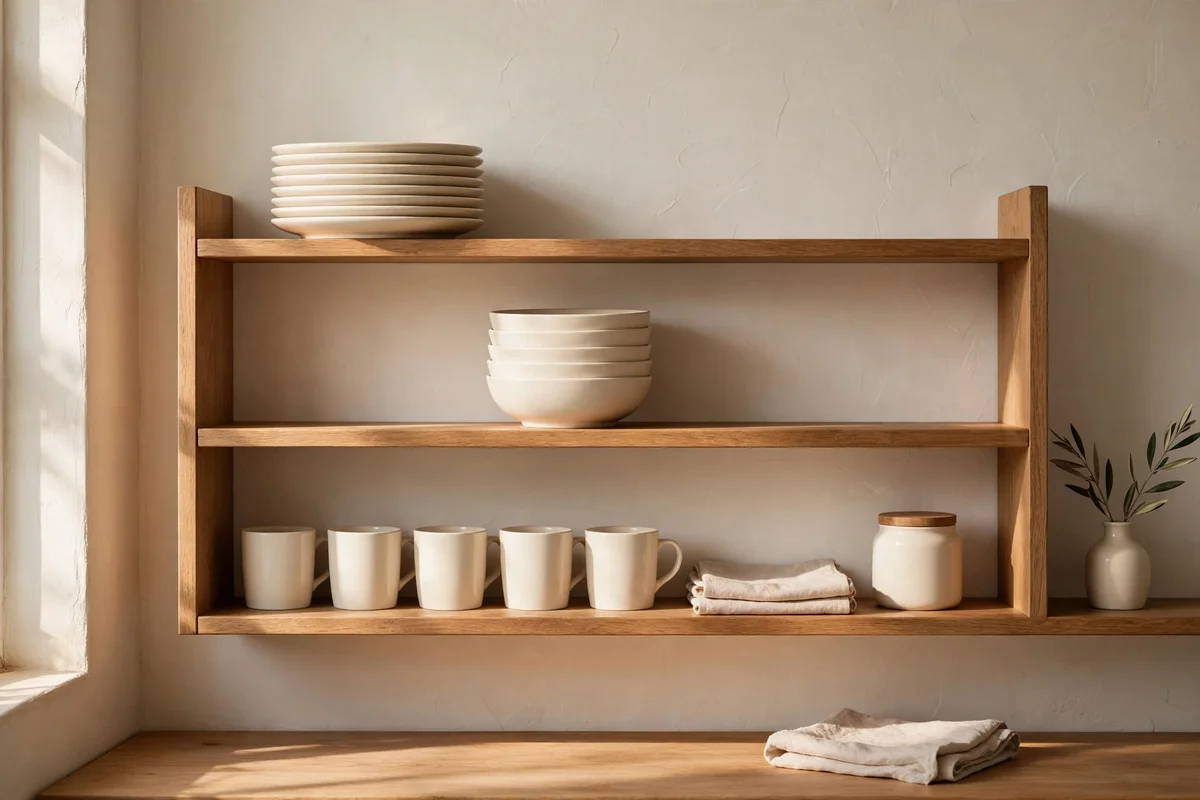
Matching crockery is the single cheapest styling trick for open shelves. When every daily plate, bowl and mug comes from the same simple range, even a full shelf looks calm because the eye finds repetition instead of noise. Choose plain white, cream or soft stoneware with no busy pattern, and buy one extra set so a broken piece does not force a mismatched replacement.
Six to eight place settings cover a family of four plus two guests, and that count sets your display quantity. Keep the full matching set on show and hide any patterned gifts or holiday sets in the cupboard for their seasons. The mistake to avoid is the gradual drift where one broken mug gets replaced by a souvenir and another by a charity shop find; within a year the calm repetition is gone, so replace like with like.
14. Stack Like Items in Short Piles of Four Pieces or Fewer
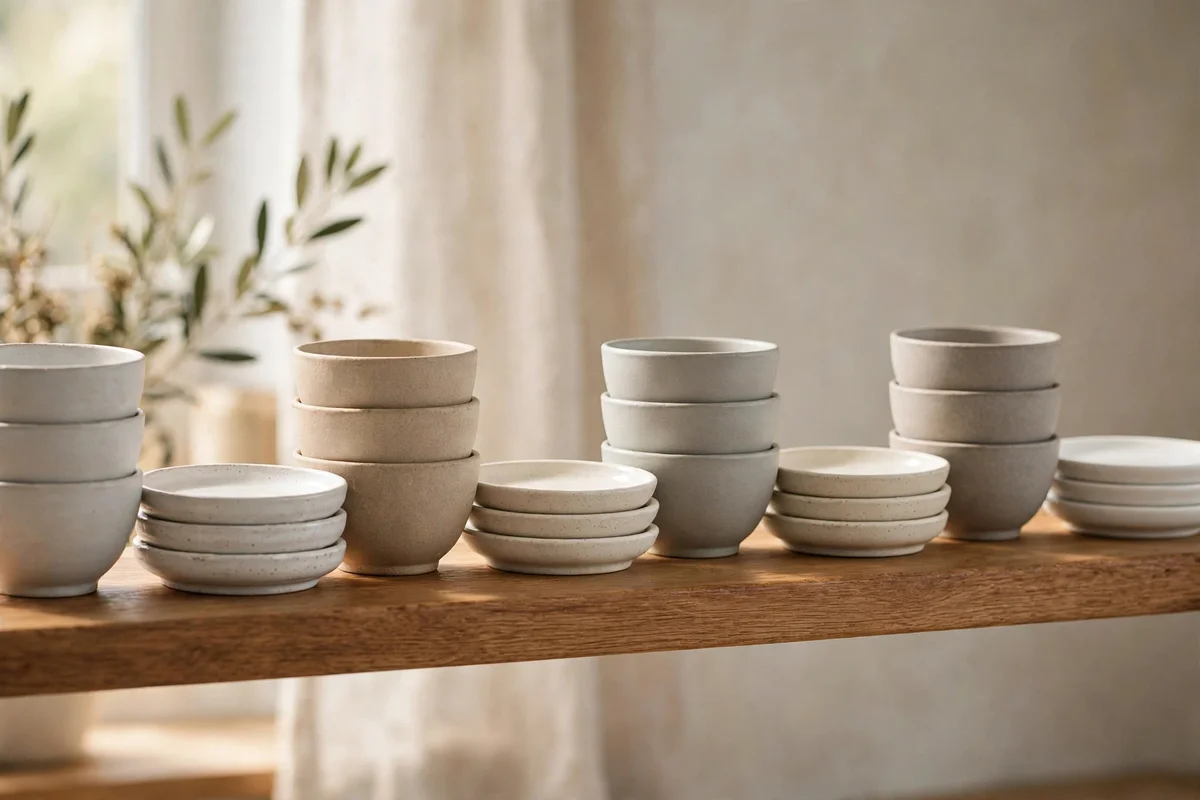
Short stacks are the backbone of calm shelving. Keep plates, bowls and saucers in piles of four pieces or fewer so every stack looks light and you can lift the whole pile with one hand. Taller stacks lean, wobble and collect dust between the middle plates where no one wipes. Four is also the natural serving number for a family meal, so the stack empties and refreshes often.
Space stacks at least 5 cm apart so a hand fits between them and each pile reads as its own group. If you own eight of everything, keep four on the shelf and four in the cupboard, swapping them monthly so nothing sits for a season. The mistake to avoid is the tower of twelve plates that never moves; it is a dust trap and a lifting hazard, and it tells the kitchen you stopped editing.
15. Corral Oil, Salt and Tea on One Small Wooden Tray
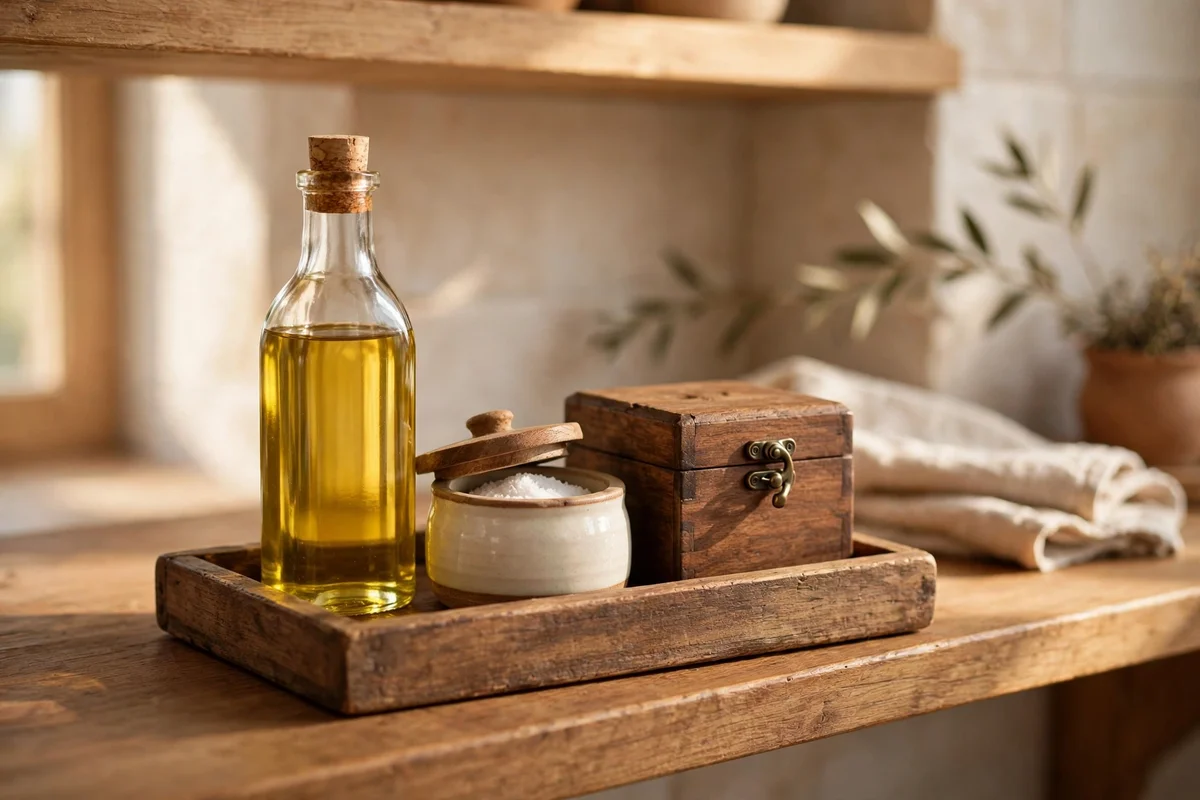
Three small daily items loose on a shelf look like clutter; the same three on a tray look like a styled set. Choose a wooden or rattan tray about 25 to 30 cm long, and keep your cooking oil, salt cellar and tea caddy on it as one group. The tray draws a neat boundary around them and catches drips from the oil bottle, protecting the board beneath.
Wipe the tray weekly with a damp cloth, since oil leaves a sticky film that spreads to anything it touches. Keep the group to four items at most: oil, salt, pepper and tea, with everything else in the cupboard. The mistake to avoid is letting the tray become a landing strip for keys, post and spare batteries; the moment a fourth unrelated item joins, the boundary breaks and the clutter creeps back onto the board.
16. Give Cookbooks One Short Row at the End of the Lowest Shelf
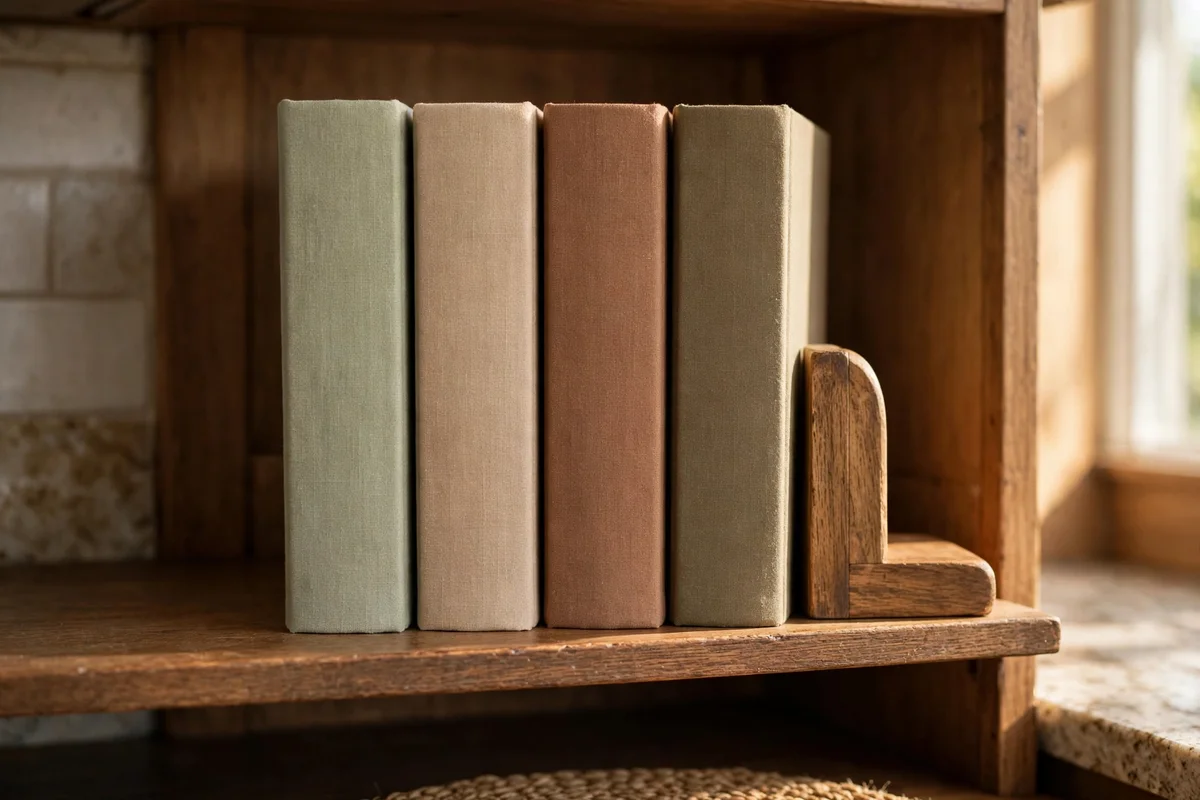
Cookbooks earn a place on open shelves only in a single short row, not a whole library. Choose the four to six you cook from most, line them upright at the end of the lowest shelf, and hold them with a simple wooden bookend. The low position keeps them reachable while you cook, and the row’s straight spine line adds a pleasing vertical rhythm to the shelf.
Keep cookbooks away from the hob end of the shelf, since steam and splashes stain paper covers quickly. If a book is precious, store it in the cupboard and keep a printed copy of your two favourite recipes in a clear sleeve on the shelf instead. The mistake to avoid is a double row of books with the second row hidden behind the first; it doubles the dust, halves the usefulness, and the row stops looking styled.
17. Hang Three Mugs on Hooks Under the Shelf Overhang
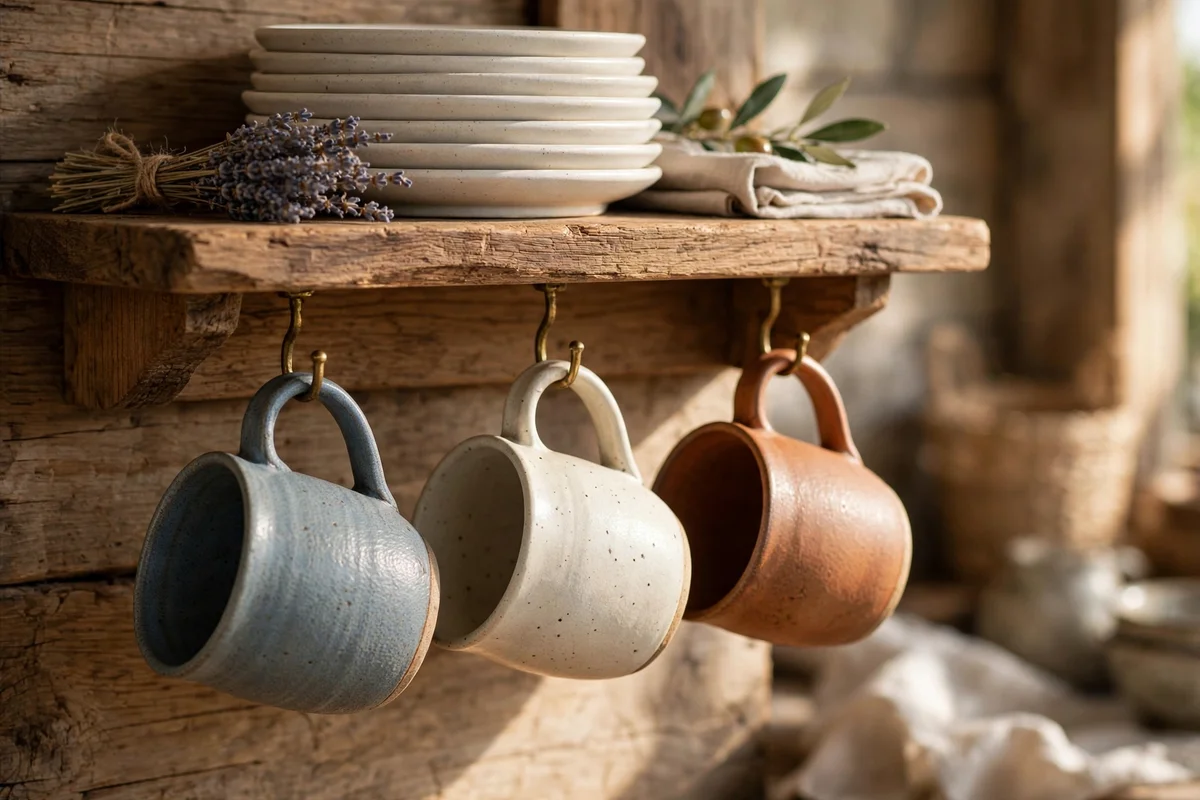
The underside of a shelf is free real estate. Fix two or three small hooks under the front edge of a shelf, spaced about 12 cm apart, and hang your three most used mugs by their handles. The mugs swing gently and stay visible, the shelf surface keeps its full space for plates, and the hanging row adds a lovely layered depth to the wall.
Choose hooks in the same finish as your brackets, brass with brass or black with black, so the details feel planned. Hang only mugs with sturdy handles that sit flat against the cup, and keep the row to three so it reads as a deliberate accent. The mistake to avoid is loading the underside with six heavy mugs and utensils; too much weight strains the shelf fixings and the crowded row defeats the airy look you are building.
18. Set a Small Green Plant at the End of the Middle Shelf
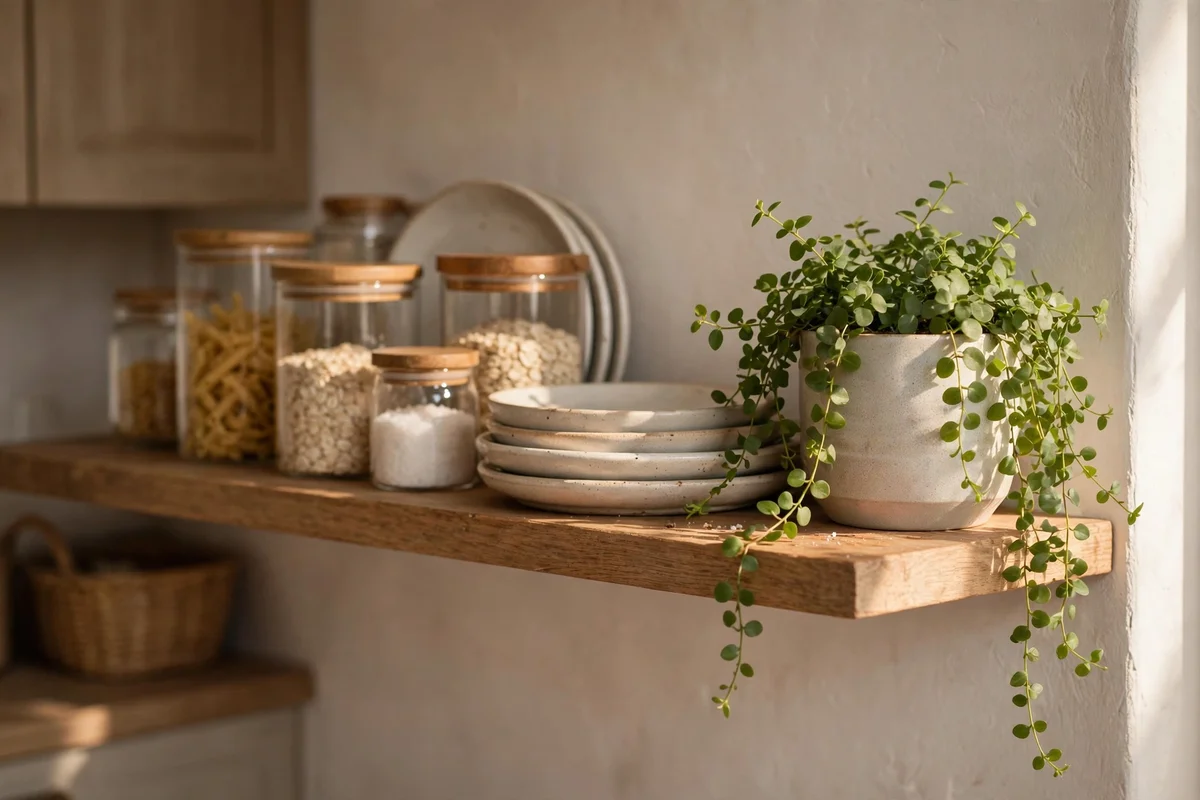
One living plant changes the whole feel of a shelf wall, softening the hard lines of plates and jars. Choose a small trailing plant in a simple ceramic pot about 12 to 15 cm wide, and place it at the end of the middle shelf where it can trail without touching food. A pothos or small fern tolerates kitchen humidity well and asks only for water every week or so.
Water the plant over the sink, never over the shelf, so soil and drips never reach the boards or the crockery. Keep the pot on a small saucer to protect the shelf finish, and turn the plant a quarter turn each week for even growth. The mistake to avoid is three plants fighting for shelf space; one plant is a soft accent, three become a jungle that crowds out the dishes and steals the calm.
19. Keep Utensils to One Stoneware or Wooden Crock
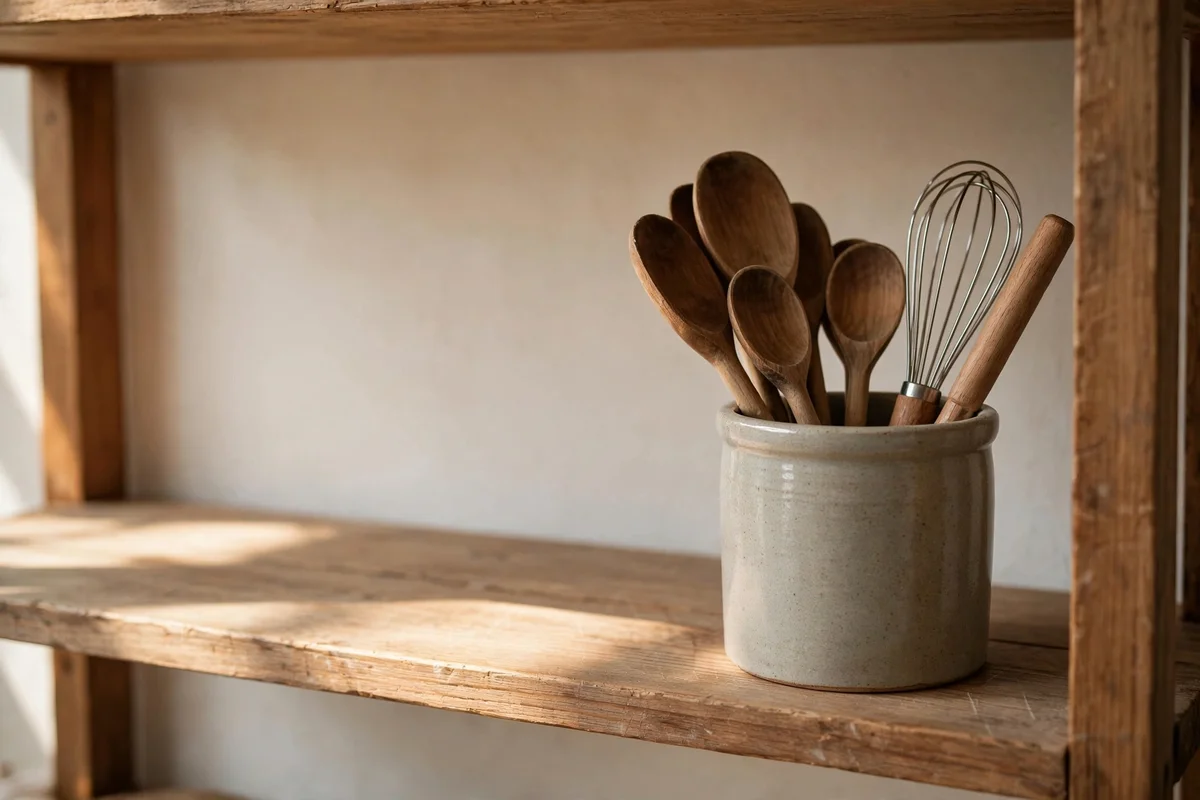
A single crock holding your five or six daily tools, wooden spoons, a whisk, a spatula and tongs, is all the utensil storage open shelves need. Choose a stoneware or turned wood crock about 15 to 18 cm tall so tool handles stand proud above the rim without tipping. Place it at the end of the lowest shelf near the hob, where cooking happens, and everything stays within one step.
Limit the crock to what you actually lift each day; the garlic press and the melon baller live in a drawer. Wash the crock monthly in warm soapy water, since cooking steam leaves a faint film inside. The mistake to avoid is two or three crocks competing on one shelf; a second crock usually holds tools that belong in a drawer, and the pair turns the end of the shelf into a crowded toolbox.
20. Choose Brackets That Match Your Tap and Cabinet Hardware
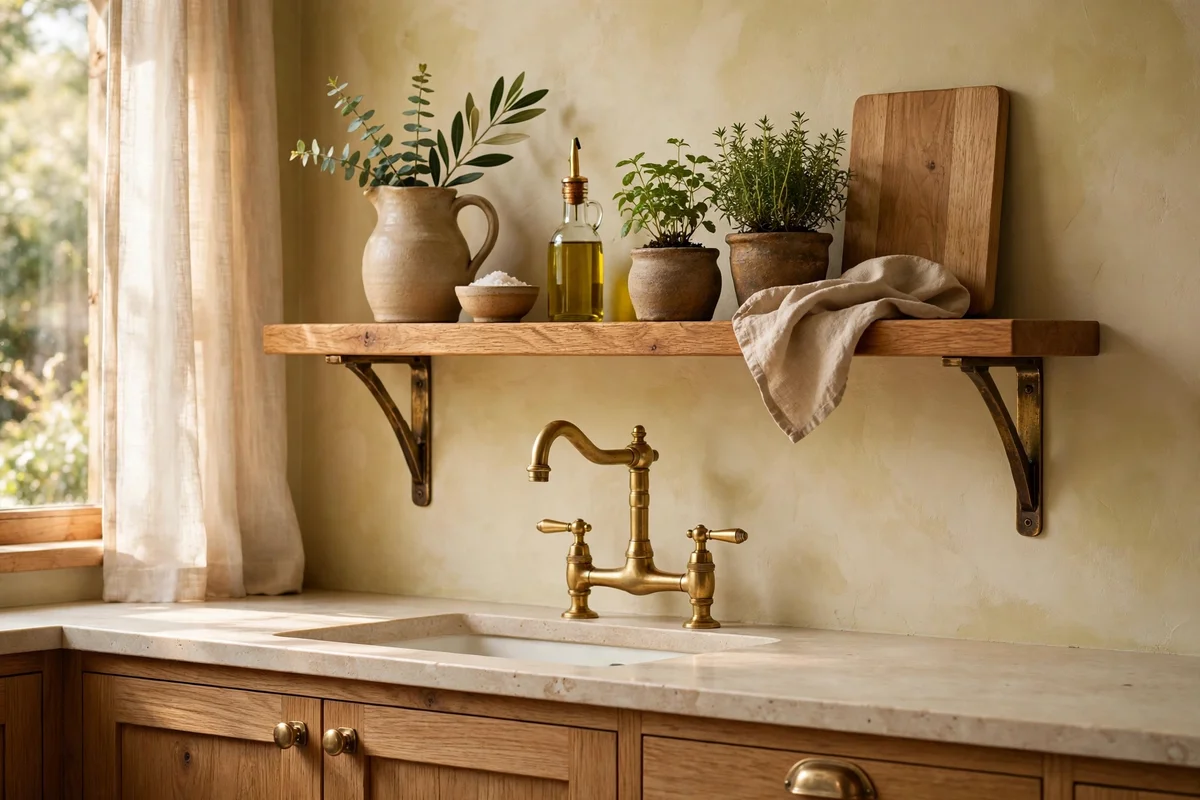
Brackets are jewellery for your shelves, and matching them to your tap and cabinet pulls ties the whole kitchen together. If your tap is brushed brass, choose unlacquered brass brackets; if your pulls are matte black, choose black steel. The repetition of one metal finish across three or four spots in the room is what makes a kitchen feel designed rather than assembled.
Buy brackets after you choose the board, not before, so the bracket depth suits the shelf you actually have. A pair of quality brackets costs 8 to 20 pounds or dollars each, a small share of the project but the part everyone sees. The mistake to avoid is mixing metals across a short wall: brass brackets, chrome hooks and black rails on two shelves read as indecision, so commit to one finish for the whole run.
21. Add a Warm 2700K Light Strip Above Each Shelf for Evening Glow
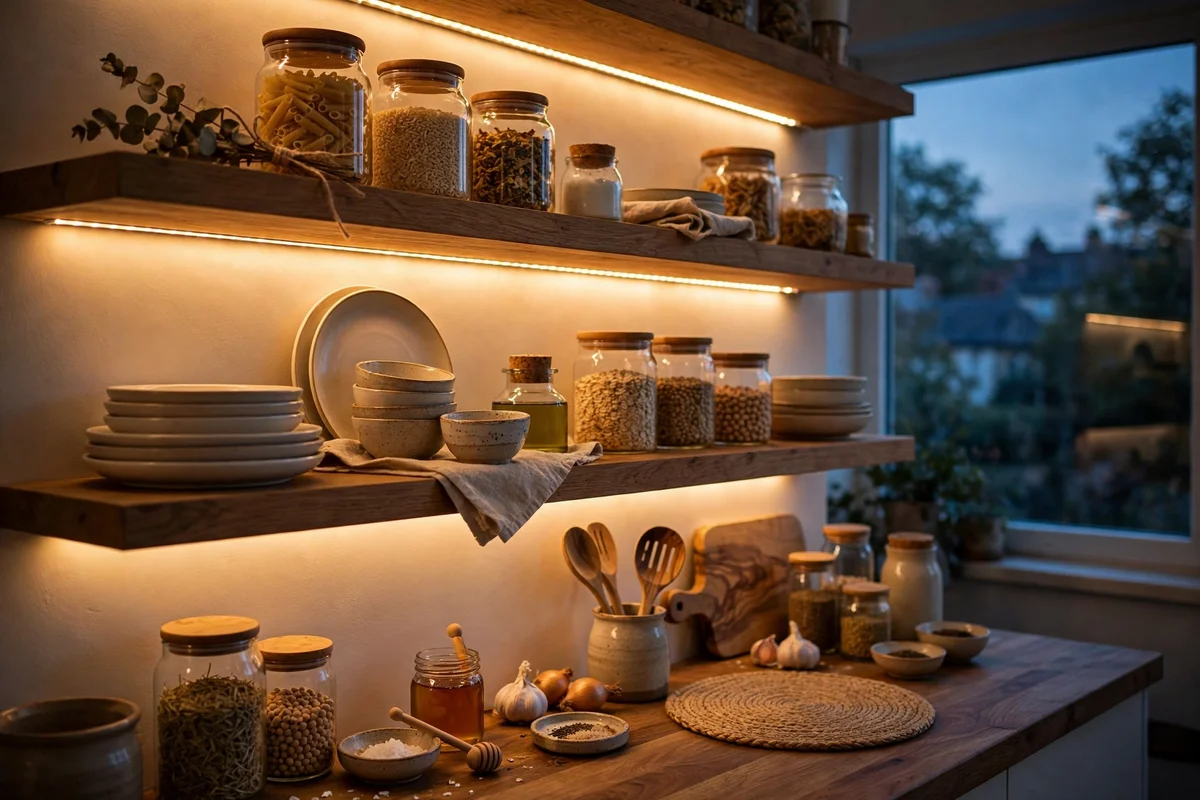
A slim LED strip tucked under the shelf above, or a small picture light fixed to the wall, turns open shelves into a warm evening feature. Choose a warm 2700K colour temperature, the same glow as candlelight, and keep the brightness modest at around 200 to 300 lumens per shelf. The light grazes down across plates and jars, and the kitchen feels welcoming long after cooking is done.
Run the strip on a timer or a simple plug in switch so it glows from dusk until bedtime without you thinking about it. Battery puck lights are a renter friendly option, though they need recharging every two to three weeks. The mistake to avoid is cool white 5000K lighting, which turns cream crockery grey and makes the whole wall feel like a shop display; warm light keeps the heritage calm that makes open shelves so loved.
22. Follow the One Shelf Starter Plan for a Gentle First Step
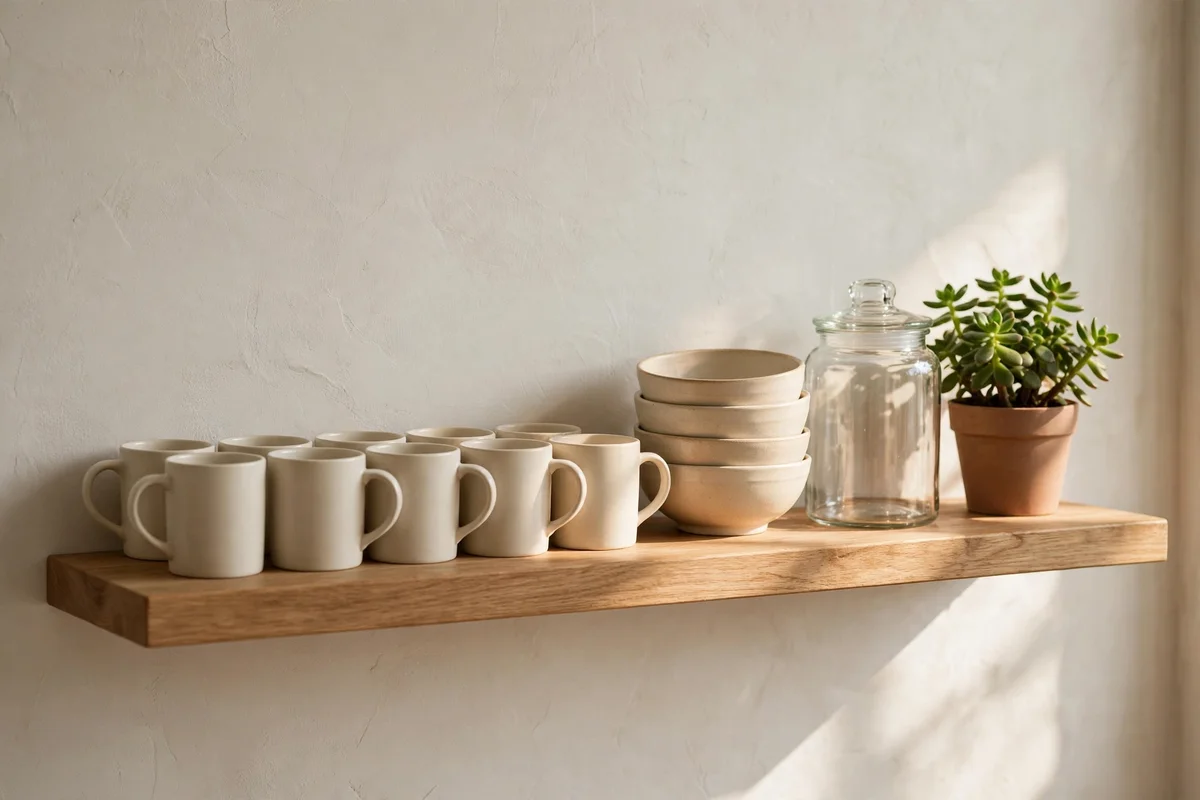
If open shelves feel like a big commitment, start with exactly one shelf and the simplest possible kit. On a board about 90 to 120 cm long, place six matching mugs in a row, four stacked bowls, one glass jar of rice or lentils, and a small green plant at the end. Leave the remaining third of the board empty on purpose; that emptiness is doing real styling work.
Live with this single shelf for two full weeks before deciding anything else. Notice which items you reach for, whether dust bothers you, and whether the empty space still feels calm or starts to nag. If the shelf still pleases you on the fourteenth evening, add a second shelf below with the same formula. The mistake to avoid is fitting three shelves on day one; a single shelf that works beats three that overwhelm.
23. Refresh the Top Shelf Seasonally With a Teapot or Fresh Greenery
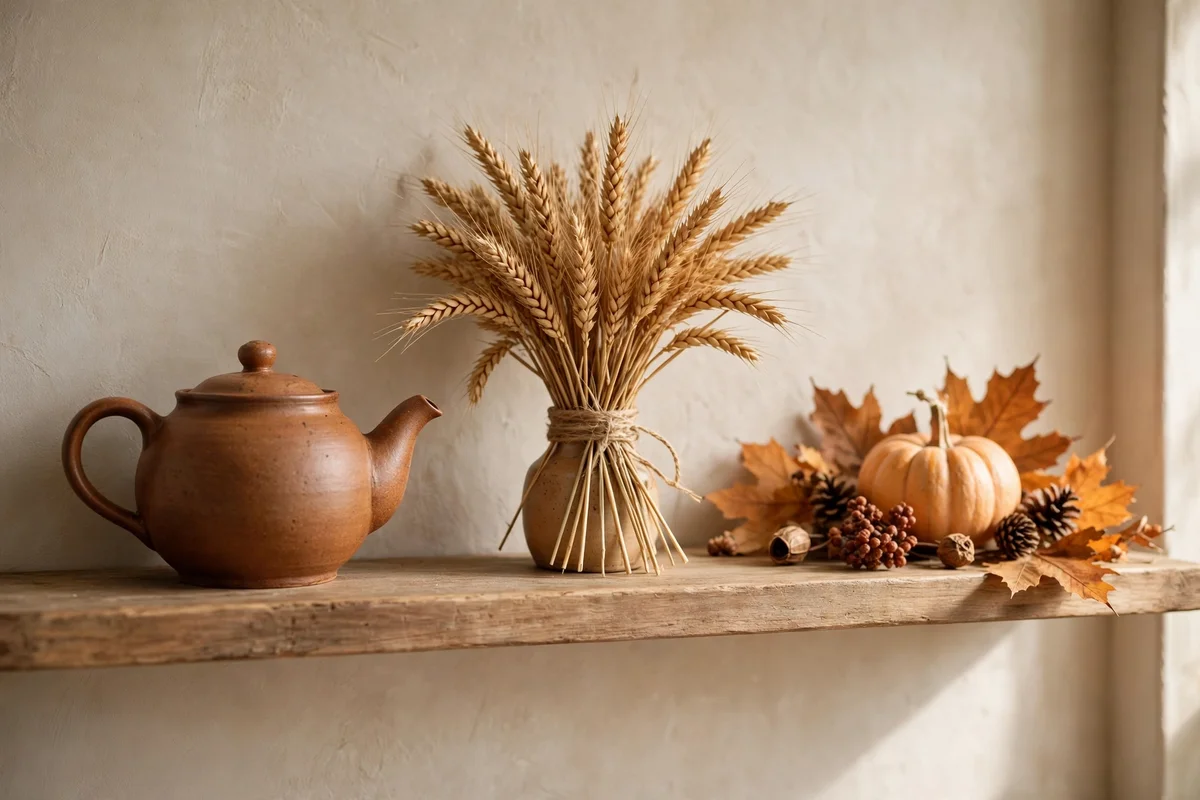
The top shelf is your seasonal stage because it is seen most and touched least. In autumn, swap in a warm stoneware teapot and a small bunch of dried wheat; in spring, a sprig of fresh eucalyptus in a simple jug keeps the shelf feeling alive. Keep the seasonal group to three items at most so the shelf stays light, and store the off season pieces in a cupboard box.
Plan the swap for the change of season, about four times a year, and use the moment to wipe the shelf properly while it is empty. Choose natural, family friendly pieces: dried grasses, a carved wooden bowl of dates for guests, or a small framed print of a landscape. The mistake to avoid is leaving festive items up for months past their moment; a winter sprig in May stops looking charming and starts looking dusty, which is the opposite of the calm you built.
The calm you want from open shelves comes from three habits: display only what you use daily, group by type and colour, and leave empty space on purpose. With boards at the right height and depth, brackets spaced to carry real weight, and a ten minute weekly wipe, the arrangement stays tidy from the day you set it. Start small, live with it for a week, and edit again; that is the whole method.
This week, try the one shelf starter plan from the earlier idea: six matching mugs, four stacked bowls, one glass jar and a small plant, with a third of the board left empty. The whole setup takes about twenty minutes and costs almost nothing if you already own the pieces. If that single shelf still feels calm on Friday evening, you will know the system truly works for your kitchen.
Frequently Asked Questions
How high should open kitchen shelves be above the worktop?
Mount the lowest shelf 45 to 50 cm above the worktop so you can see and reach everything without a step stool. Leave 30 to 35 cm between shelves so tall pitchers and oil bottles fit upright. If the ceiling is high, add a third shelf but keep it light, since anything above shoulder height gets dusted less and used less.
Do open kitchen shelves get very dusty and greasy?
They do collect some dust, especially near a hob, which is why honest care matters. Choose shelves at least 60 cm from the hob, wipe surfaces and displayed dishes weekly with a damp cloth, and keep everyday items in daily rotation so they never sit long. Ten minutes once a week is enough for two to three shelves.
What depth works best for kitchen shelves and brackets?
Boards 25 to 30 cm deep hold dinner plates and mixing bowls safely. Pair them with brackets rated for at least 15 kg each, spaced 80 to 100 cm apart and fixed into studs or solid wall plugs. Shallower 20 cm shelves suit mugs and jars but plates will overhang, so match depth to what you plan to store.
How much does it cost to fit two open kitchen shelves?
A budget build with pine boards, simple black metal brackets and wall fixings usually costs 30 to 60 pounds or dollars. Mid range oak boards with matching brass brackets run 80 to 150. If you hire a handyperson to fix them into masonry, add 50 to 100 for an hour of labour.
Can I put open shelves in a rented kitchen?
Yes, with renter friendly fixings. Use heavy duty adhesive mounted rails or freestanding shelf units that lean against the wall, and keep the total load under 10 kg per shelf. Style them exactly as the guide suggests, then take the whole unit with you when you leave. Avoid drilling unless your tenancy agreement clearly allows it.