Kitchen
24 Coffee Station Ideas for Slow Morning Rituals
By Anna Wells · · 19 min read
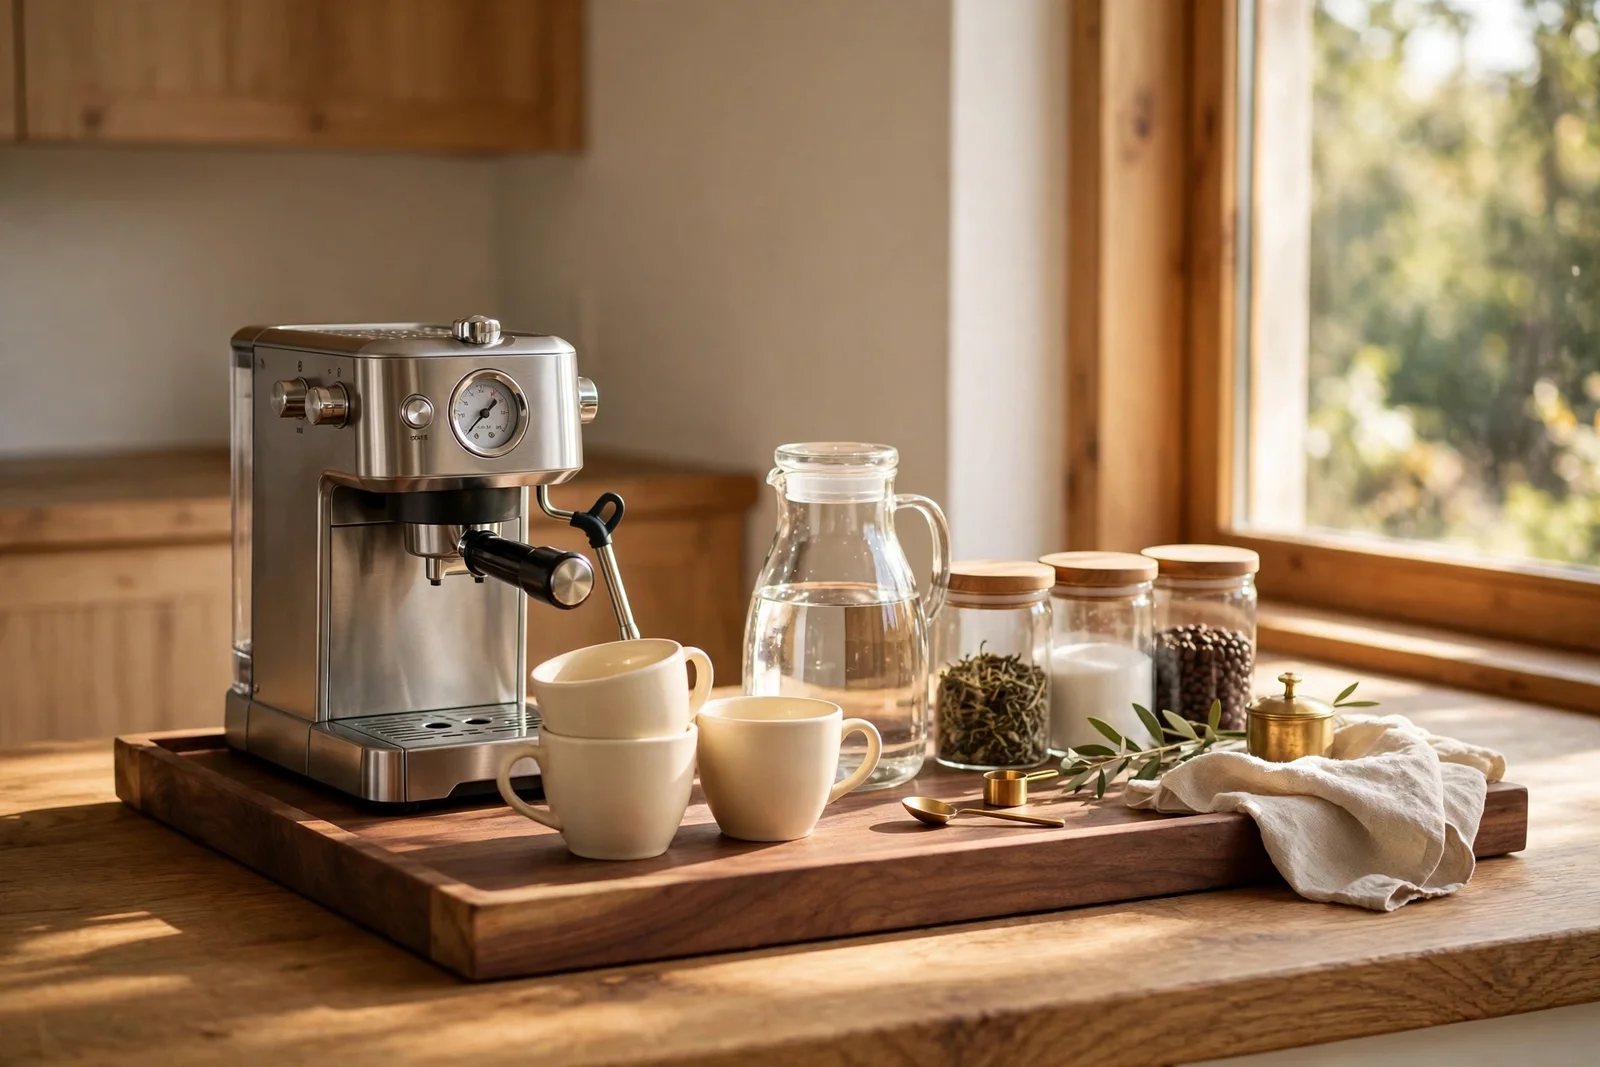
Twenty-four calm, practical ideas for building a coffee and tea station that slows the morning down instead of speeding it up.
The first light finds the kitchen before anyone else, and a small corner already hums with promise. Water warming, a ceramic cup turned upside down on a wooden tray, beans resting in a plain jar. This is the quiet heart of the house, the place where the day begins gently instead of in a rush.
A coffee station does not need much space or money. A 60 cm stretch of counter, a rolling cart, or one shelf inside a cabinet can hold everything. What it needs is intention: the machine where steam can rise freely, cups within easy reach, tea and sugar in calm containers, and a rinse routine that keeps it all spotless.
These 24 ideas walk through the whole setup, from machine placement and honest clearance notes to styling in wood, ceramic and brass, and a guest friendly version for family gatherings with kettles, glass teapots, juice carafes and a platter of dates. Every idea is family friendly and halal, built for slow mornings.
1. Dedicate a 60 cm Counter Run Beside the Kettle Outlet
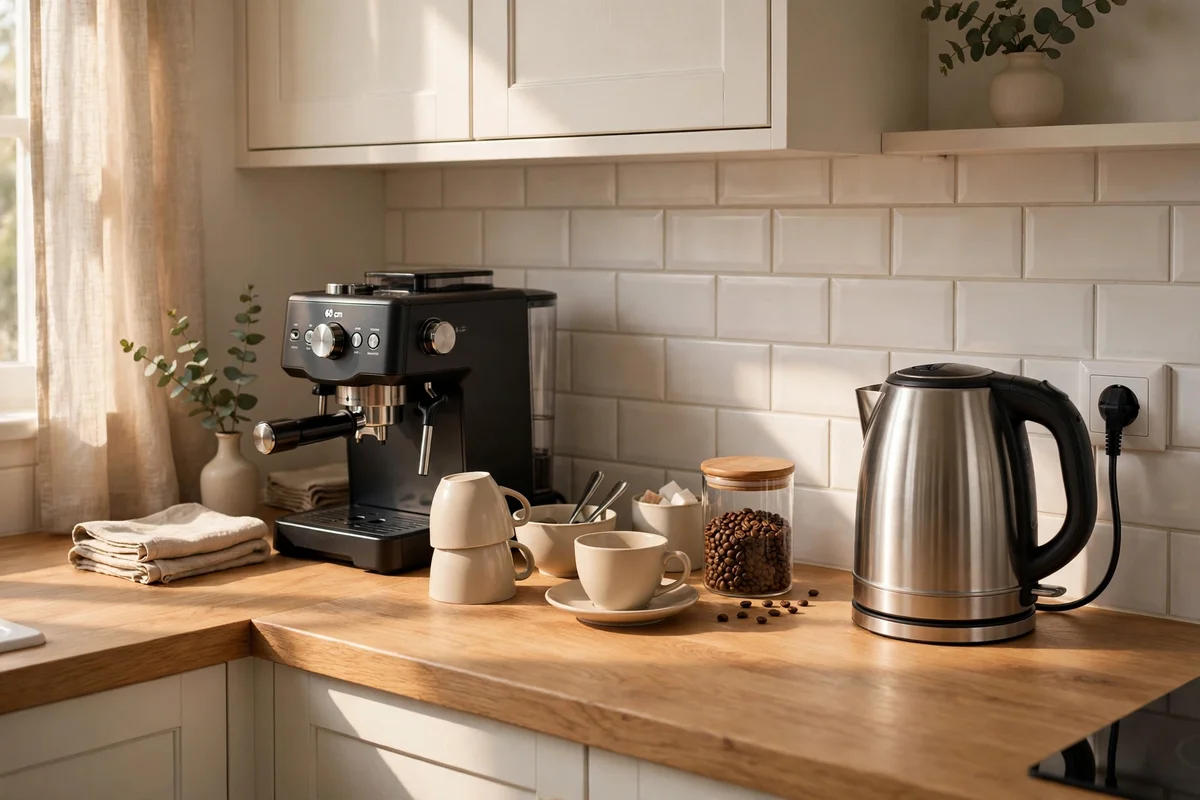
Reserve 60 to 75 cm of counter next to a power outlet and keep it sacred. A standard machine is about 20 cm wide and wants 10 cm of breathing room on each side for the drip tray and portafilter swing. Add the kettle and a tray of cups and the full run fills fast, so banish cutting boards, mail and fruit bowls from this stretch. A defined zone means the kit is set up once and stays ready.
The common mistake is scattering coffee gear across three counters, which adds minutes of gathering to every cup. Keep a 1-litre glass carafe at the station and refill it daily if the tap sits far away. No new furniture is needed for this idea, just honest measuring and the discipline to return each piece home. Budget tip: one walnut or acacia tray of 40 cm usually costs under 20.
2. Set the Machine Back 15 cm From the Edge for Steam Clearance
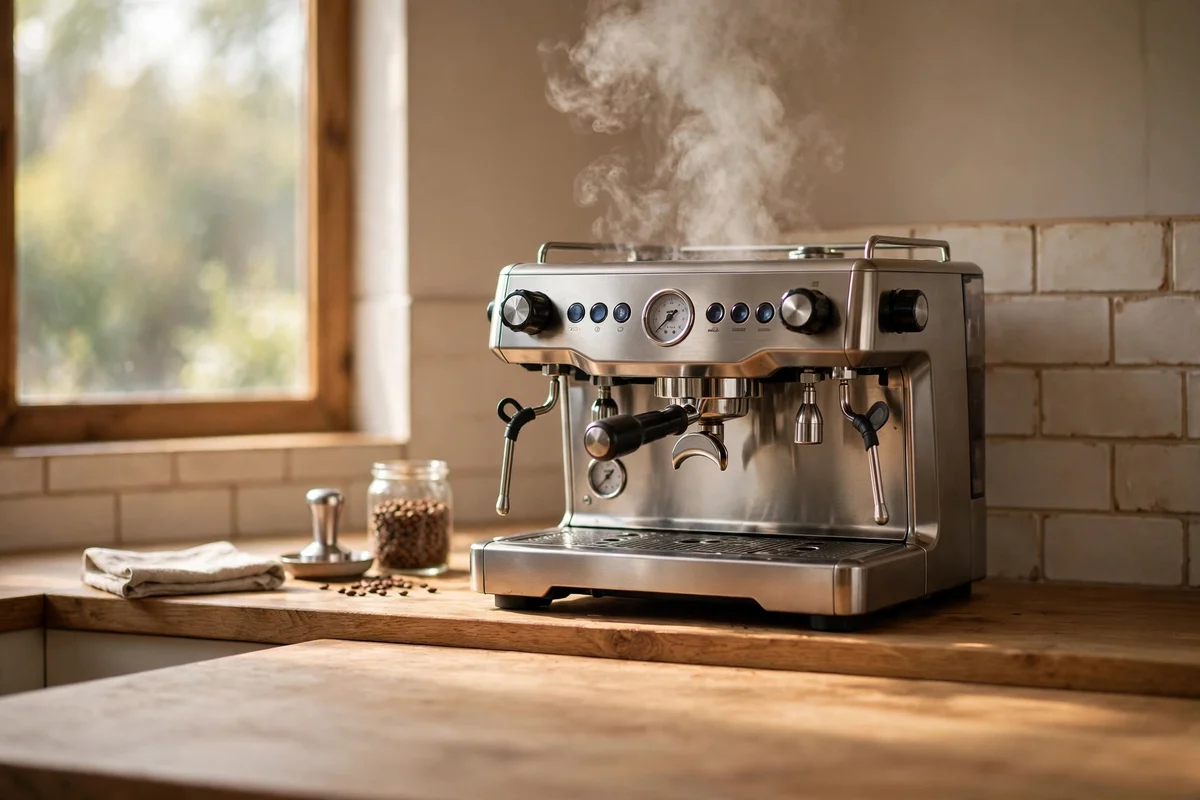
Push the machine 15 cm back from the counter edge so the steam wand can swing freely and hot drips land on the tray, not the floor. Leave 30 to 40 cm of open air above the machine, since steam rises and hot cupboards warp, stain or peel over months of morning use. Pull the machine forward only while brewing, then slide it back. This small habit protects both the cupboards and your shins.
Measure your tallest cup plus 5 cm before choosing the machine spot, because a spout that cannot clear a favourite mug is a daily irritation. If wall cupboards sit low, consider a machine with a front-facing water tank instead of a top-fill one. Avoid tucking the machine into a deep corner where the back vents press against the wall; leave at least 8 cm behind for air circulation.
3. Roll a Three-Tier Cart Under a Window for a Movable Station
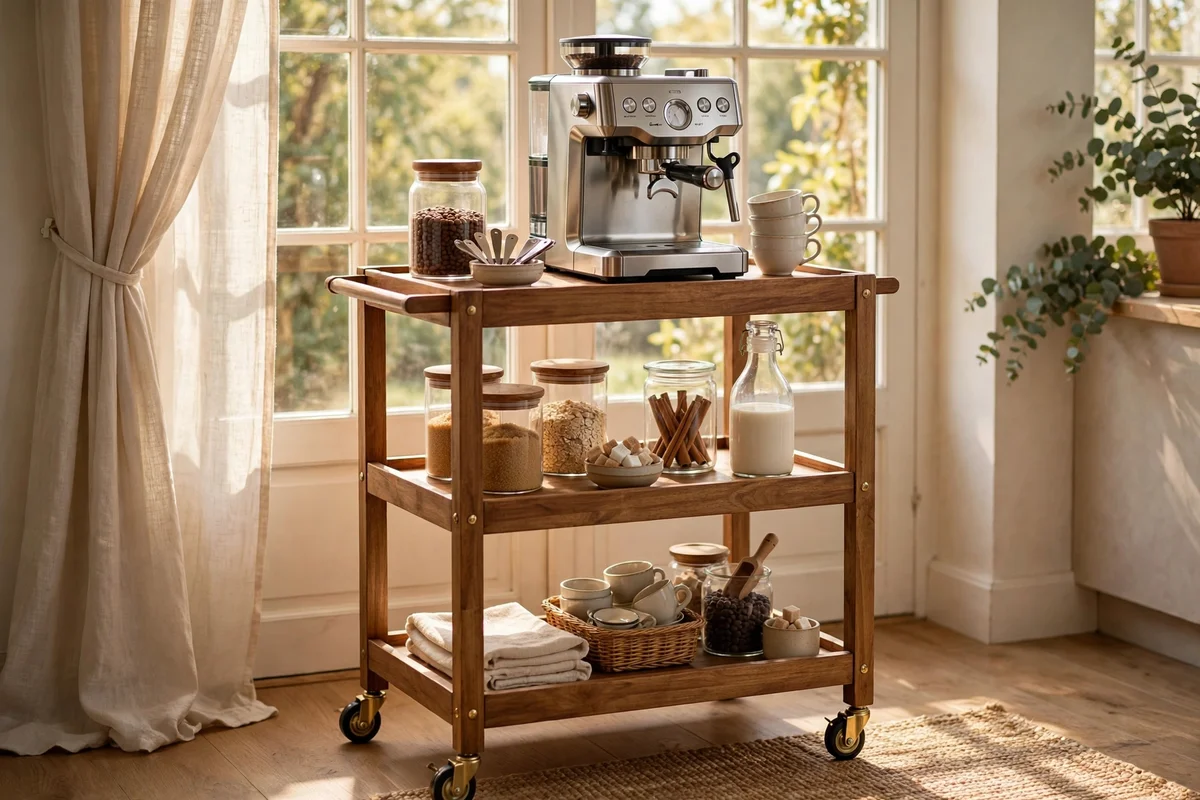
A three-tier bar cart, roughly 45 cm wide and 80 cm tall, makes a fine station for small kitchens. Put the machine on top, cups and a small tray on the middle shelf, and beans, tea and sugar on the bottom in plain containers. Rolling it under a window gives the ritual natural light, and wheels let you pull it out 20 cm for steam room when brewing, then tuck it back flush.
Choose a cart with a lip around each shelf so cups cannot slide off when it moves. Lock the wheels before brewing, because a rolling cart and a full hot kettle are a poor pair. Wooden carts warm the palette best, while metal frames with wood shelves suit modern kitchens. Expect 60 to 120 for a sturdy cart, and avoid the cheapest flimsy ones that wobble under a 6 kg machine.
4. Keep Filtered Water Within Arm’s Reach in a Glass Carafe
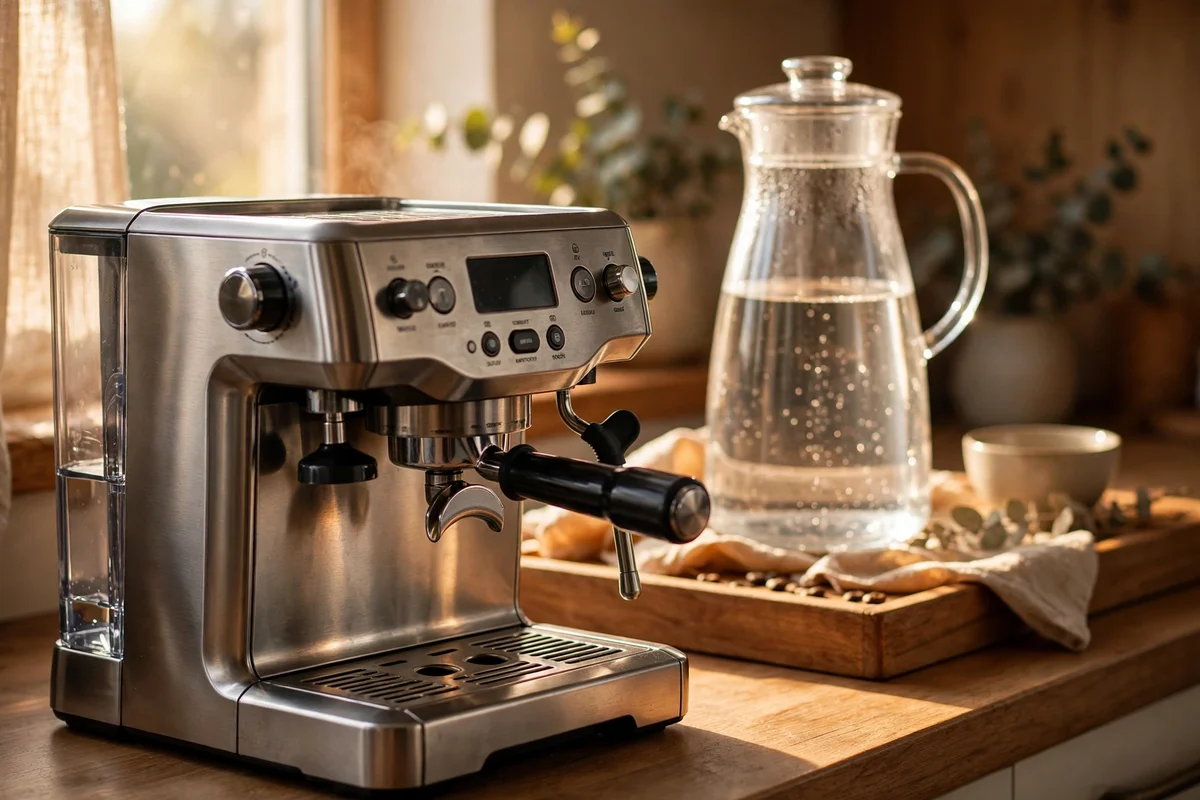
Set a 1-litre glass carafe of filtered water at the back of the station so refills never require crossing the kitchen. Most home machines drink 60 to 120 ml per shot and kettles take 1 litre at a time, so a daily refill of the carafe covers a two-person household comfortably. Glass lets you see the level at a glance, and a wide mouth makes filling quick at the tap without splashing the counter.
The mistake to avoid is leaving the carafe in full sun, where warmth dulls the taste within a day. Rinse it every second day with hot water to stop any film building up. If your tap water is very hard, filtered water also slows limescale in the machine, cutting descaling sessions from monthly to roughly every three months. A plain carafe costs little and quietly upgrades every cup.
5. Group Cups on a Walnut Tray to Catch Drips
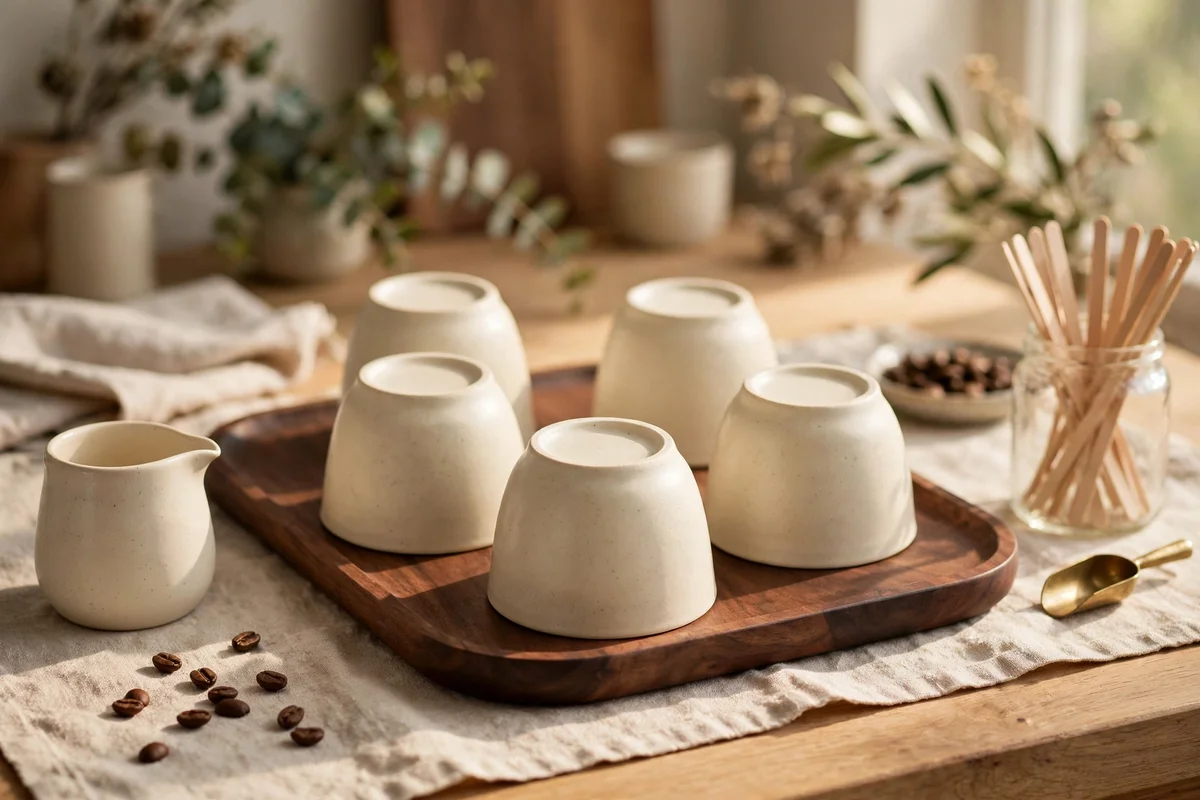
Set four to six daily cups on a 35 to 45 cm walnut tray so drips land on wood, not stone. Turn the cups upside down when not in use to keep dust out, and choose cups of one glaze family, cream or soft white, so the group reads calm. The tray draws a visible boundary around the station and can be lifted aside in seconds when you wipe the counter underneath it.
Oil the walnut tray twice a year with food-safe mineral oil to keep it from drying and cracking. The common mistake is choosing a tray smaller than the cups’ footprint, so rims overhang and drip anyway; measure the full group before buying. Budget options in acacia look nearly as warm for under 15, while a solid walnut tray sits in the mid range.
6. Hang Six Ceramic Mugs on a Short Brass Rail
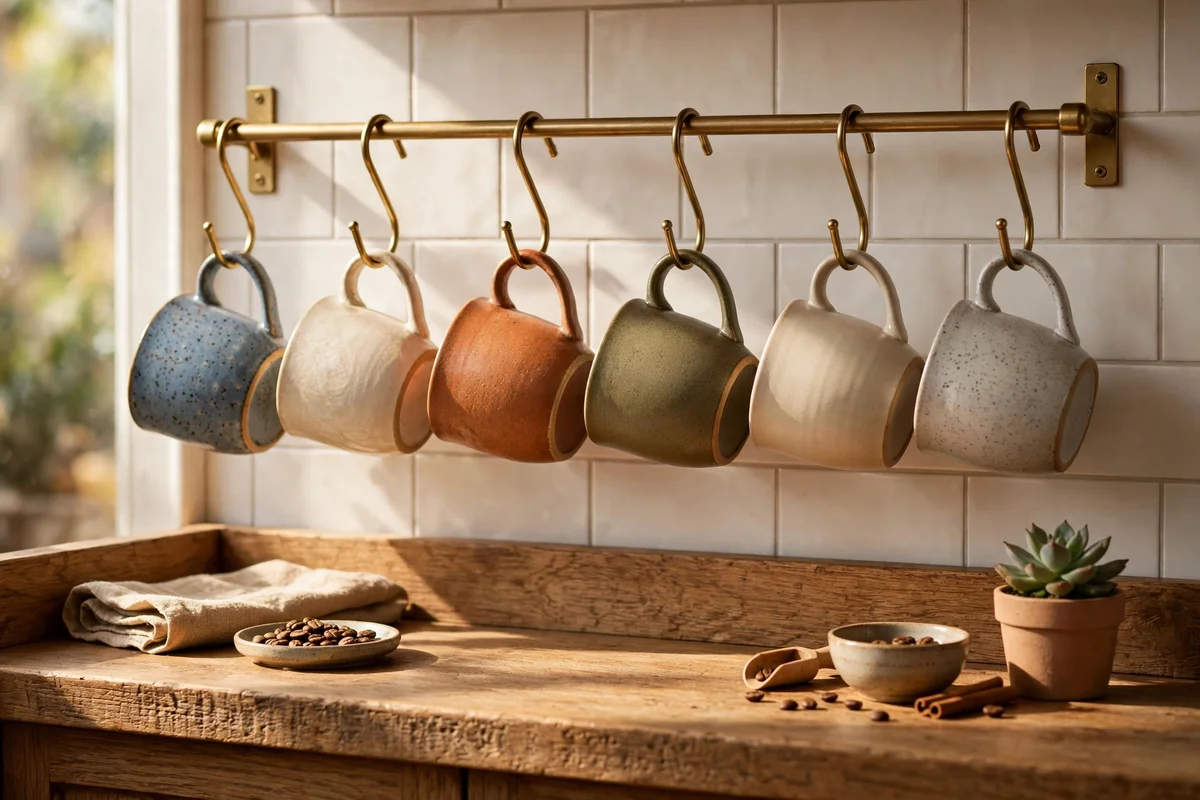
Fix a 40 to 60 cm brass rail on the wall or under a shelf, 25 cm above the counter, and hang six ceramic mugs from S-hooks spaced 8 cm apart. Hanging frees tray space and turns everyday mugs into quiet decor. Use proper wall plugs rated for the load, since six stoneware mugs weigh about 2 kg. Keep the rail clear of the steam path so condensation does not spot the glaze.
Match hooks to the rail finish, brass with brass, for a calm line. The mistake to avoid is hanging mugs by delicate handles over hard stone; if a hook slips, the mug should fall 25 cm onto wood or a tray, not tile. A short rail plus hooks usually costs 25 to 40, and unlacquered brass develops a soft patina that suits wood and cream kitchens.
7. Store Beans in Two Plain Glass Jars Away From Light
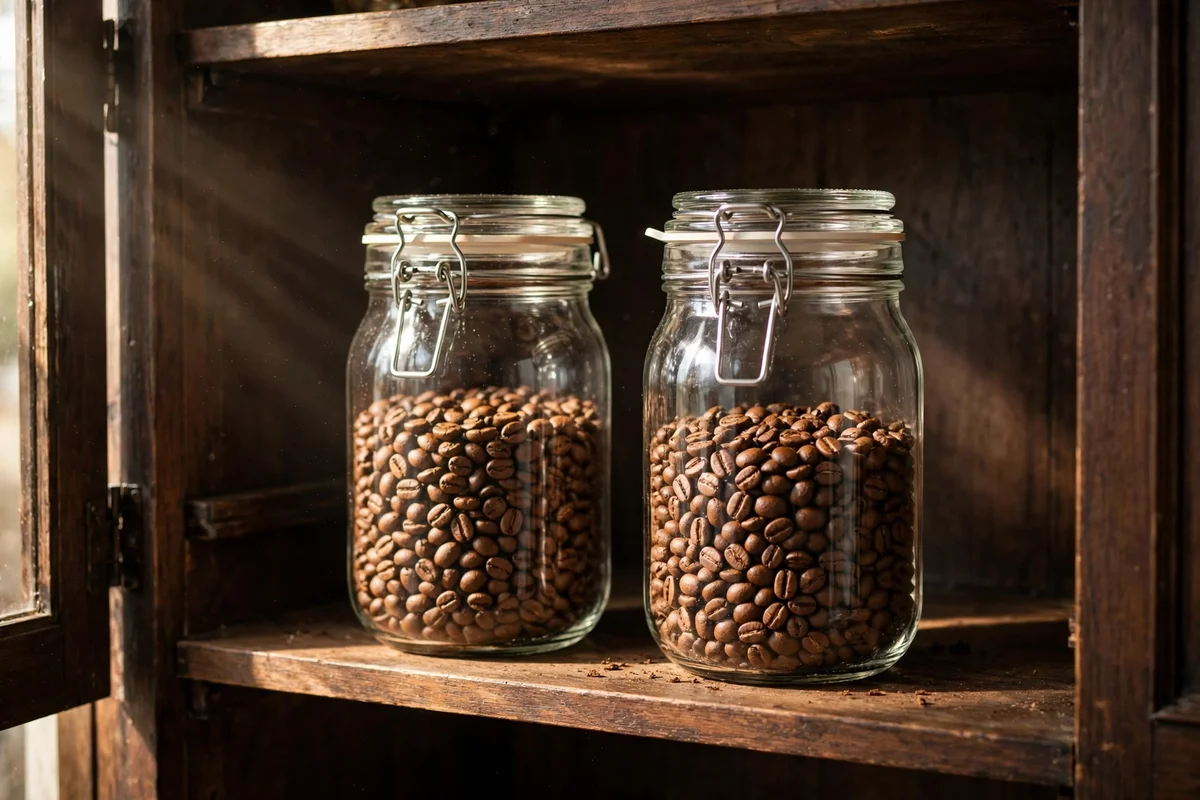
Keep beans in two plain 500 ml glass jars with airtight lids, one open and one sealed, so you buy 500 g at a time without staleness creeping in. Store the jars in a cupboard or on the lowest cart shelf, because light and heat near the machine age beans within days. Whole beans stay bright for two to three weeks after opening; ground coffee fades within hours, so grind only what you brew.
No labels are needed if the jars are small and the system is simple: left jar is today’s, right jar is next. The mistake to avoid is pouring new beans on top of old ones, which buries the stale layer forever; finish one jar before opening the other. Plain jars cost a few dollars each, and no branded canister does a better job of the actual work.
8. Keep Sugar, Tea and Cocoa in Matching Ceramic Canisters
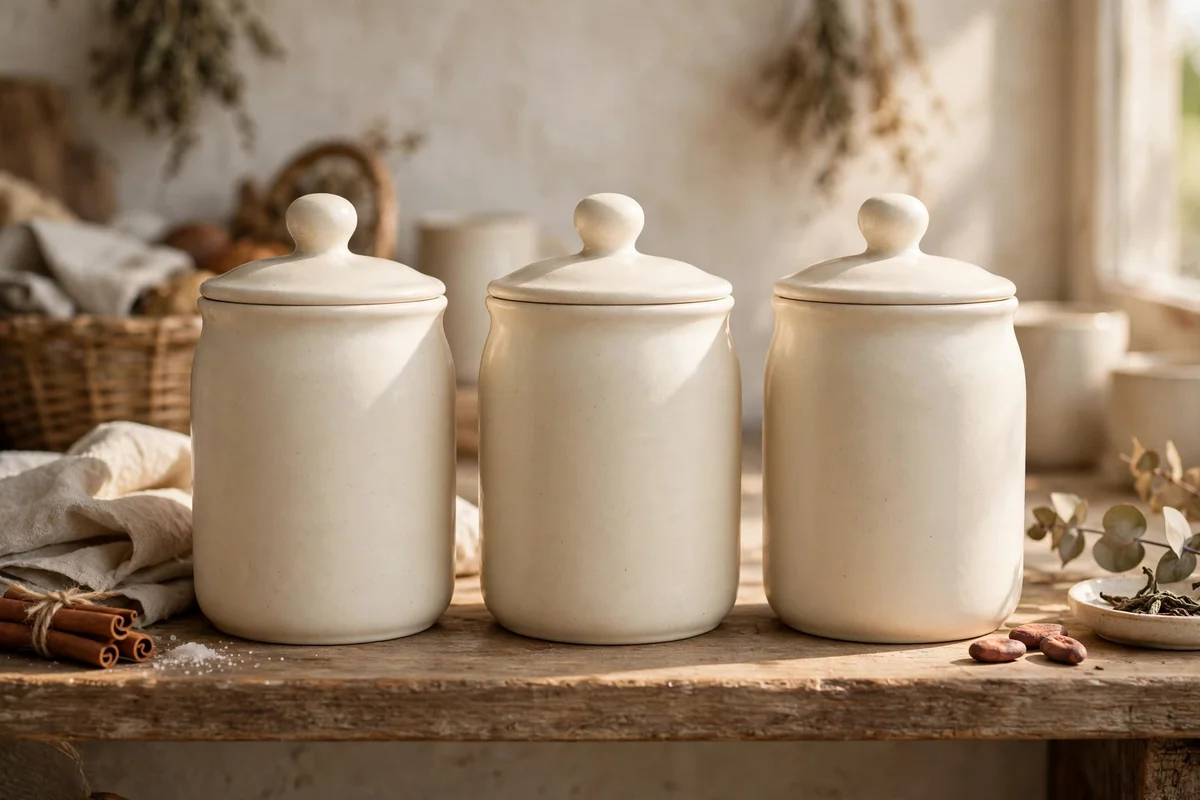
Line up three ceramic canisters, roughly 750 ml each, for sugar, loose tea and cocoa, in one glaze so they read as a family. Matching shapes matter more than matching patterns; simple cylinders in cream or soft grey sit calmly against wood and brass. Keep them on the middle shelf or behind the machine where hands reach naturally, and decant from packets the day they open so nothing sits in torn foil.
Choose canisters with silicone-seal lids if your kitchen runs humid, since sugar clumps and tea dulls fast. The mistake to avoid is buying oversized canisters that swallow small quantities; a half-empty 2-litre jar of tea goes stale while looking abundant. Three mid-size canisters usually total 30 to 50, and plain ceramic is a budget win that never dates.
9. Tuck a Mini Sink-Side Rinse Routine Into Three Steps
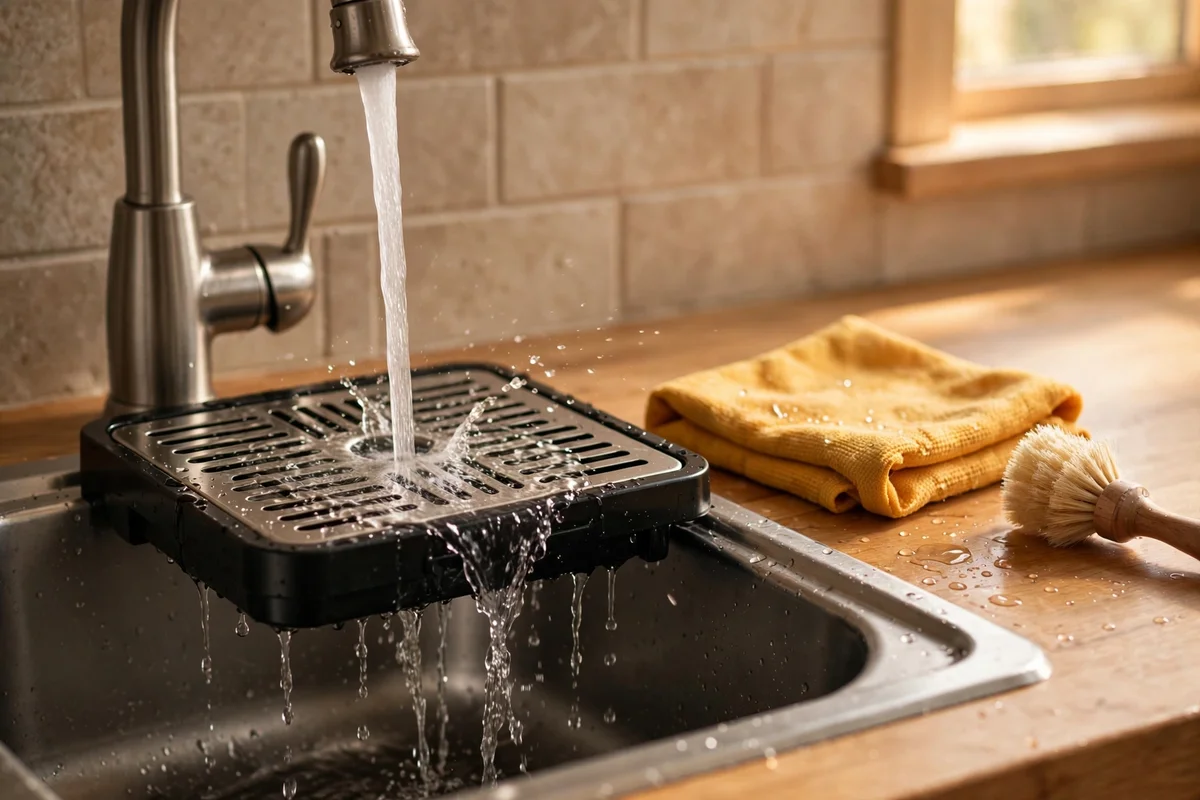
End each brewing session with a three-step rinse that takes under two minutes. First, knock the used grounds into the bin and rinse the portafilter or filter basket under hot water. Second, wipe the steam wand with a damp cloth immediately, before milk residue bakes on. Third, empty the drip tray into the sink and give it a quick rinse. Done daily, this keeps the machine bright and the station odour free.
Keep a small folded cloth and a narrow brush in a cup beside the machine so the routine has no friction. The mistake to avoid is soaking the portafilter overnight in harsh detergent, which strips the seasoning that makes clean-up easy; hot water and a brush are enough. Once a month, run a proper descale, and the machine will reward the habit with years of steady mornings.
10. Style the Wall Behind With One Warm Wood Shelf
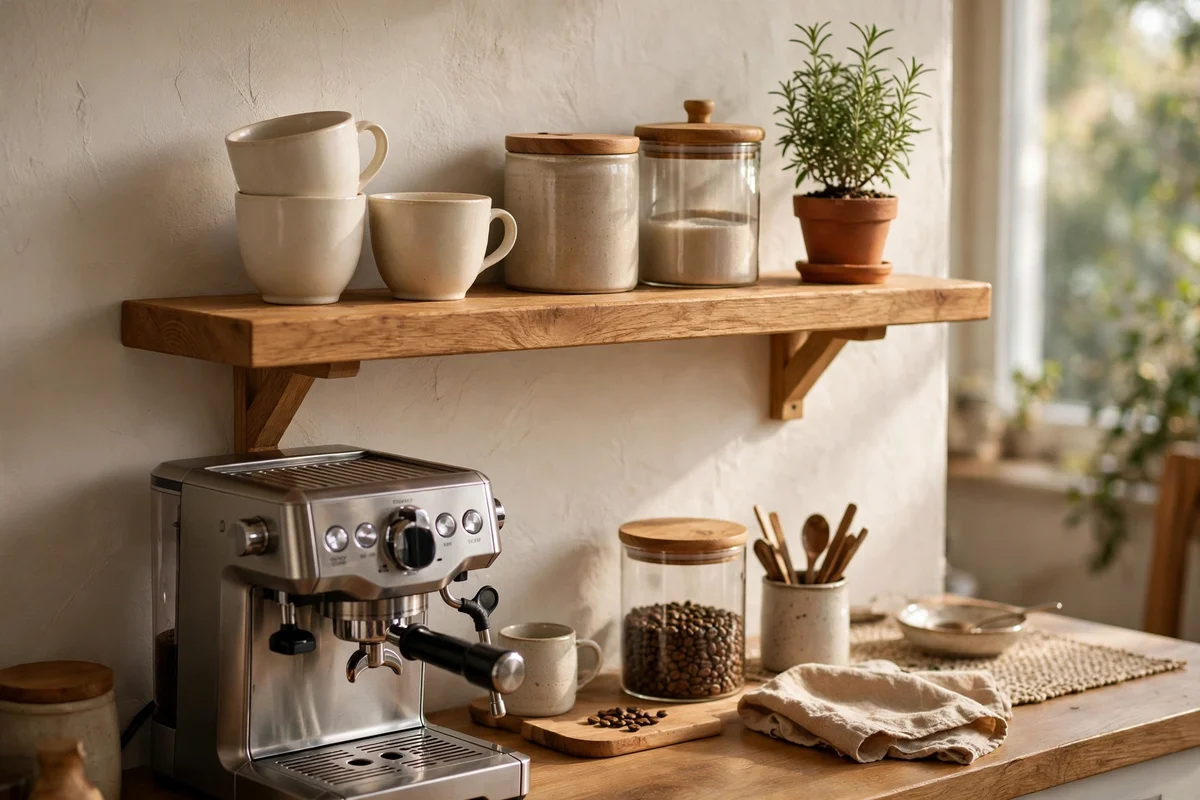
Mount a single oak shelf, 60 to 80 cm long and 18 cm deep, about 45 cm above the counter behind the machine. One shelf is enough; it holds the spare cups, the tea canisters and a small potted herb without crowding. Fix it into studs or solid anchors, since loaded stoneware can reach 5 kg. A lone shelf keeps the wall calm where three floating shelves would turn the station into storage.
Style the shelf with restraint: five cups, two canisters and one green sprig, then stop. The mistake to avoid is stacking the shelf to its front edge, where cups slide off when the machine vibrates during brewing; keep everything 5 cm back. An oak shelf with hidden brackets costs 25 to 45, and the warm wood softens tile splashbacks beautifully.
11. Lay a Cotton Runner to Mark the Station Zone
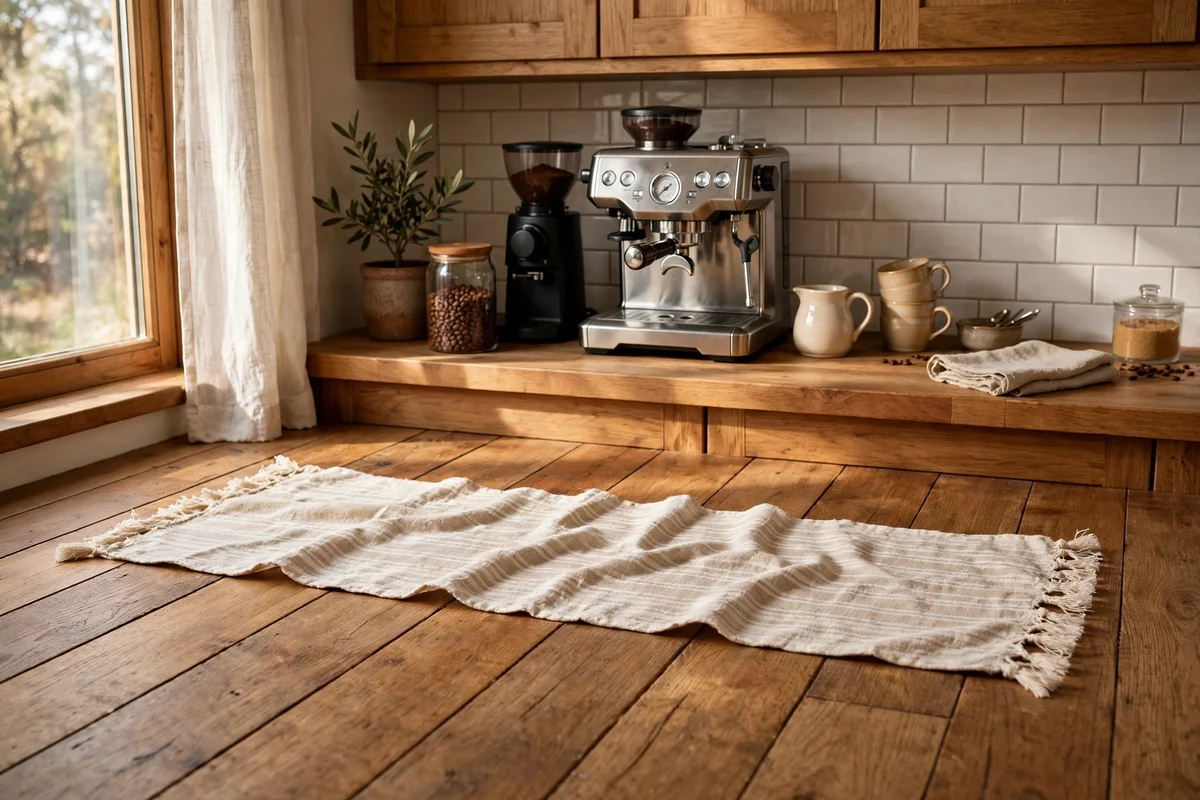
Lay a narrow cotton runner, about 50 cm wide and 120 cm long, in front of the counter run to mark the station zone visually. The runner catches the odd drip and softens early-morning footsteps on hard floors. Choose a washable flatweave in a quiet stripe or plain natural colour so it survives weekly machine washing. A defined floor zone makes the station feel like a small room of its own.
The mistake to avoid is a thick pile rug here, which traps coffee grounds and never quite comes clean. Shake the runner outside twice a week and wash it monthly. Budget cotton runners cost 15 to 30, while a hand-loomed one is an investment piece. Keep the runner 10 cm clear of the machine’s drip line so it stays dry.
12. Add a Small Milk Jug and Frothing Pitcher to the Lineup
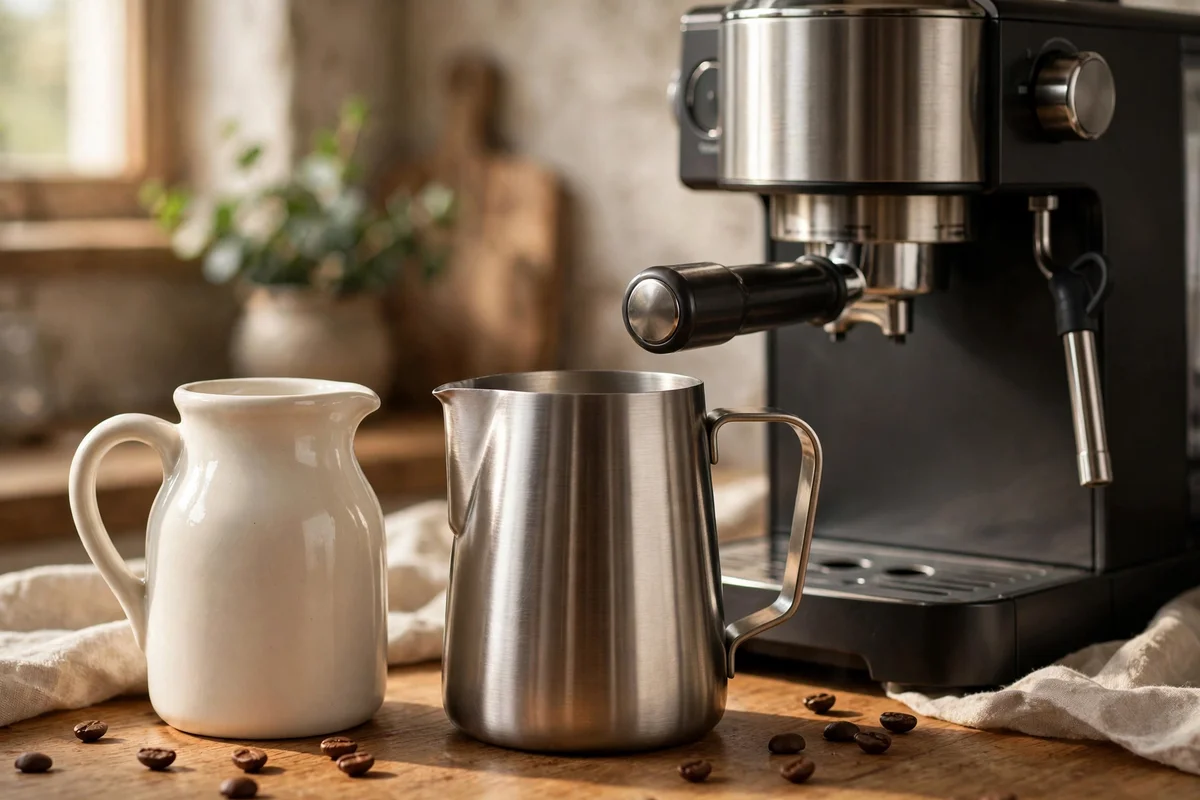
Keep a 350 ml stainless or ceramic milk jug beside the machine for steaming and a small 150 ml ceramic jug for serving. The 350 ml size steams one large or two small drinks, while the little serving jug suits guests who take their milk on the side. Ceramic keeps milk warm a touch longer and looks calmer on the tray than steel, though steel is lighter for daily frothing practice.
Rinse both jugs with cold water right after use, since hot water bakes milk protein onto the surface. The mistake to avoid is steaming more milk than you need; cold leftover milk re-steamed tastes flat and scorched. A pair of jugs costs 15 to 25, and a simple brushed steel frothing pitcher is the budget pick that lasts for years.
13. Place a Brass Teaspoon Rest Beside the Machine
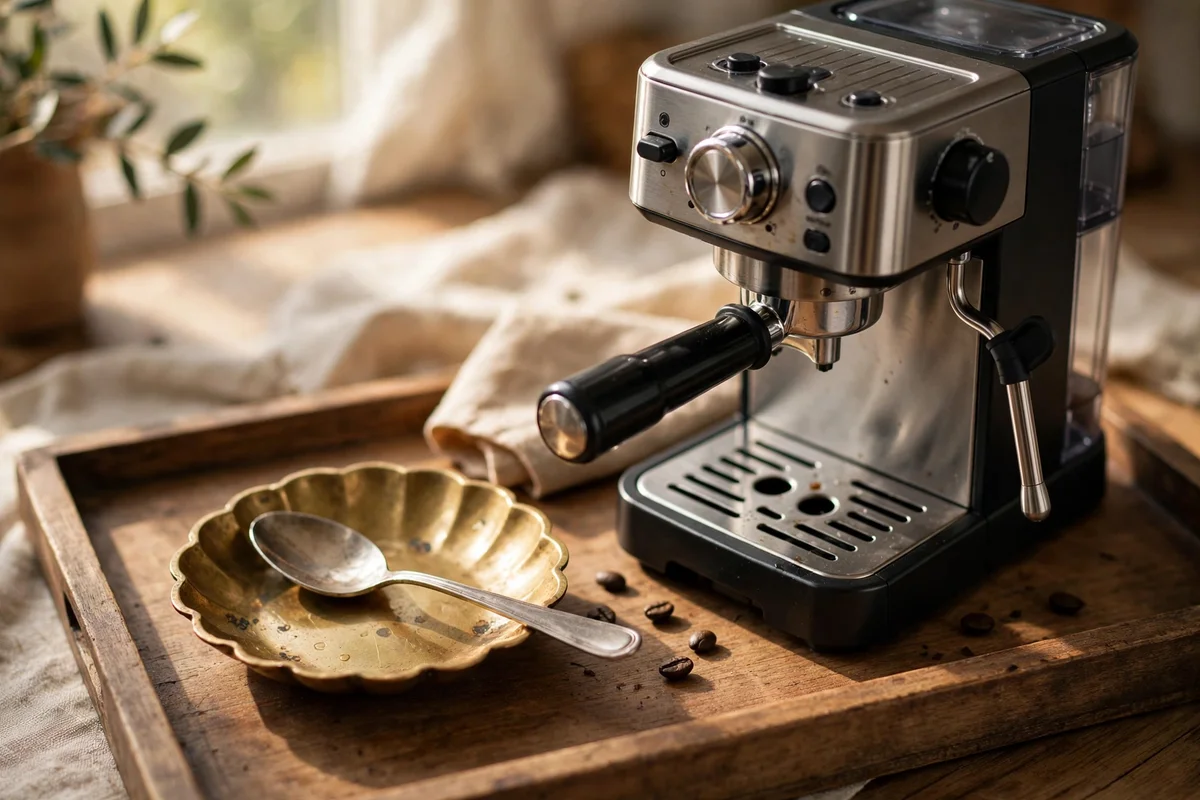
Set a small brass spoon rest, about 10 cm across, to the right of the machine for the teaspoon you stir with. A dedicated rest stops the habit of laying wet spoons on the counter, which leaves rings and sugar smears. Brass pairs with the rail and hooks if you have them, and its weight keeps it from sliding when a spoon drops in. Wipe it with the daily cloth and it stays bright.
The mistake to avoid is buying a rest too small for a proper tablespoon, which then balances on the rim and tips. Measure your largest spoon first. Solid brass rests cost 10 to 20, while plated ones chip within a year near heat and steam, so choose solid if the budget stretches. It is a tiny object with an outsized calming effect.
14. Use a Plain Marble Slab as a Heat-Safe Machine Pad
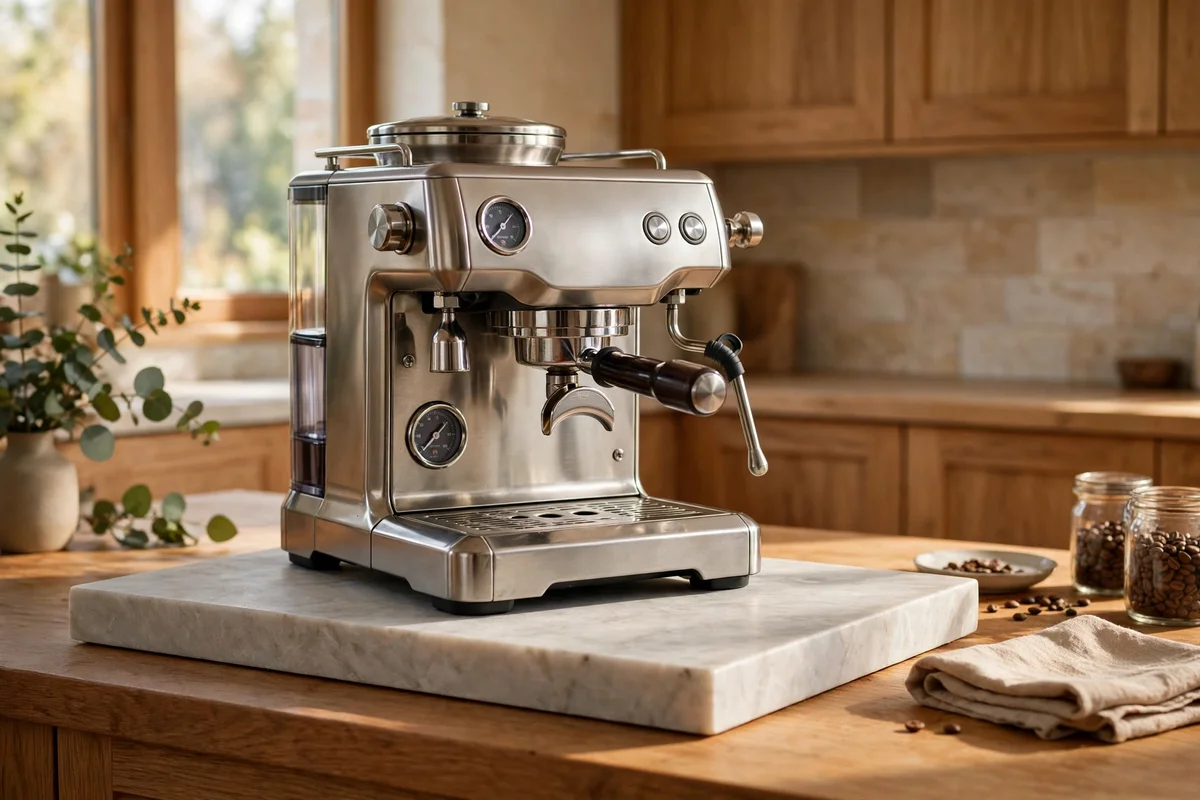
Slide a 40 by 30 cm marble or stone slab under the machine as a heat-safe pad. The slab catches heat, drips and stray grounds, and wipes clean in one pass. Choose honed rather than polished marble, since the matte finish hides water marks and suits calm styling. At 2 cm thick the slab adds useful height too, lifting the machine’s cup clearance for taller travel mugs.
Seal the marble once a year with a food-safe stone sealer to stop coffee rings sinking in. The mistake to avoid is placing the slab so it overhangs the counter edge; a heavy machine on an overhanging slab can tip. A 40 cm slab weighs about 6 kg, so measure the counter depth first. Offcuts from a stone yard often cost under 25.
15. Corral the Cord and Filters in a Lidded Wooden Box
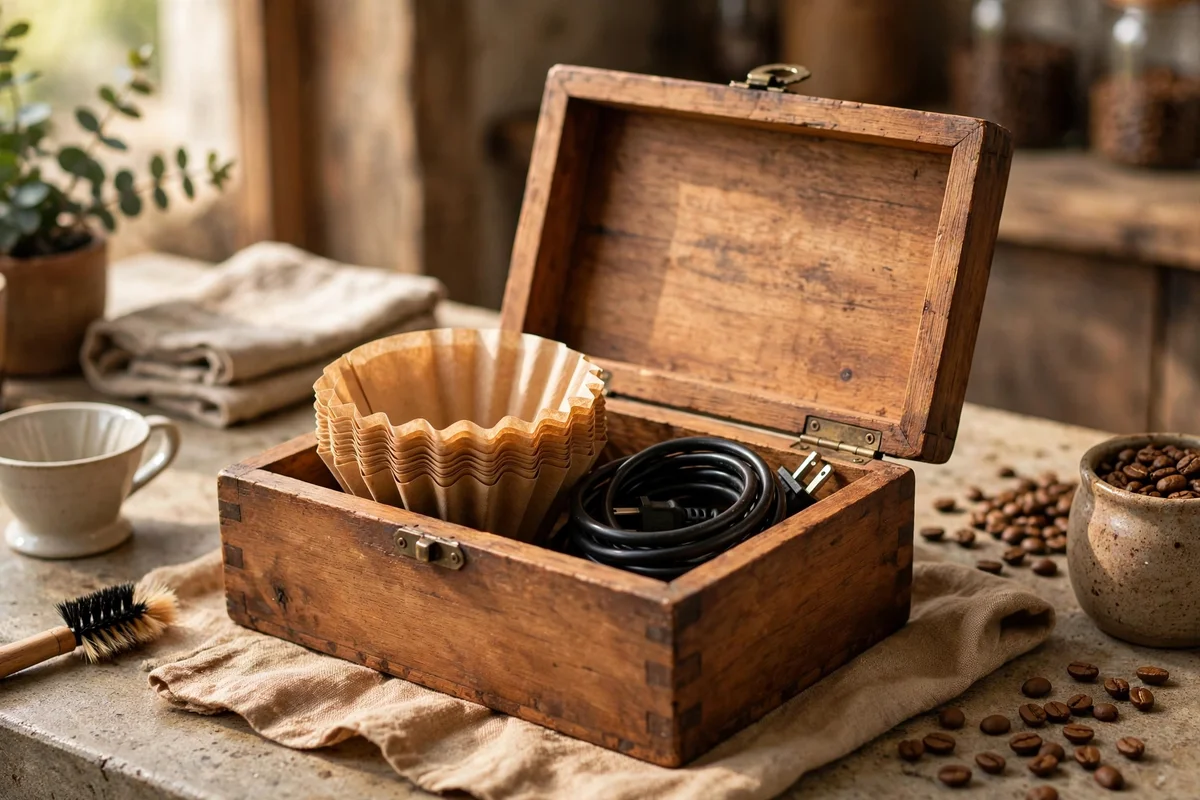
Tuck the machine’s spare cord length, paper filters and cleaning tablets into a lidded wooden box about 25 by 18 cm. Coiling the extra cord inside the box keeps the counter line clean and stops the cable dragging through drips. Wood suits the station palette, and a lid keeps dust off filters. Store descaling tablets in their sealed packet inside, away from curious little hands.
The mistake to avoid is trapping the plugged-in cord too tightly, which strains the connection; leave a gentle loop and route the working length out the back. Drill-free cable clips along the counter’s rear edge guide the working cord neatly. A simple acacia or bamboo box costs 12 to 20, and it swallows the visual clutter that makes stations feel chaotic.
16. Build a Guest Tray With Kettle, Glass Teapot and Juice Carafes

For family gatherings, assemble a 50 cm wooden tray holding an electric kettle, a 1-litre glass teapot and two 750 ml juice carafes. The tray turns tea and refreshments into one portable station that moves from kitchen to sitting room. Glass teapots show the colour of the brew, which guests love, and two carafes let you offer orange and apple side by side. Keep the kettle near an outlet and everything else follows.
Fill the teapot with hot water five minutes before guests arrive so the glass is warm and the tea steeps at the right pace. The mistake to avoid is overfilling carafes past their necks, which makes pouring splash; fill to 80 percent. A sturdy tray, a glass teapot and two carafes usually total 40 to 70, and the set serves a dozen guests without a second trip.
17. Arrange a Dates and Nuts Platter for Morning Guests
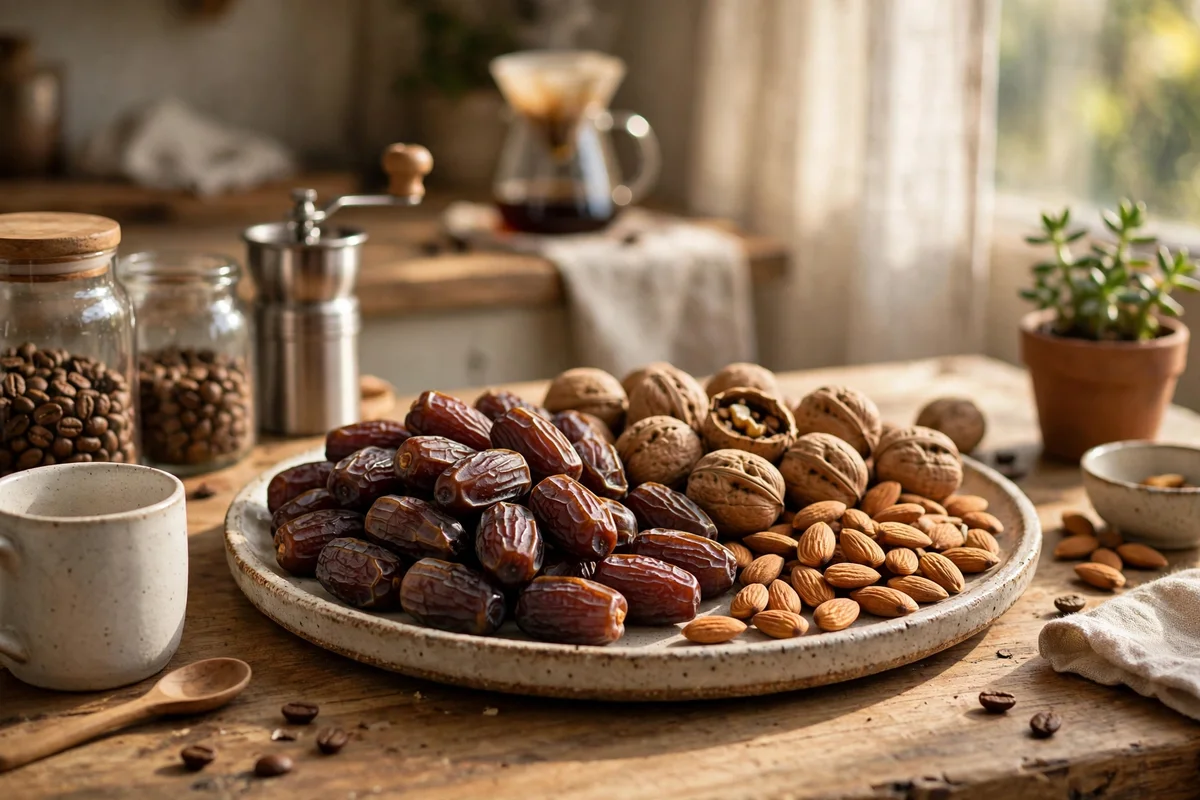
Set a 30 cm ceramic platter of dates, walnuts and almonds at the station when family visits. Dates pair naturally with coffee and tea, and a mixed handful per guest, about 40 g, is plenty. Choose a platter with a small rim so round dates stay put, and add a few dried apricots for colour. The platter signals welcome before a word is said and keeps early guests happily nibbling.
Cover the platter with a clean cotton cloth between servings to keep everything fresh and dust free. The mistake to avoid is putting the platter right beside the steam wand, where moisture softens the dates; keep it at the far end of the tray. A handmade ceramic platter costs 20 to 35, and the dates-and-nuts tradition costs little per gathering.
18. Set Out Six Matching Glasses for Family Gatherings

Keep six matching 250 ml glasses stacked or lined on the guest tray for juice and water. Matching glasses make a gathering feel considered, even when the rest is simple. Choose thick-based tumblers that survive many dishwasher cycles, since thin glass chips fast with frequent family use. Six is the right number for most visits: enough for a crowd, few enough to wash by hand.
The mistake to avoid is mixing glass sizes, which makes pouring juice feel uneven and looks restless on the tray. Buy one set and retire the strays to another cupboard. A set of six sturdy tumblers costs 15 to 25. Store them upside down on a clean cloth on the tray the night before a gathering so setup takes seconds.
19. Keep a Small Tidy Kit in the Station Drawer
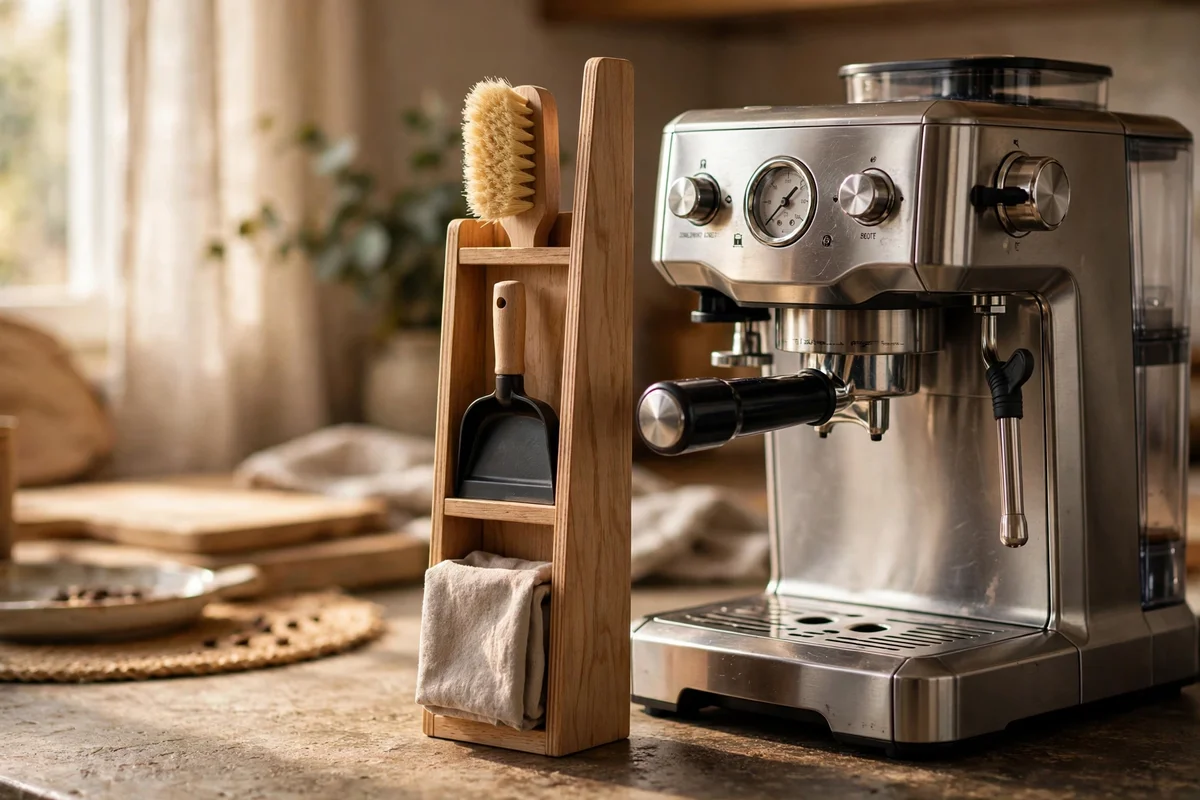
Dedicate one drawer or a slim caddy to a tidy kit: a small brush and dustpan for grounds, a folded cotton cloth, and a spare pack of filters. Grounds scatter no matter how careful the routine, and a 30-second sweep keeps the station guest-ready all day. A narrow caddy, about 30 by 12 cm, slides beside the machine without claiming counter space.
The mistake to avoid is storing cleaning sprays in the same kit, where scents transfer to cloths and then to cups. Keep sprays under the sink and this kit strictly dry. A brush, dustpan and caddy total under 15. Empty the little dustpan into the bin after each use so the kit itself never becomes the mess.
20. Zone Everything With Plain Wooden Dividers
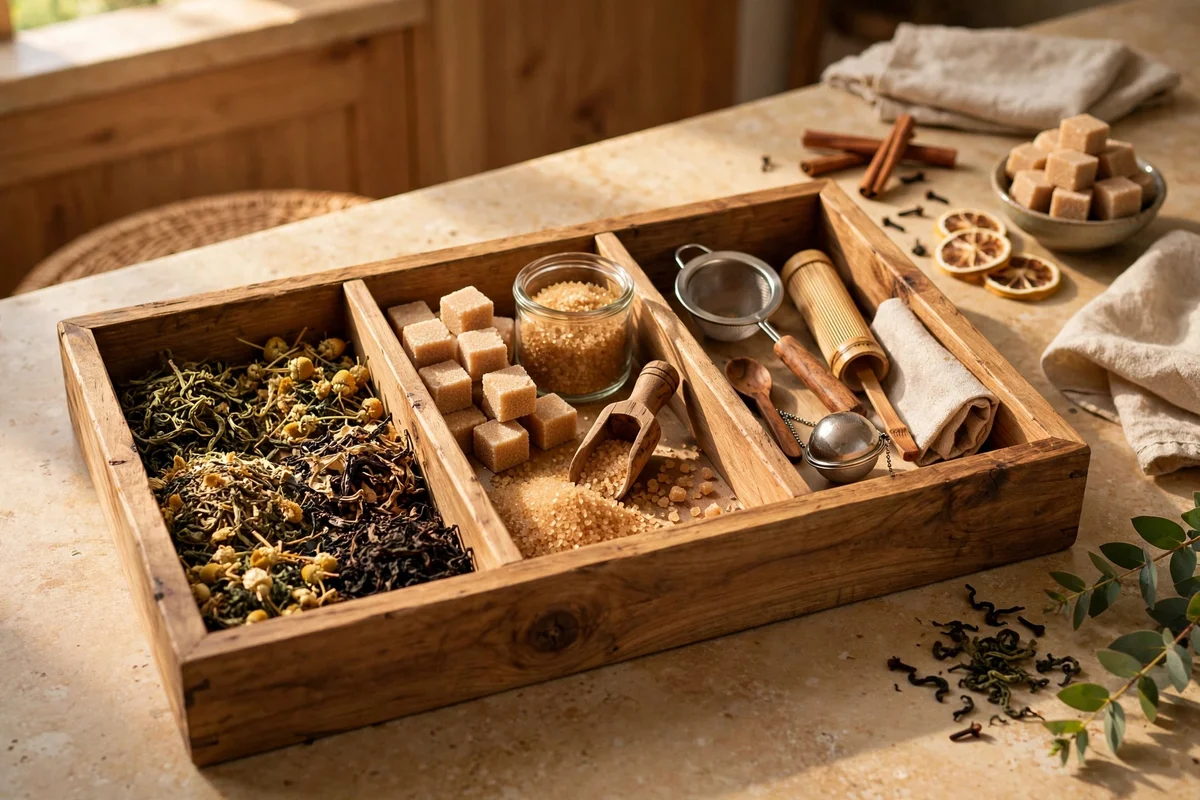
Use plain wooden dividers or small open boxes to zone the station: brewing tools in one, teas in another, sugars and spoons in a third. Zones stop the slow drift where every object migrates to the front edge. Boxes of 12 to 15 cm square fit most counters and carts, and unfinished acacia can be wiped clean. Three zones are enough; more becomes fussy.
The mistake to avoid is zoning so tightly that the daily workflow fights the boxes; the portafilter’s home must be within one step of the machine. Live with the layout for a week, then adjust the dividers once. A set of three wooden boxes costs 15 to 25. Unlabeled boxes keep the look calm and work as well as any label system.
21. Refresh the Station Weekly With a Ten-Minute Reset
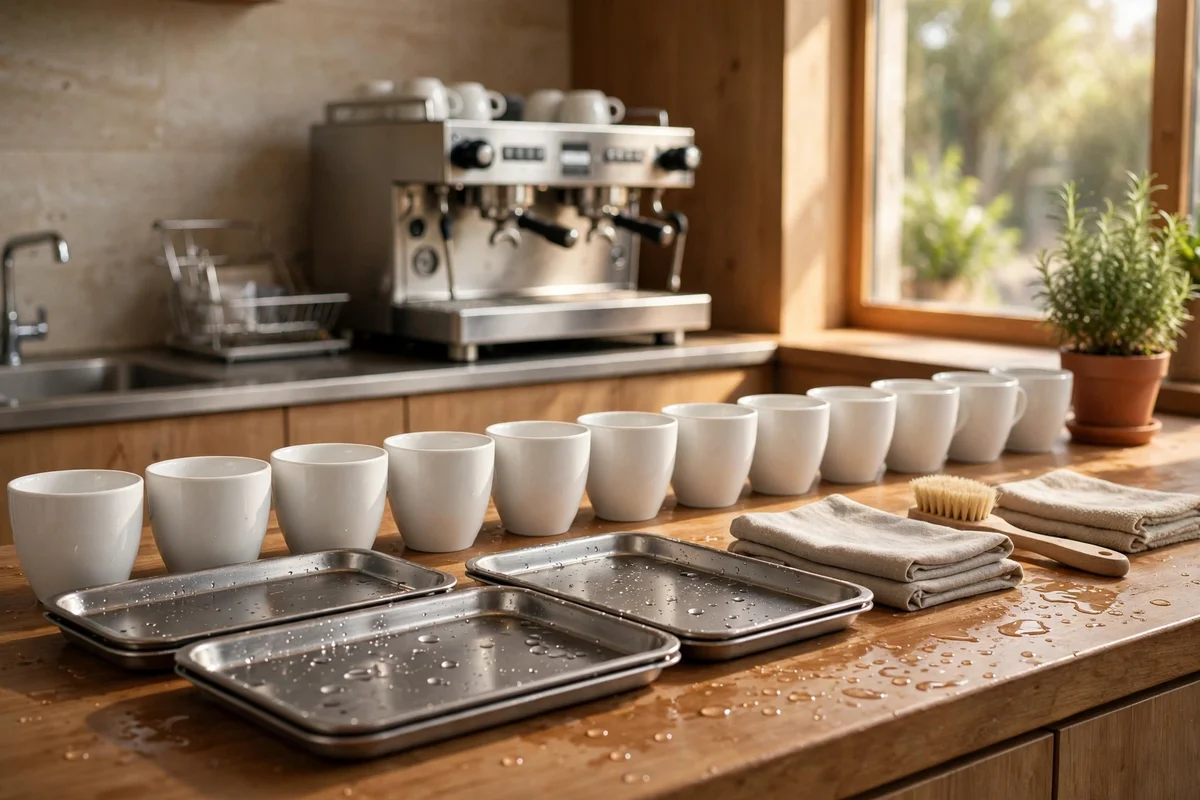
Give the station a ten-minute reset every week: wipe the tray and slab, wash the cups and jugs properly, shake out the runner, and check bean and tea levels. A weekly rhythm stops the slow build-up of sticky rings and stale grounds that a daily rinse misses. Set the same morning each week, perhaps Saturday before the house wakes, so it becomes a quiet ritual rather than a chore.
The mistake to avoid is using strongly scented cleaners on cups and jugs, since ceramic and wood hold the scent and flavour the next brew. Hot water, a drop of plain dish soap and thorough rinsing are enough. The reset costs nothing but ten minutes, and a station that gets this care keeps its calm styling instead of drifting into clutter.
22. Pair the Palette With Wood, Ceramic and Brass Only
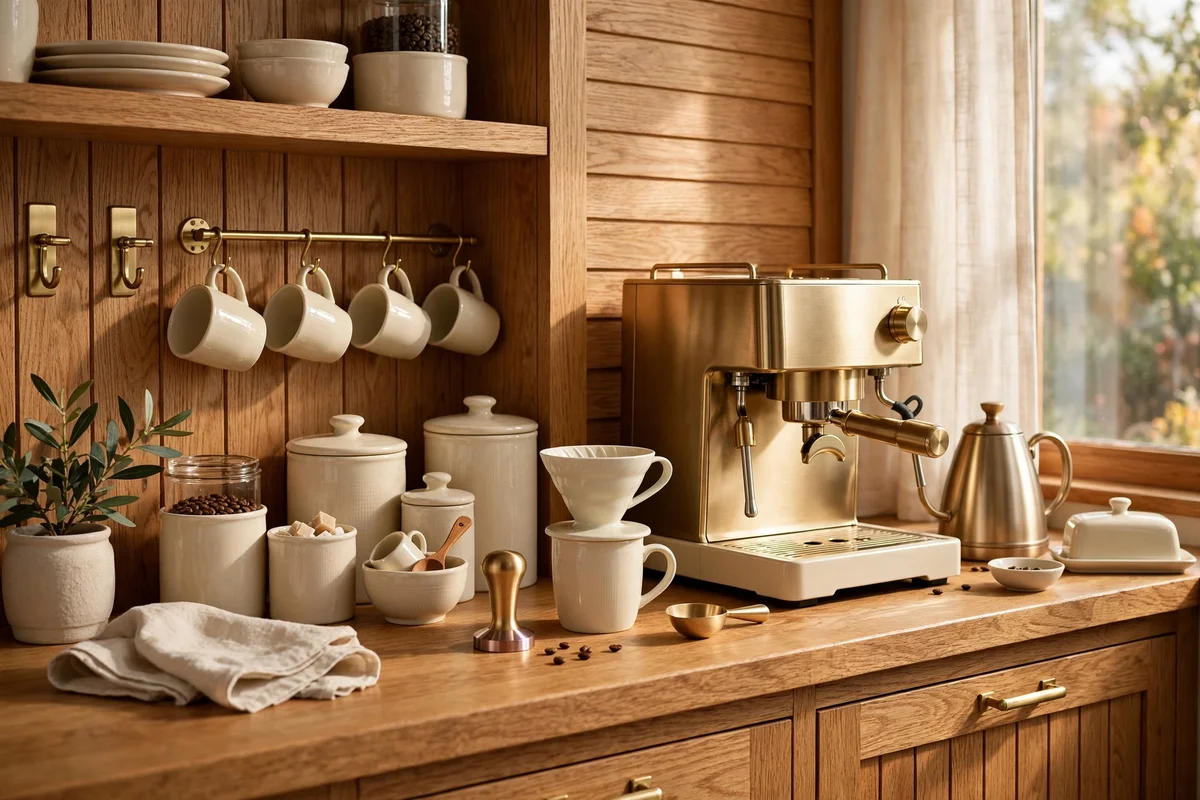
Limit the station palette to wood, ceramic and brass, and the whole setup settles visually. Oak or walnut trays, cream or soft white ceramics, and brushed brass hooks and rests share warm undertones that flatter coffee’s browns and tea’s ambers. When every new piece passes the test of these three materials, impulse buys in plastic or chrome stop creeping in.
The mistake to avoid is mixing five metal finishes, which makes even tidy stations look busy; one warm metal is enough. If the machine is stainless steel, let it be the single cool note and keep everything else warm. This palette costs nothing to adopt, since it is a rule for future purchases, and it gives the station the timeless, heritage feel that suits slow mornings.
23. Use a Tall Cabinet Nook for a Hidden Coffee Station
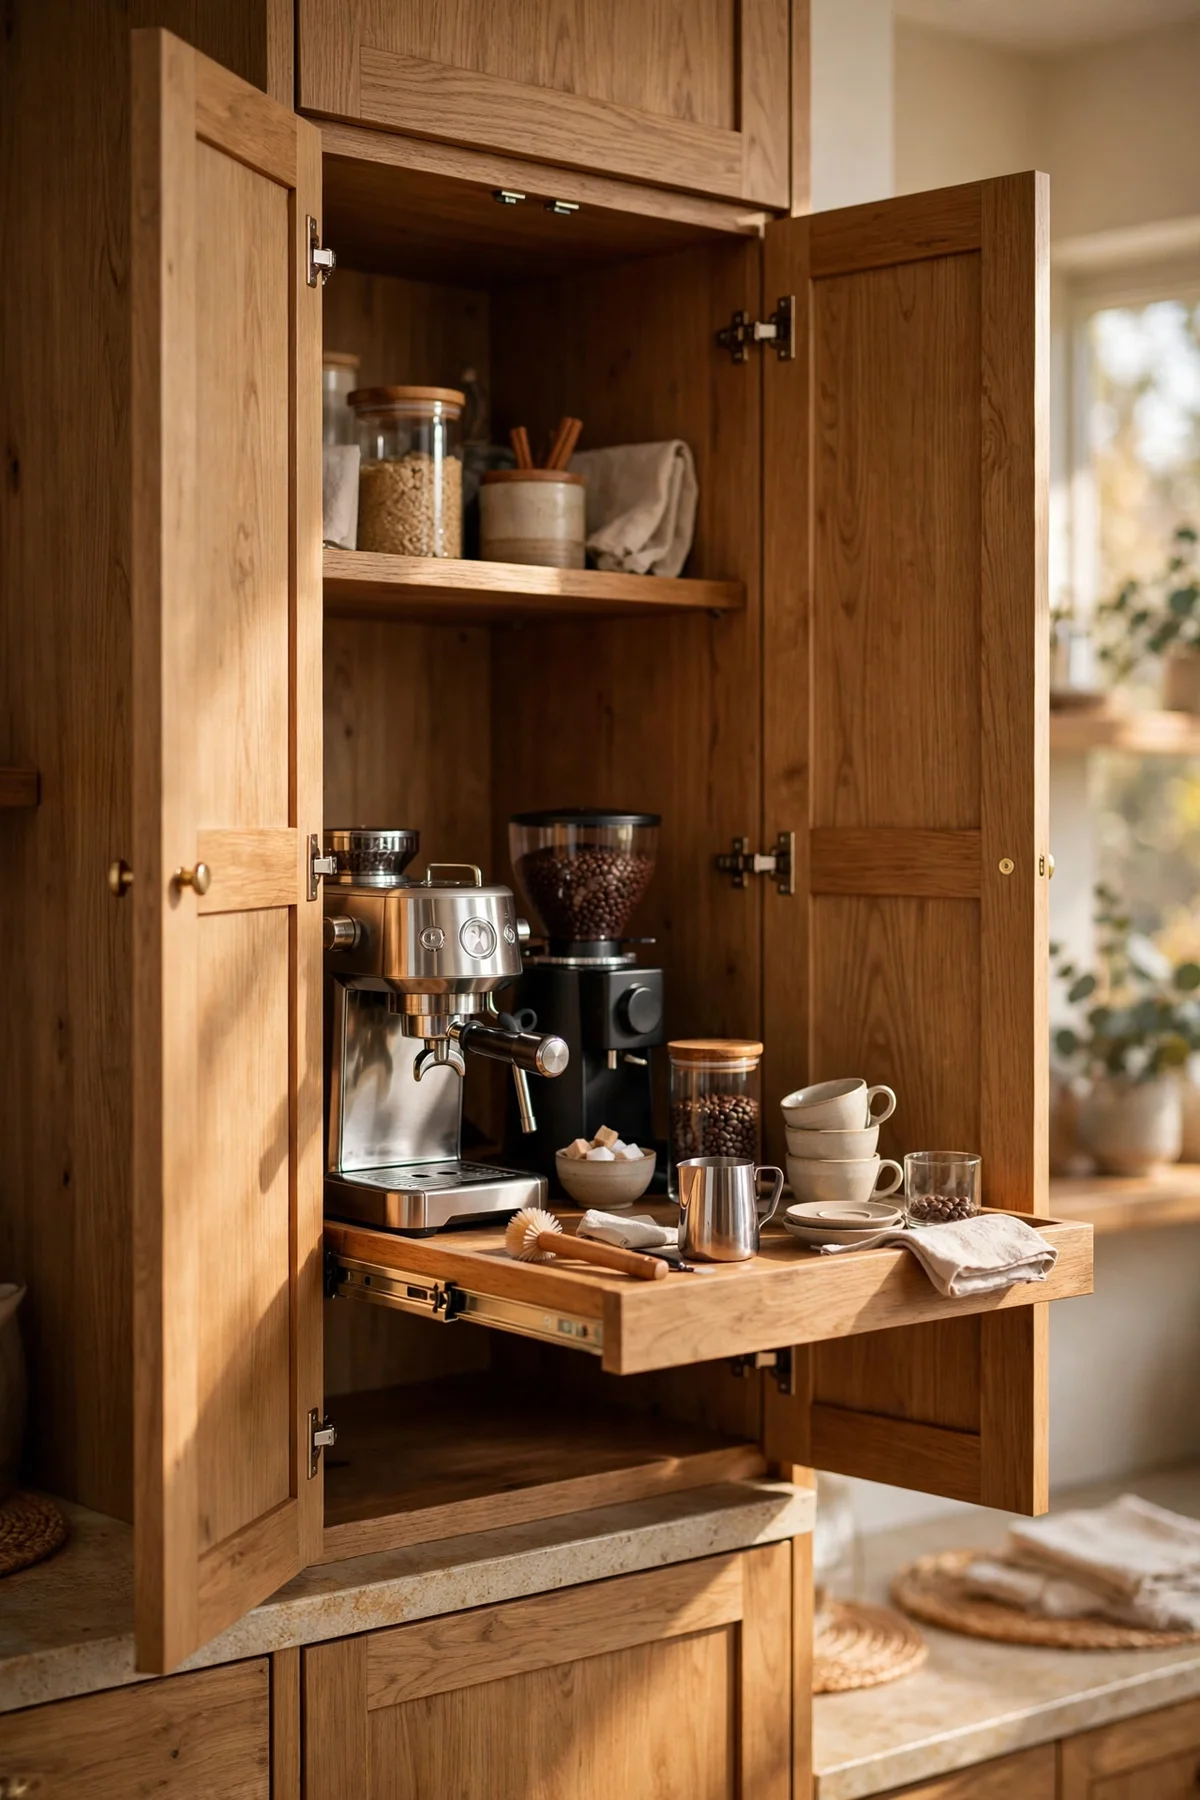
Convert one tall cabinet shelf, about 60 cm wide and 40 cm deep, into a hidden station with doors that close the whole setup away. The machine sits on a pull-out tray so it slides forward for steam clearance while brewing. Keep cups on the shelf above and beans and tea in plain jars below. Closed doors keep dust and cooking grease off everything in busy kitchens.
The mistake to avoid is brewing with the doors closed, which traps steam and heat against the wood; always slide the tray out and open the doors wide. Check the cabinet has a nearby outlet or plan a discreet cable route before committing. A pull-out tray kit costs 30 to 60, and the hidden station suits open-plan rooms where the kitchen stays visible.
24. Light the Station With One Warm Plug-In Sconce
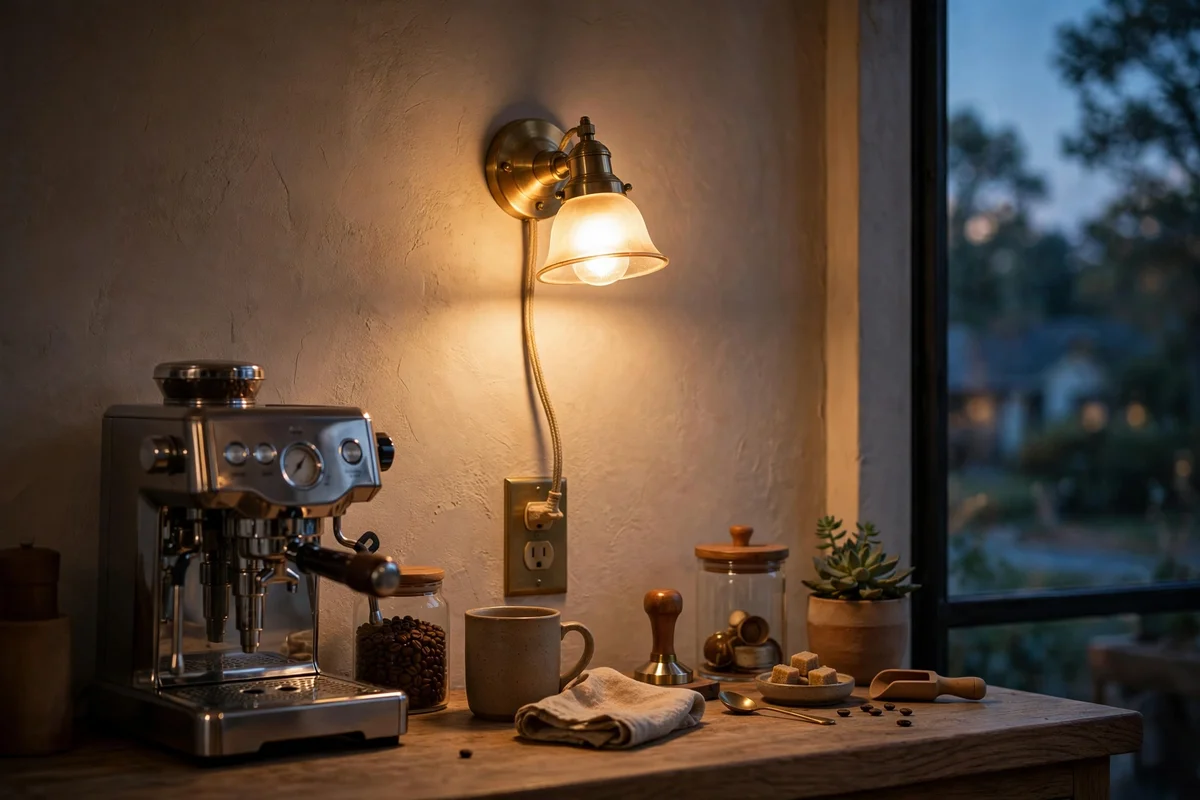
Add one plug-in wall sconce with a 2700K bulb above or beside the station for warm evening light. A small brass or ceramic shade, about 15 cm across, throws a soft pool over the cups without glare. Plug-in sconces need no wiring, just an outlet and two screws, so renters can join in. The warm glow makes late tea feel intentional rather than leftover.
The mistake to avoid is a cool white bulb, which turns the warm palette clinical and flattens the wood tones; 2700K is the sweet spot. Use a low-wattage LED, 4 to 6 watts, so the shade stays cool. A plug-in sconce costs 25 to 45. Switch it on at dusk and the station becomes the calmest corner of the evening kitchen.
A coffee station earns its keep in the quiet minutes: water heating while the house is still, a cup warmed before it is filled, everything within one easy reach. These 24 ideas share one belief, that the morning goes better when the tools are calm, the materials are honest, and the routine asks nothing of you but presence. Wood, ceramic and brass do the styling; clearances and small routines do the real work.
Start this week with the easiest win: clear one 60 cm run of counter and set the everyday cups on a tray. That single change makes every other idea simpler to add later. Then, when family gathers, build the guest tray with the kettle, glass teapot and dates, and watch the station turn from a personal ritual into shared warmth.
Frequently Asked Questions
How much counter space does a coffee station really need?
About 60 to 75 cm of counter beside an outlet covers a machine, kettle and tray of cups for most households. Measure your machine’s width, add 10 cm each side for access, and add the kettle’s footprint. If you are short on space, a three-tier rolling cart of 45 cm wide works just as well.
Where should I put my coffee machine for the best results?
Near a power outlet with 15 cm of space from the counter edge, 30 to 40 cm of clear air above for steam, and at least 8 cm behind for ventilation. Keep it close to the water source or a refill carafe, and never under low cupboards that steam will warp.
How do I style a coffee station without it looking cluttered?
Limit the palette to wood, ceramic and brass, group cups on one tray, and zone small items into three wooden boxes. Keep only daily tools on show and store spares in a drawer. One shelf above, styled with restraint, finishes the look without crowding.
What is the easiest guest-friendly coffee and tea setup?
A 50 cm wooden tray with an electric kettle, a 1-litre glass teapot, two juice carafes, six matching glasses and a platter of dates and nuts. Assemble it before guests arrive, warm the teapot with hot water first, and the whole station moves to the sitting room in one trip.
How often should I clean my coffee station?
Rinse the portafilter, wipe the steam wand and empty the drip tray daily, which takes under two minutes. Do a ten-minute weekly reset of trays, cups and the runner, and descale the machine monthly, or every three months if you use filtered water. Plain soap and hot water beat scented cleaners.