Kitchen
24 Ways to Update Kitchen Cabinets Without Replacing Them
By Anna Wells · · 19 min read
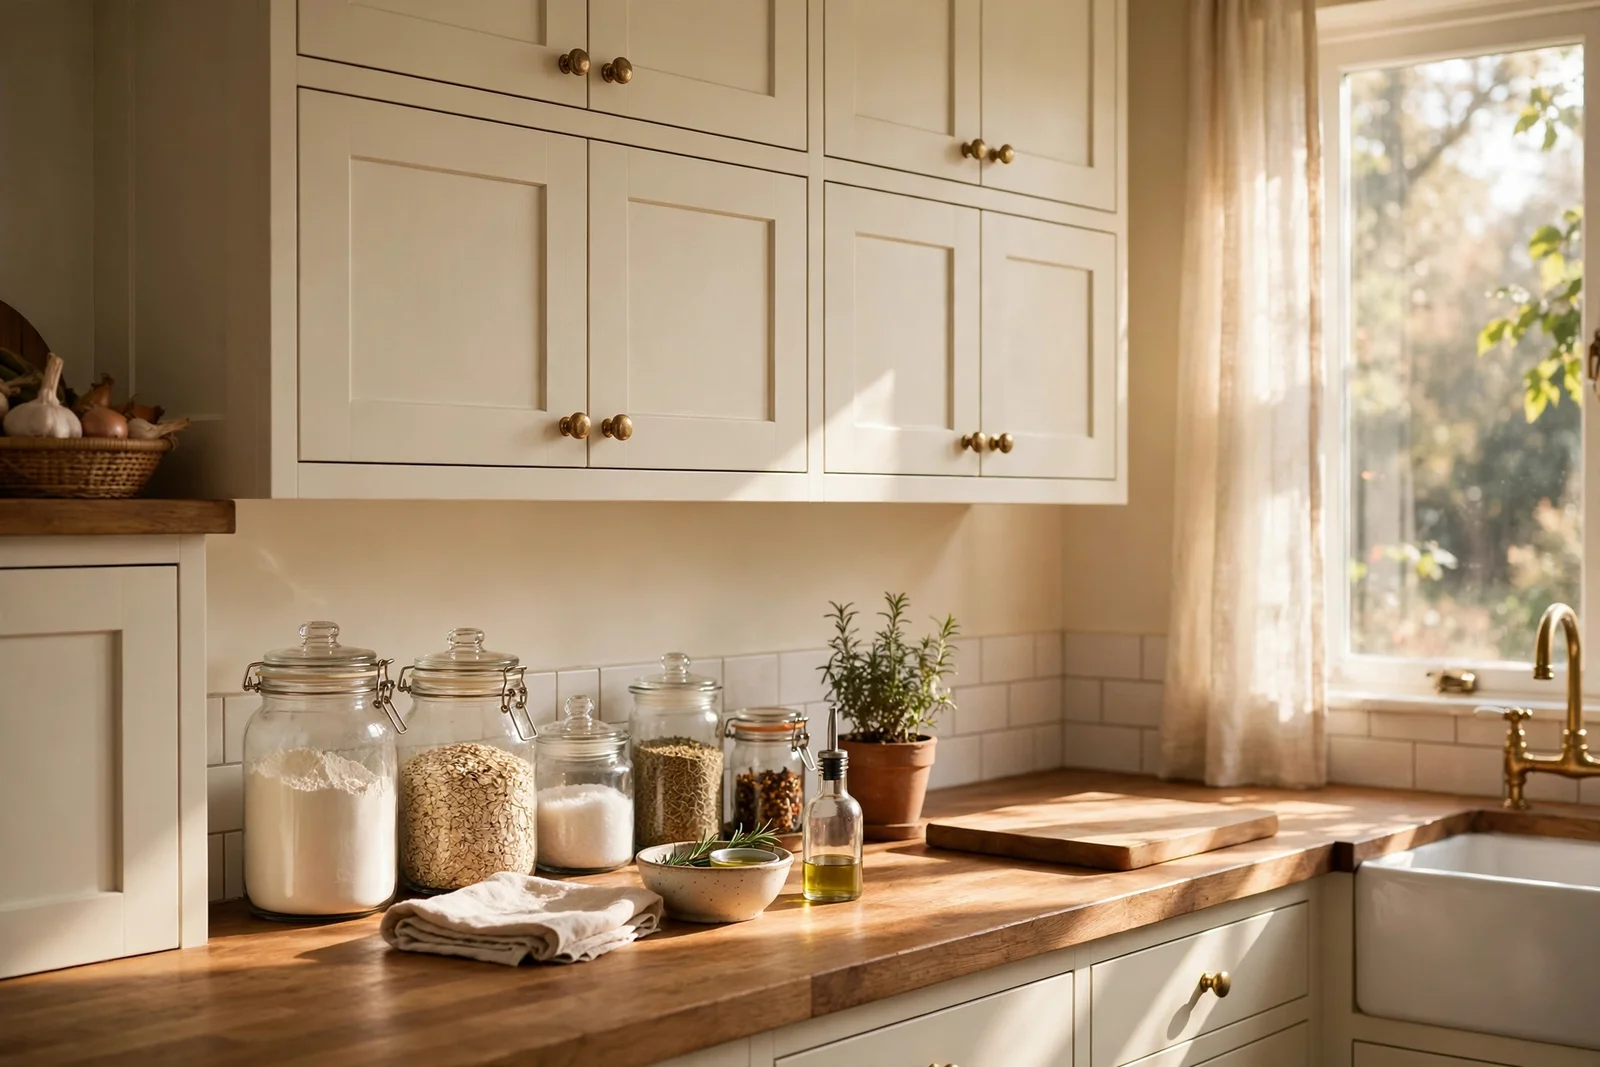
A patient guide to refreshing kitchen cabinets on any budget: cleaning, paint, stain, hardware, moulding, glass and lighting, with honest prep steps.
Morning light lands on the kettle, and the cabinets catch it the way they always have, a little dull, a little tired, still holding the room together. Most kitchens do not need new cabinets to feel new again. They need a patient hand, the right primer and a Saturday with no interruptions.
Cabinets are the largest surface in any kitchen, which is why refreshing them changes the whole mood of the room. This guide gathers 24 concrete ideas, from a deep degrease that alone can revive doors to glass fronts, soft close hardware and warm under cabinet lighting, all without replacing a single cabinet box.
Each idea below includes materials, measurements and budget notes, plus the mistakes that waste a weekend. Read the three budget tiers near the end if you are deciding how far to go, and start with the degrease: it costs almost nothing and shows you what your cabinets truly look like underneath.
1. Degrease Cabinet Doors With a TSP Substitute First
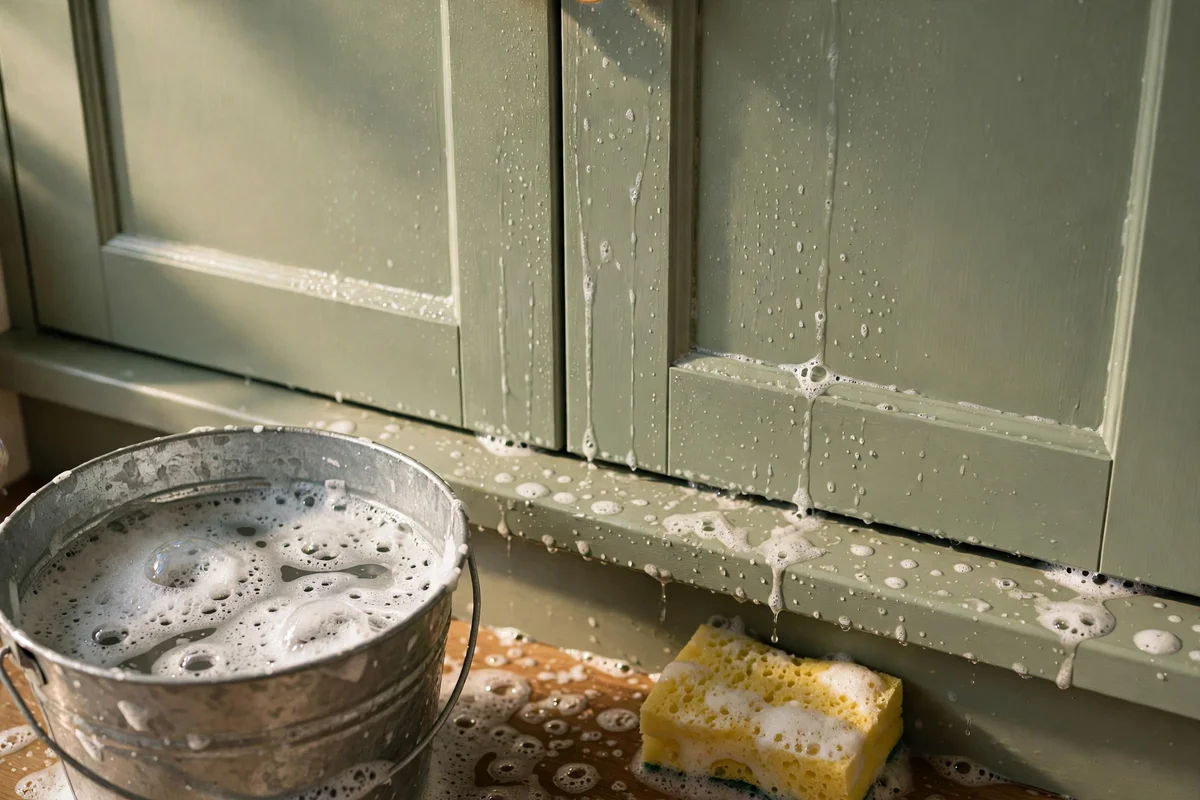
Grease is the invisible layer that defeats most cabinet paint jobs, and a deep degrease alone can revive tired doors enough to make paint optional. Mix a TSP substitute in warm water, about one tablespoon per litre, and wash every door, drawer front and frame with a non scratch sponge. Work from the top down so drips land on areas you have not cleaned yet, and change the water when it looks cloudy.
Rinse each surface with a clean damp cloth, then let everything dry for at least two hours before sanding or painting. Give extra passes to the handle zone and the rails near the hob, where cooking film builds up thickest. The mistake to avoid is painting over grease, because new paint lifts within weeks when it sits on residue. Budget tip: TSP substitute and sponges cost under ten dollars.
2. Label Every Door and Drawer Before Removing Hardware
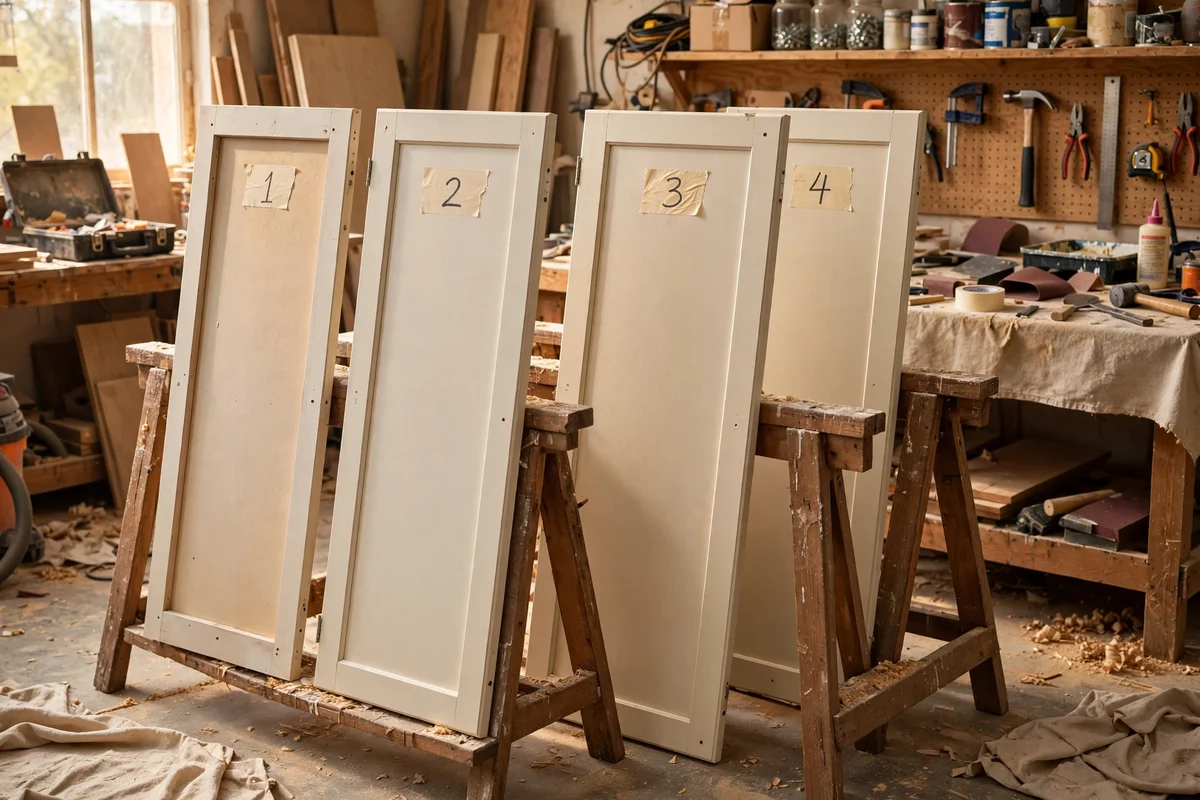
Removing doors is the difference between a tidy paint job and a messy one, and labelling keeps the jigsaw puzzle solvable. Number the back of each door with painter’s tape in an order that makes sense, for example left to right, and store the hinges, screws and handles in matching numbered bags. Photograph the inside of each cabinet before you start, so hinge plates go back in the same positions.
Lay doors flat on sawhorses or a folding table for painting, which stops drips and gives a smoother finish than vertical painting. Keep drawer fronts face up with the boxes below them. The mistake to avoid is skipping labels: hinges and screws differ subtly, and one mixed pair means a door that will not close. Budget tip: tape and bags cost a few dollars and save hours.
3. Fill Dents and Sand Every Surface to a Smooth Key
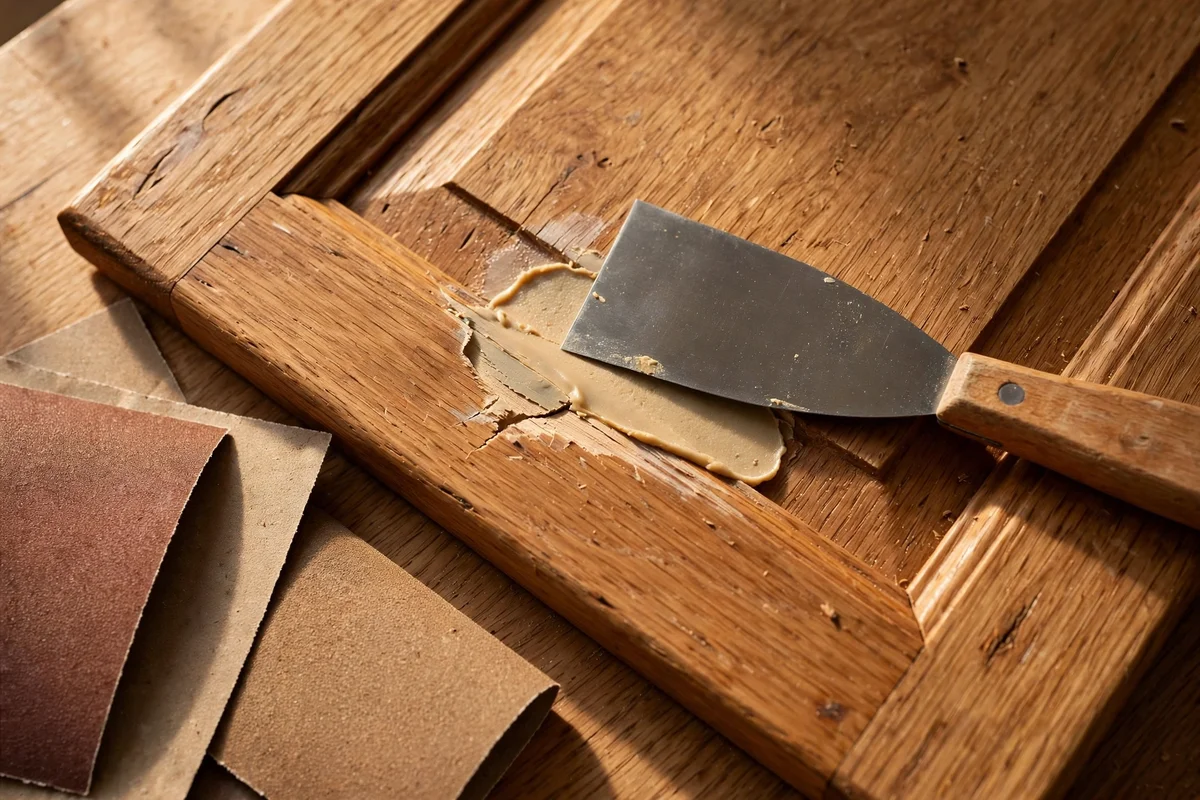
Paint shows every bump, so filling dents and sanding is where the professional look is made. Press wood filler into dings and old screw holes with a flexible putty knife, let it cure fully, then sand flat with 120 grit paper. Follow with a light 180 or 220 grit pass over the whole door to dull the gloss and give the primer something to grip. Sand with the grain on wood doors.
Wipe away all dust with a tack cloth or a damp microfibre cloth before priming, since dust under paint reads as grit forever. On thermofoil edges that are peeling slightly, sand the loose skin back to sound material and fill the step. The mistake to avoid is sanding through veneer with a heavy hand: slow, even strokes win. Budget tip: filler, sandpaper and a tack cloth cost under fifteen dollars.
4. Caulk Seams and Panel Edges for a Factory Finish
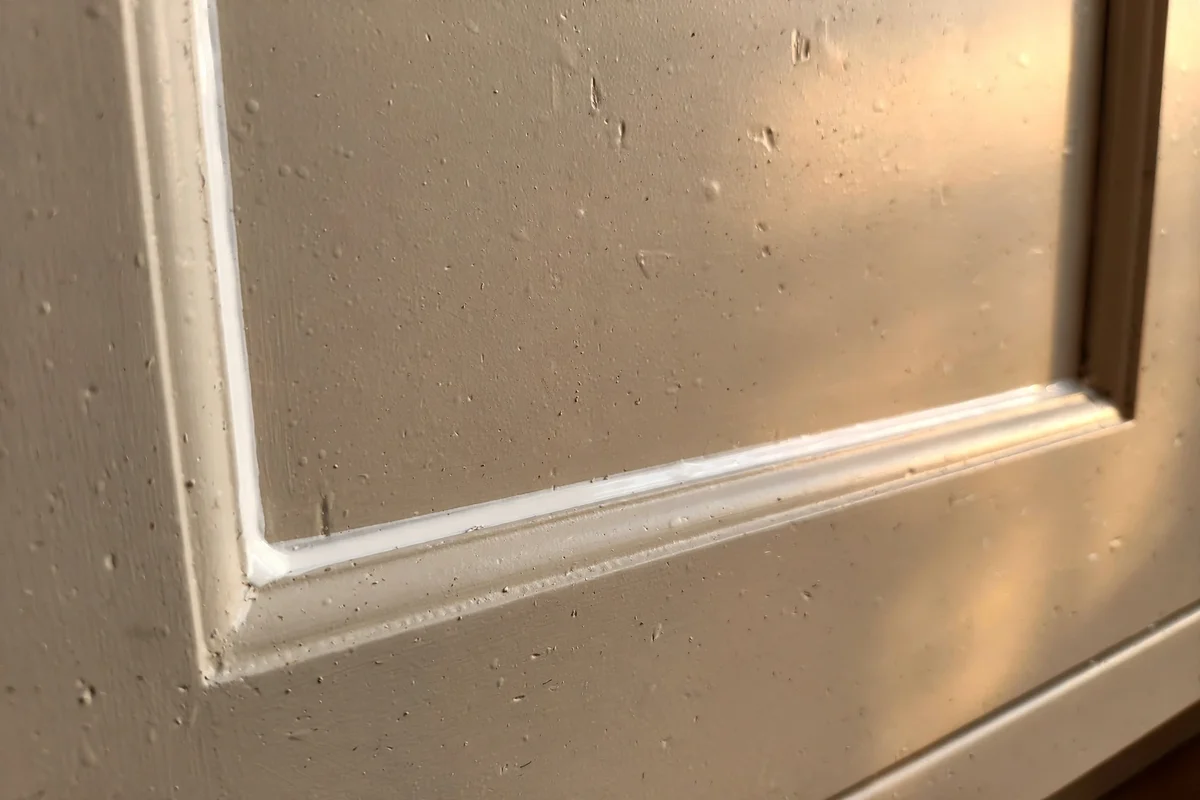
A thin line of caulk along the seams where door panels meet stiles is one of the quietest upgrades a kitchen can get. Run a small bead of paintable acrylic caulk where the recessed panel meets the frame, then smooth it with a damp fingertip so only a soft shadow line remains. This stops dust settling into the groove and makes the door read as one solid piece.
Also caulk where cabinets meet the wall and where the crown or light rail will sit, since those gaps catch grease and look unfinished. Keep the bead narrow, about 2 mm, and wipe excess immediately. The mistake to avoid is using silicone caulk, which paint will not stick to. Budget tip: one tube of paintable caulk and a smoothing tool costs under eight dollars.
5. Prime Laminate and Thermofoil With a Bonding Primer
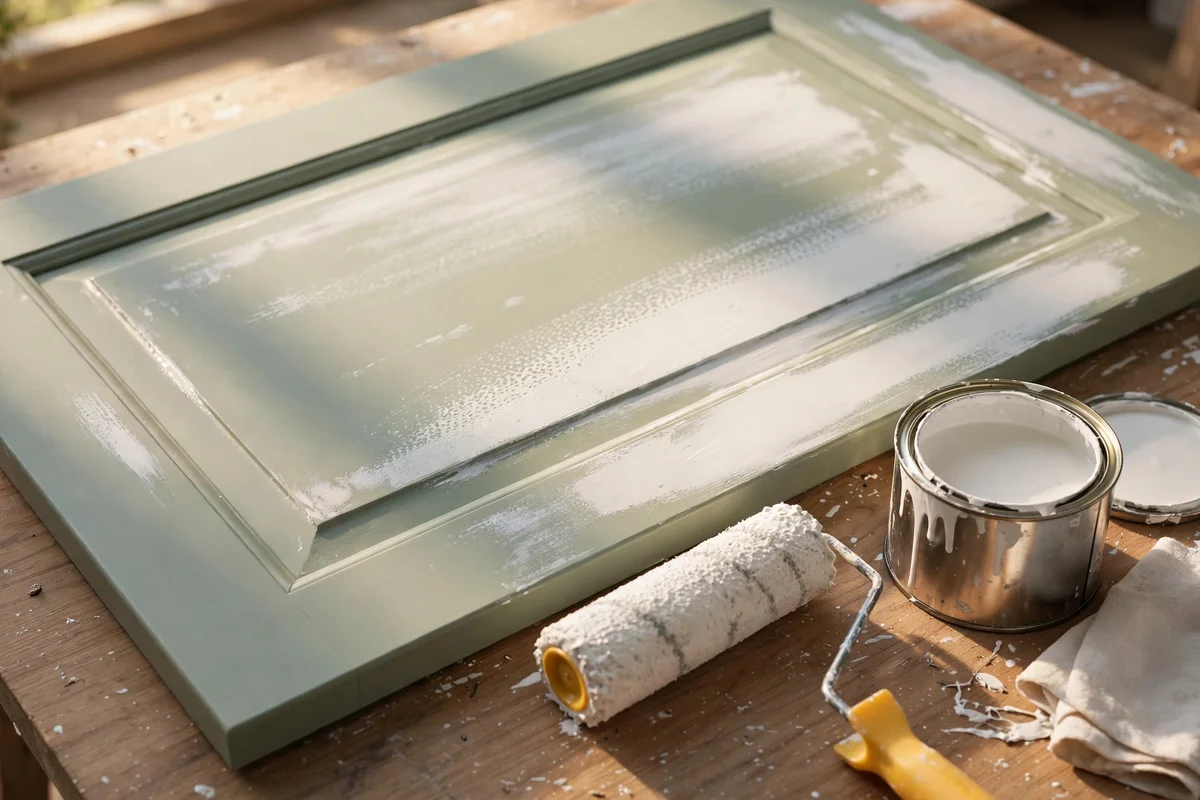
Laminate and thermofoil doors reject ordinary primer, so a dedicated bonding primer is the make or break step for these cabinets. After degreasing and a light 220 grit scuff, roll one thin coat of shellac based or adhesion bonding primer over every surface and let it cure a full 24 hours. The primer should feel smooth and hard, not tacky, before paint goes on.
Test adhesion on one door first: press painter’s tape firmly onto the cured primer and pull it away sharply. If primer comes with it, clean and scuff again before retesting. The mistake to avoid is skipping primer on laminate entirely, which guarantees peeling within months. Budget tip: one litre of bonding primer covers most kitchen cabinets for around twenty dollars.
6. Apply Cabinet Enamel in Thin Coats With the Right Roller
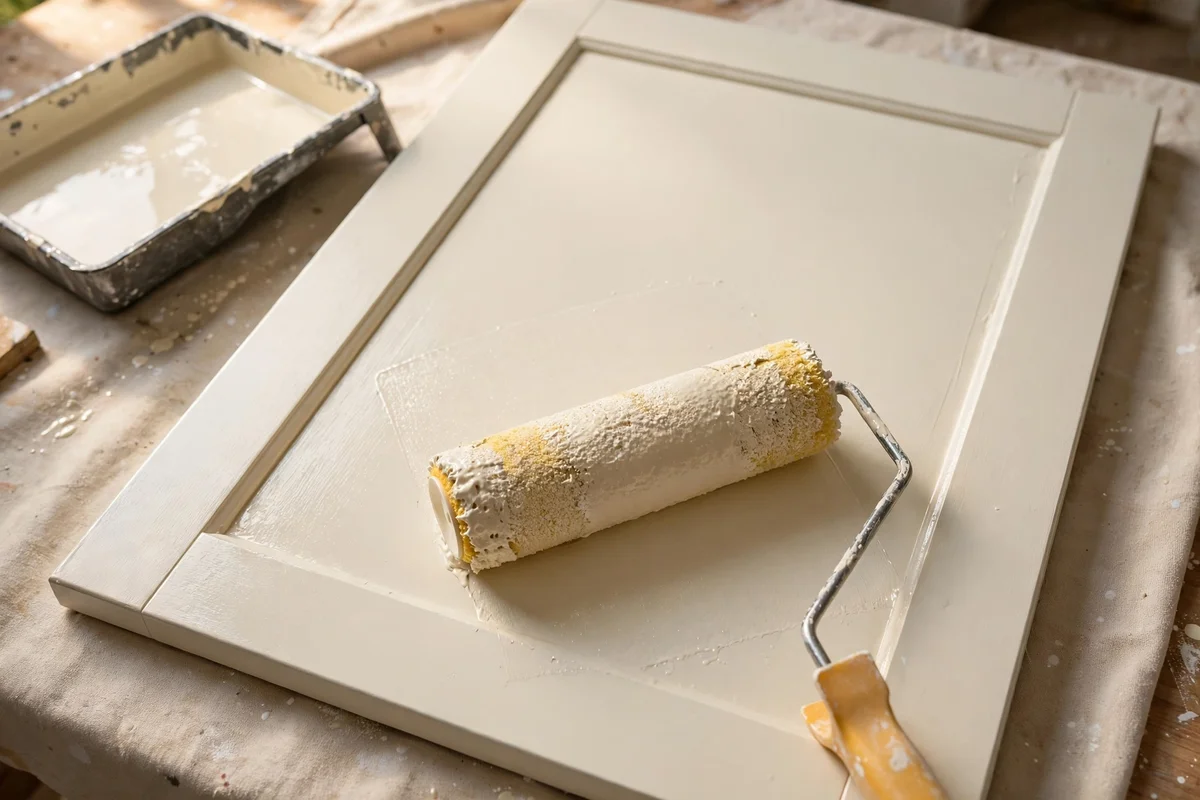
Cabinet enamel, an alkyd or urethane acrylic paint, hardens into the wipeable shell a kitchen needs, and thin coats are what keep it smooth. Roll doors with a 6 to 10 mm microfibre roller in long even strokes, then lay off lightly with a fine brush in the direction of the grain. Two to three thin coats beat one heavy coat every time.
Wait the full recoat time on the tin, usually four to six hours, and sand lightly with 320 grit between coats for a glassy finish. Keep the room dust free and ventilated while paint cures for two to three weeks of gentle use. The mistake to avoid is painting thick to finish faster, which sags and shows roller marks. Budget tip: enamel paint for an average kitchen costs fifty to ninety dollars.
7. Restain Oak Doors With Gel Stain for a Richer Tone
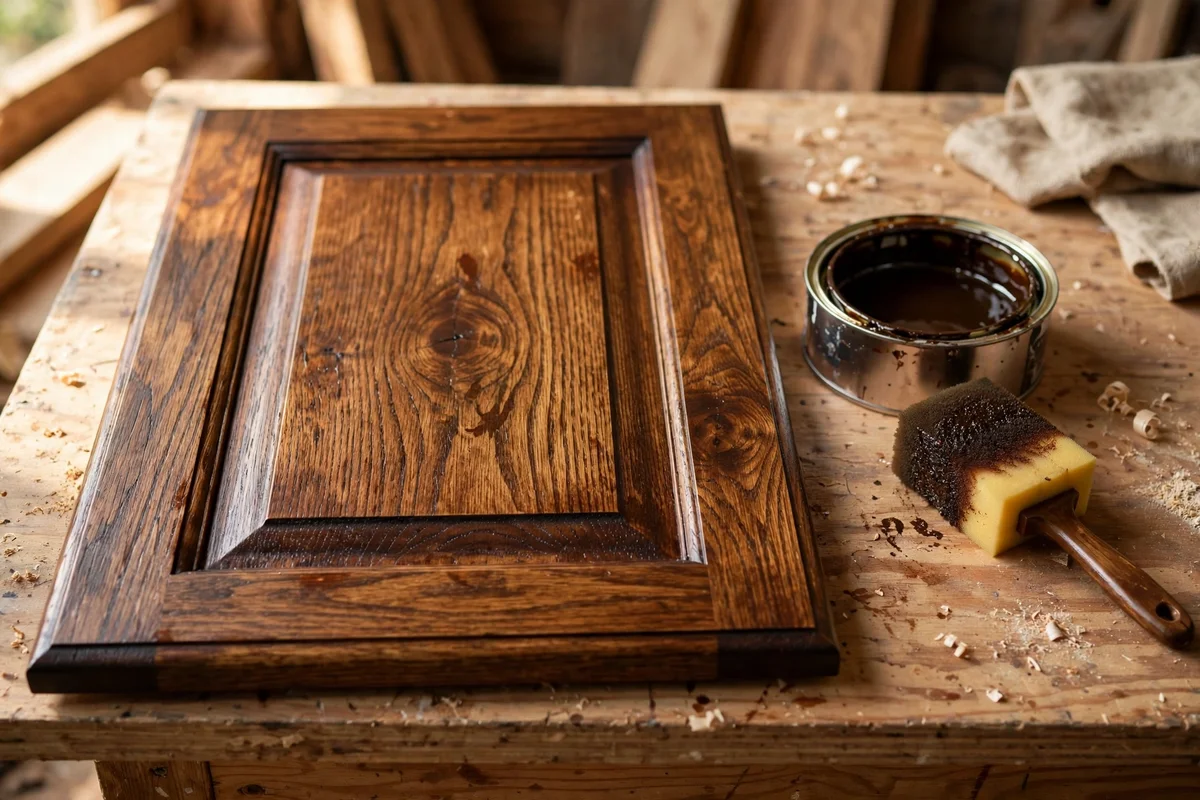
Gel stain turns dated golden oak into something rich without stripping back to bare wood. Clean and scuff the doors with 220 grit, then wipe gel stain on with a foam brush or lint free cloth, working it into the grain in sections about 60 cm wide. Wipe back lightly so the grain shows through the new tone instead of looking painted.
Build depth with two thin coats rather than one heavy one, waiting eight to twelve hours between coats. Seal with two coats of water based polyurethane for heat and steam resistance. The mistake to avoid is applying gel stain over grease or gloss, where it slides and looks streaky. Budget tip: a litre of gel stain and a quart of sealer usually totals under forty dollars.
8. Lime Wash Pine Doors for a Pale Heritage Look
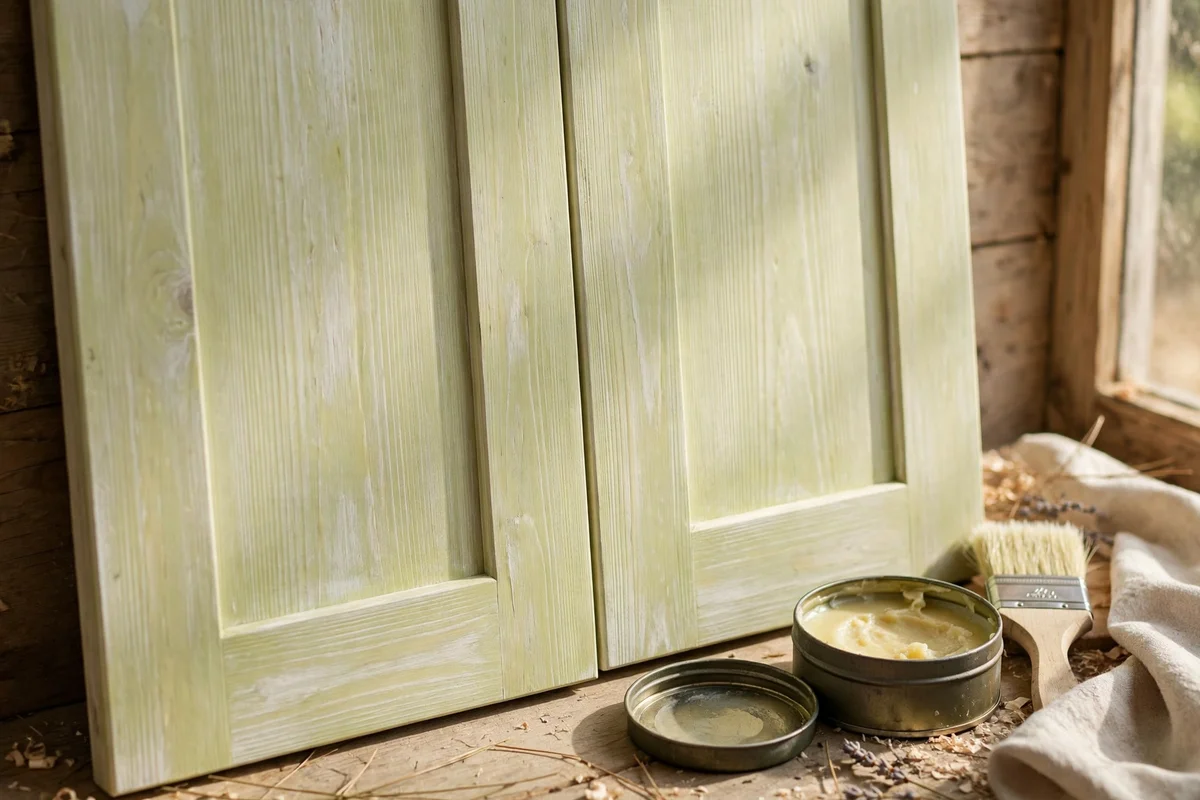
Lime washing gives plain pine a soft, pale, old world finish that suits calm and vintage kitchens. Mix liming wax or a thin white wash from one part water based white paint to two parts water, and brush it into the open grain of cleaned pine doors. Wipe the excess within a minute so the white settles into the grain lines rather than filming over the surface.
Let it dry four hours, then seal with a clear water based topcoat to protect against splashes and steam. Lime wash suits simple Shaker style doors best, where the grain can carry the effect. The mistake to avoid is using too thick a mix, which looks like bad white paint instead of a gentle patina. Budget tip: paint and wax for a whole kitchen costs under twenty five dollars.
9. Measure Hole Spacing Before Ordering New Knobs and Pulls
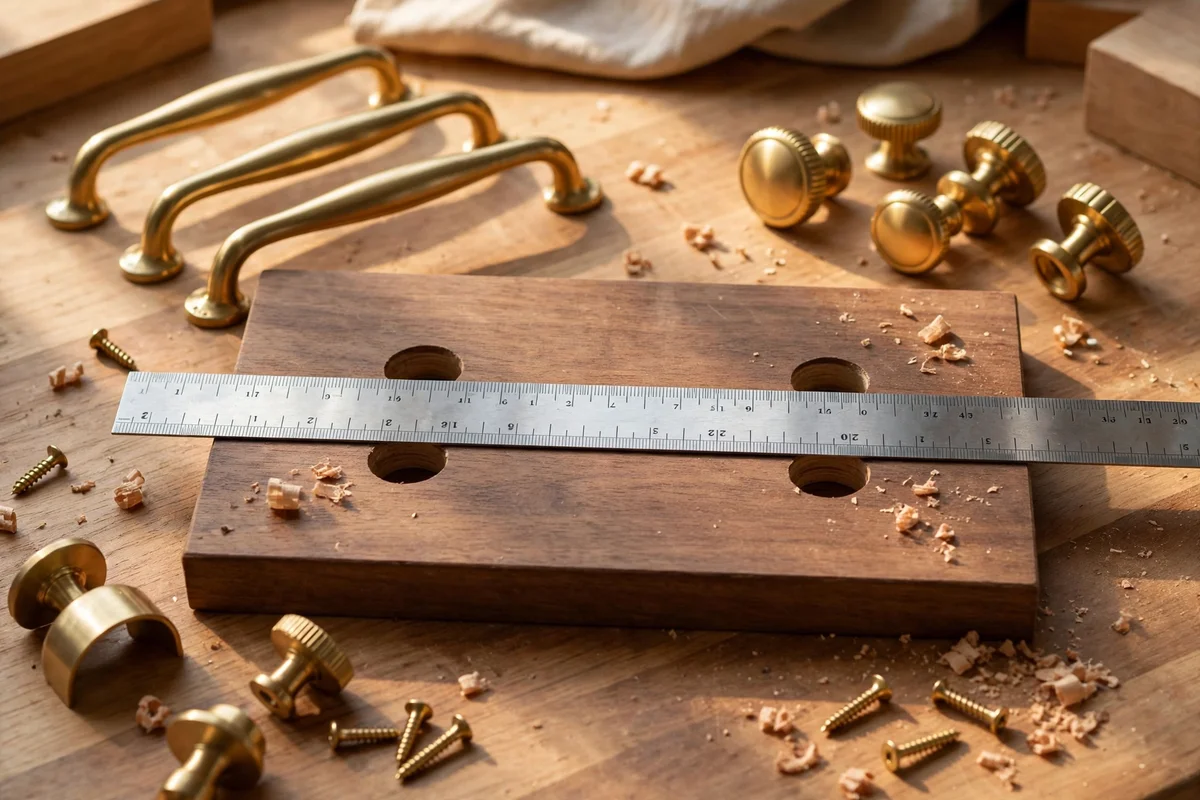
New hardware transforms cabinets in an afternoon, but only when the holes already in the doors are respected. Measure the centre to centre distance between existing holes with a ruler, in millimetres, since pulls are sold by this boring measurement: common sizes are 96 mm, 128 mm and 160 mm. Bring one old handle to the shop so you can match the thread and screw size too.
Choose a finish that suits the room, for example aged brass with cream paint or matte black with sage green. Mix knobs on doors with pulls on drawers for a classic rhythm. The mistake to avoid is buying before measuring, which leaves you drilling extra holes or returning boxes of handles. Budget tip: basic knobs start near one dollar each in multipacks.
10. Fit Soft Close Hinges to Stop Slamming Doors
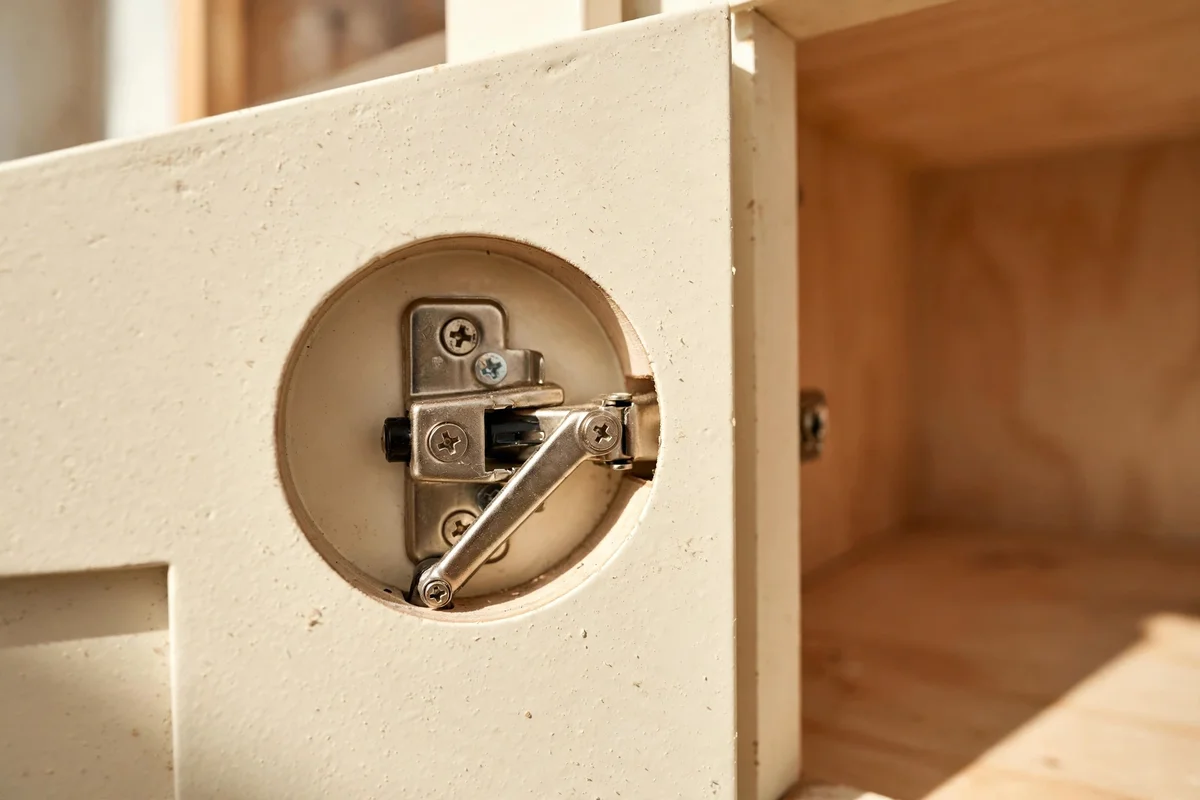
Soft close hinges end the nightly chorus of slamming doors and make even old cabinets feel new. Most modern doors use 35 mm cup hinges in a 110 degree opening, so check the cup size and the overlay of your door before ordering. Clip in the new hinges, adjust the three way screws until the gaps are even, and snap the damper on last.
Work door by door so the kitchen stays usable, and keep one original hinge as a reference for size. Many hinges clip into existing plates without new drilling. The mistake to avoid is forcing a hinge that does not seat fully, which throws the door out of alignment. Budget tip: soft close hinge pairs usually cost two to four dollars each.
11. Upgrade Drawers With Ball Bearing Soft Close Runners
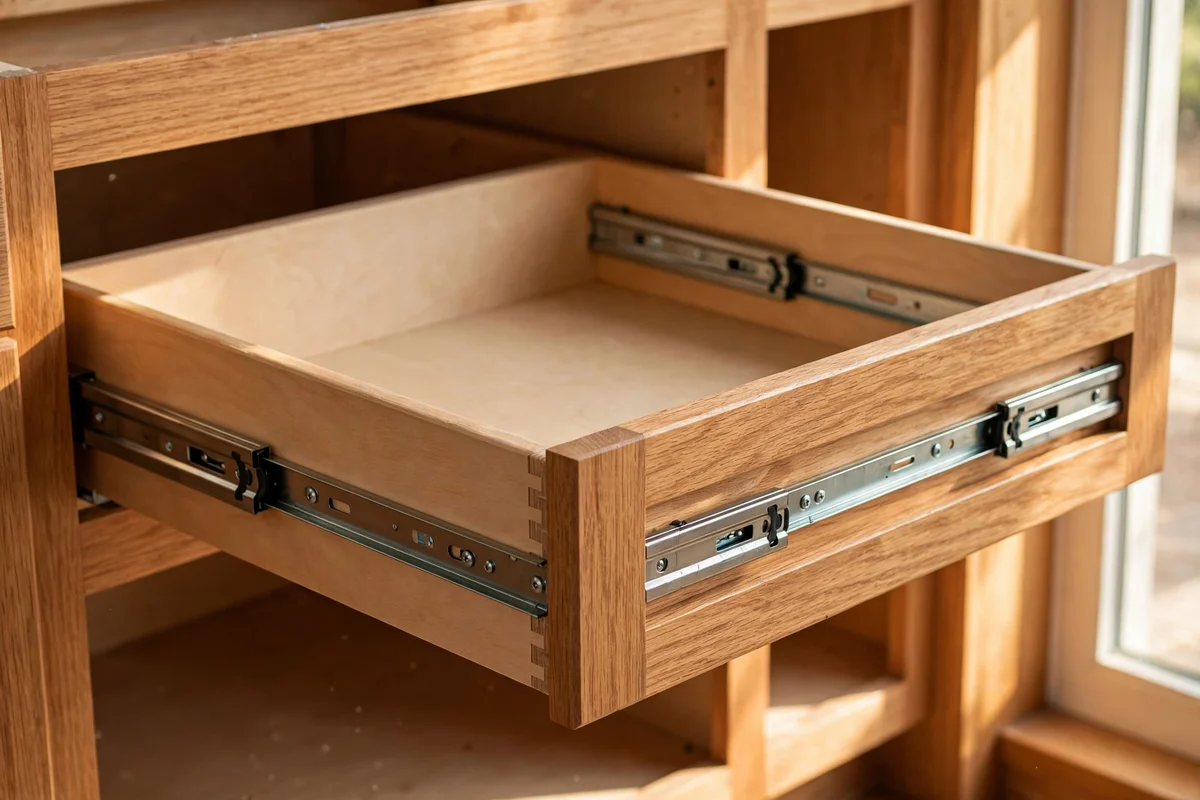
Stiff, wobbly drawers age a kitchen more than tired paint ever does, and new runners fix it in one afternoon. Measure the depth of the drawer box, in 50 mm increments, since runners are sold by length: a 450 mm box needs 450 mm runners. Remove the old side mounted slides, screw the new ball bearing runners level with the cabinet sides, and clip the boxes in.
Choose soft close runners rated for at least 20 kg if the drawer holds pans or dry goods. Test each drawer with a full load before moving on. The mistake to avoid is mounting runners out of level, which makes drawers drift open on their own. Budget tip: a pair of quality soft close runners costs eight to fifteen dollars.
12. Crown the Tops of Wall Cabinets With Simple Moulding
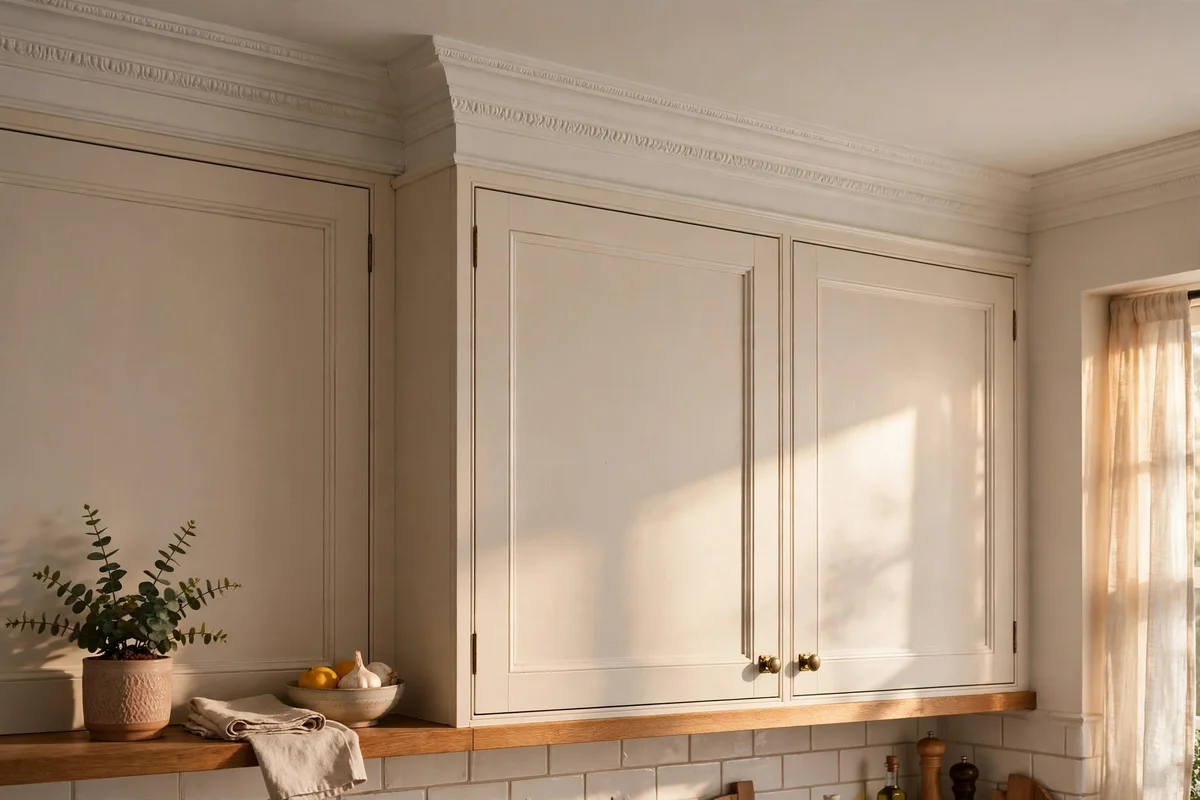
A length of crown moulding turns plain wall cabinets into fitted furniture. Measure each run of cabinets and buy paintable MDF or pine moulding about 60 to 90 mm deep, which suits standard 30 to 36 inch tall cabinets. Fix it with grab adhesive and small brad nails into the cabinet tops, keeping the long face flat against the cabinet front.
Mitred corners take patience, so cut test pieces from offcuts first and cope or mitre at 45 degrees. Fill nail holes, caulk the top edge where it meets the wall, and paint it to match the cabinets. The mistake to avoid is fixing moulding only to the wall, which leaves it floating when cabinets shift slightly. Budget tip: MDF crown runs about one dollar per foot.
13. Add a Light Rail to Hide Under Cabinet Lighting
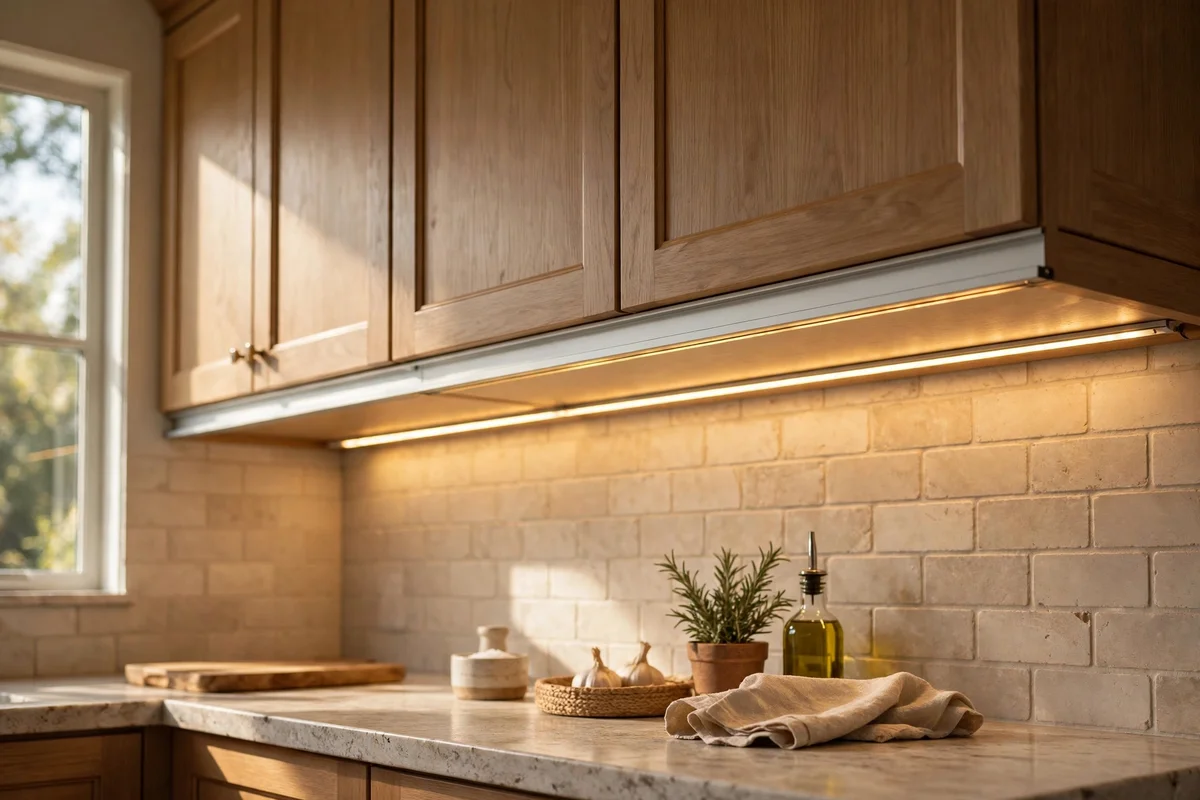
A light rail is a slim moulding fixed under wall cabinets that hides the glare of under cabinet lights and gives the cabinets a finished edge. Cut lengths of 40 to 60 mm deep trim to fit beneath each wall cabinet, gluing and pinning them so the face sits flush with the door fronts. This simple strip is what makes lighting look built in rather than stuck on.
Paint the rail the same colour as the cabinets so it reads as one unit. If you plan LED strips later, the rail gives you a clean pocket to mount them in. The mistake to avoid is leaving a gap between the rail and the door front, which catches light in a hard line. Budget tip: light rail trim costs about one dollar per foot.
14. Swap Two Doors for Reeded Glass Fronts
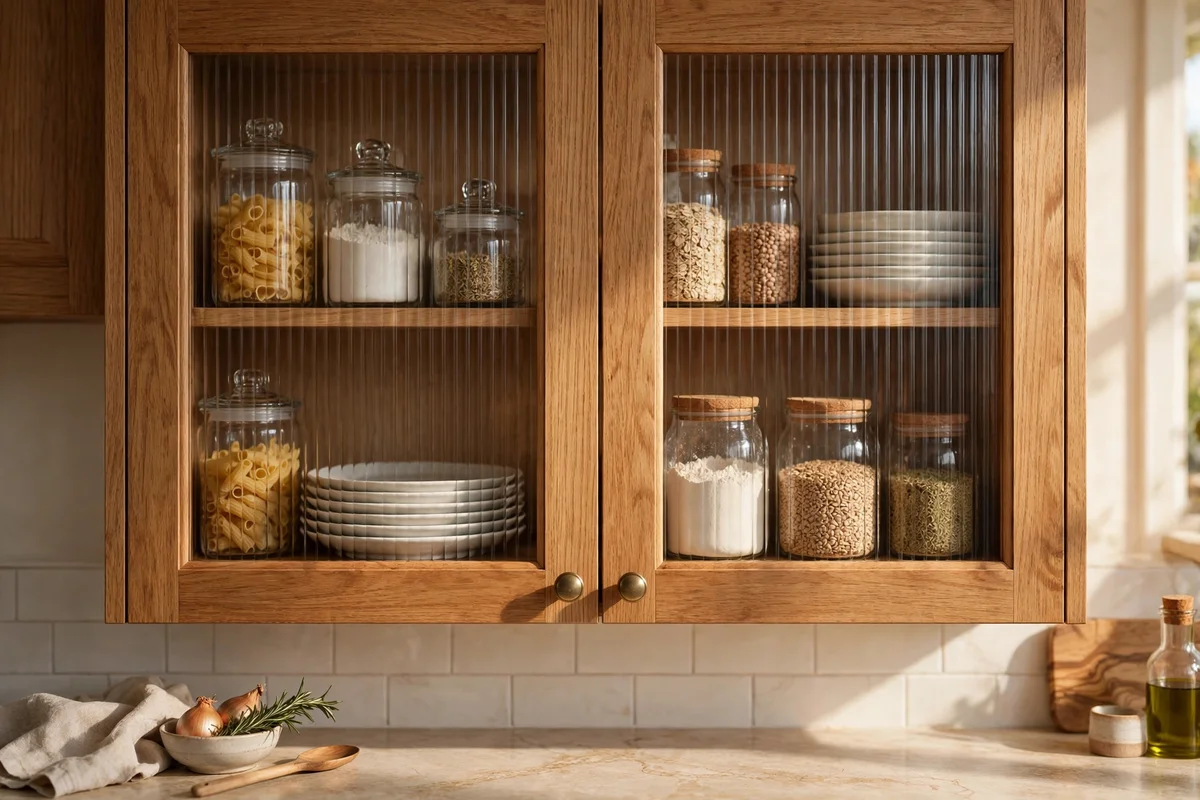
Replacing just two doors with glass fronts breaks up a wall of solid doors and shows off pretty crockery. Choose reeded or fluted glass, which blurs the contents into soft shapes so you need not be perfectly tidy inside. Most cabinet doors can be replaced with glass ready doors in the same size, or a glazier can cut glass to fit your existing routed frames.
Pick doors near the sink or the cooking zone so the display feels natural, and line the cabinet back with a pale colour to bounce light. Keep the shelves inside neat with stacked plates and glass jars. The mistake to avoid is swapping doors you open constantly for greasy cooking, where glass shows every fingerprint. Budget tip: ready made glass doors start near thirty dollars each.
15. Replace a Pair of Doors With Open Shelving
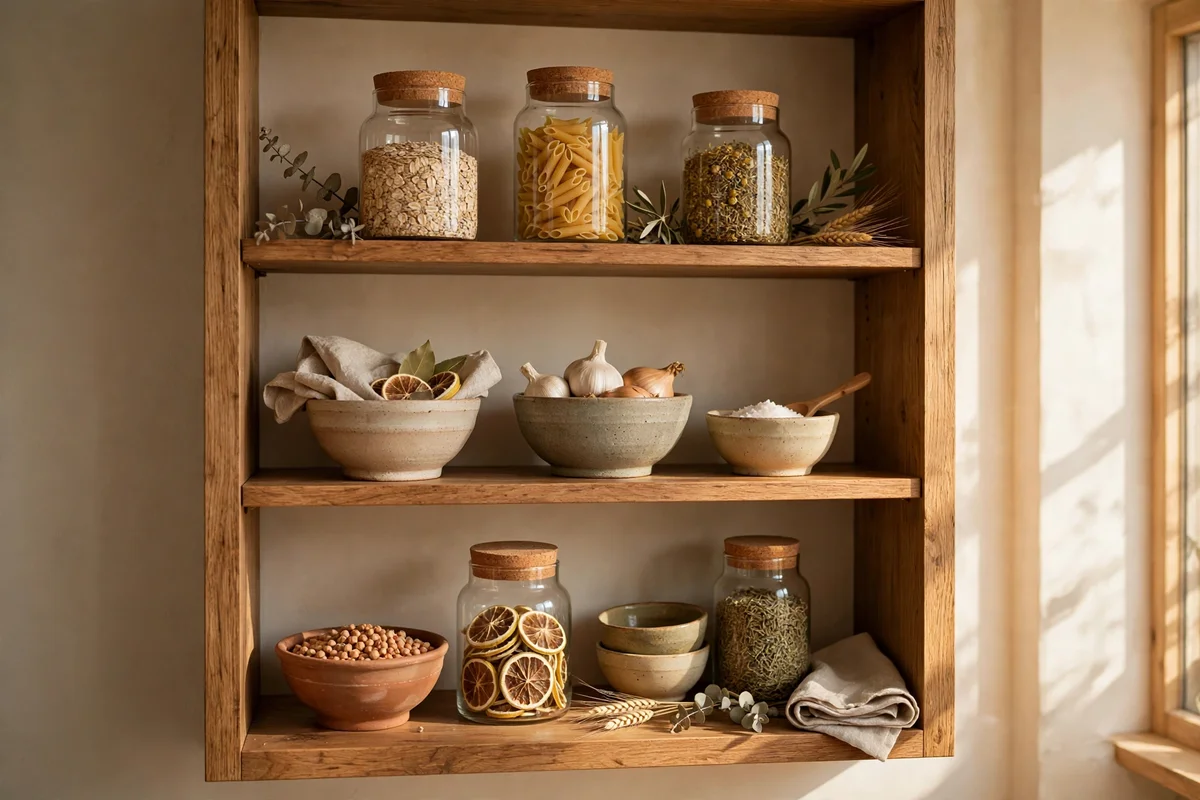
Taking two doors off and styling the shelves behind them creates an airy, farmhouse style display for almost no money. Remove the doors and hinges, fill the screw holes, and paint the cabinet interior the same colour as the doors so the box reads as furniture. Keep the shelves for everyday items you actually use, like bowls, mugs and glass storage jars.
Limit each shelf to one row of items with breathing room between groups, and place heavier pieces on the lowest shelf. The mistake to avoid is filling open shelves with rarely used clutter, which gathers grease and dust. Budget tip: this project costs nothing but filler and paint if you reuse the shelves.
16. Install Plug In LED Lighting Under Wall Cabinets
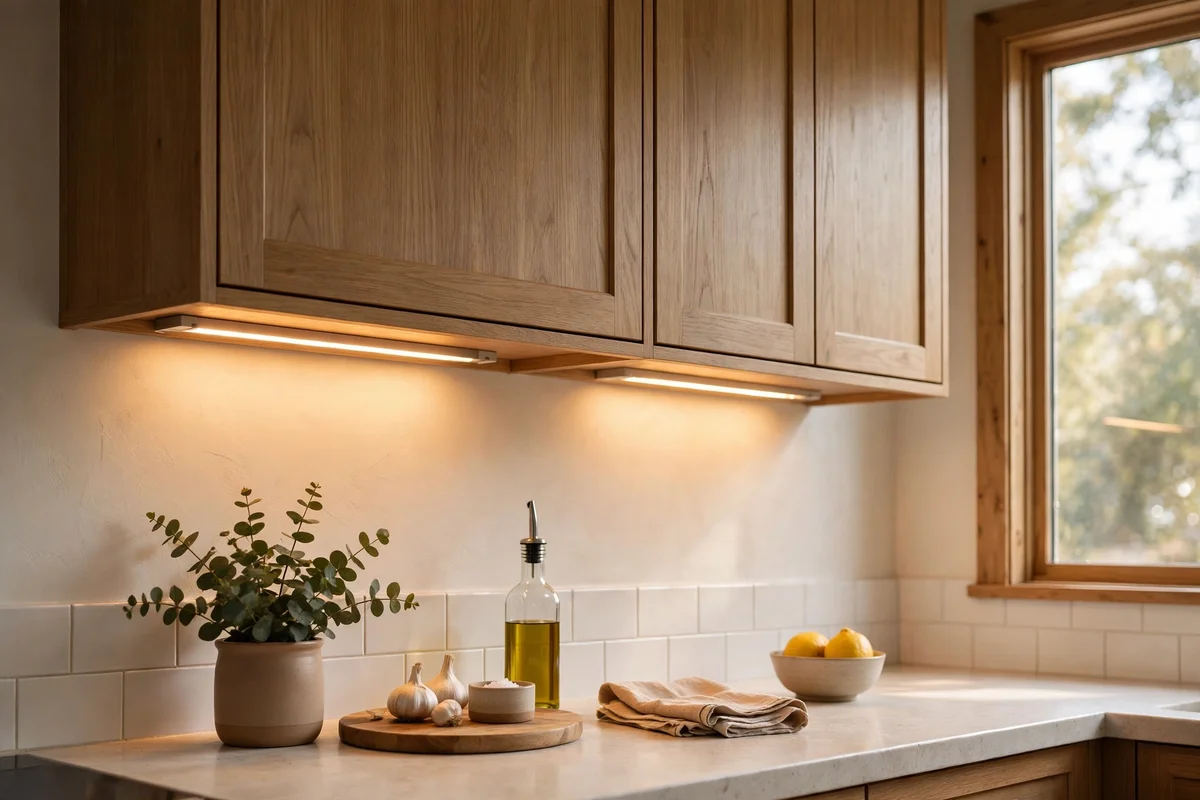
Under cabinet lighting adds the warm evening glow that makes a kitchen feel designed, and plug in kits need no electrician. Mount slim LED bars or strips on the underside of wall cabinets, about 5 cm back from the front edge, linking them with the kit’s connector cables to one plug socket. Warm white 2700K matches the cosy tone of a heritage kitchen.
Run the cable neatly along the cabinet back with small cable clips, and choose a kit with a dimmer or a motion sensor for evening softness. The mistake to avoid is cool white 5000K strips, which make food and faces look harsh and cold. Budget tip: a three bar plug in kit with dimmer costs twenty five to forty dollars.
17. Line Shelves and Drawers With Washable Liner
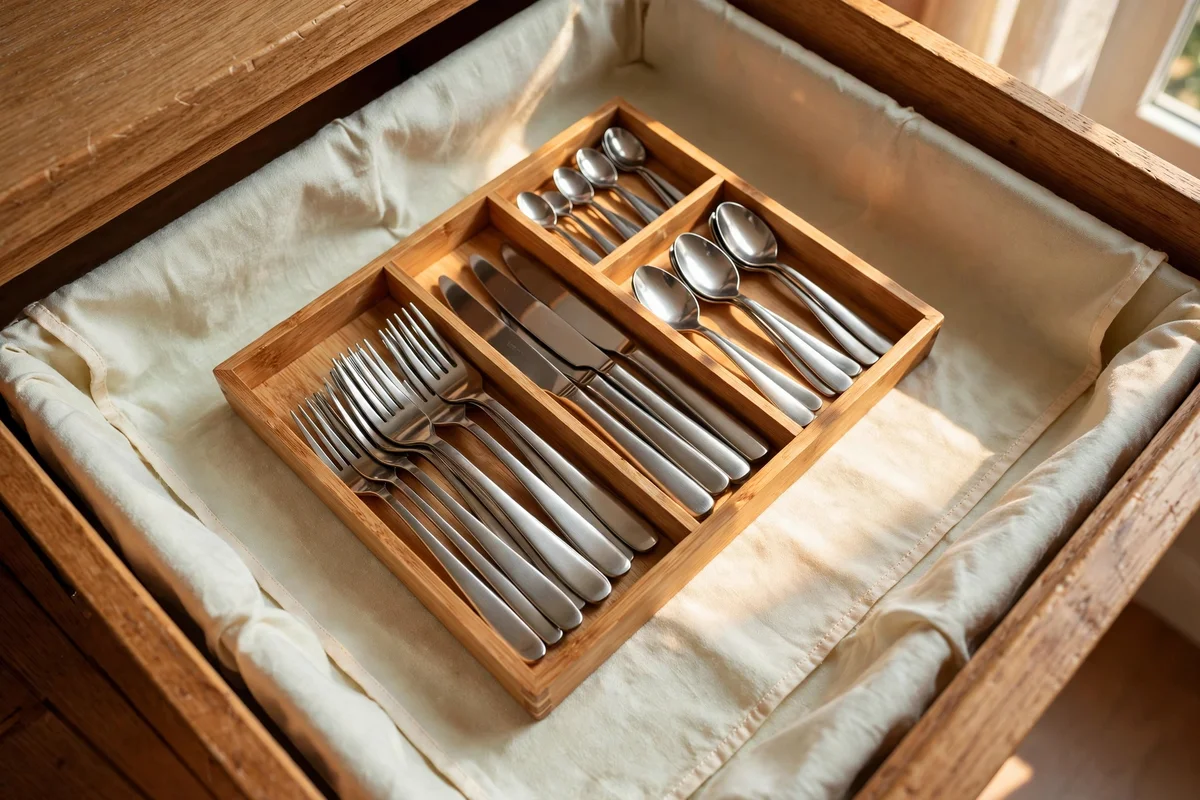
Shelf liner is the small courtesy your crockery deserves: it cushions plates, quiets drawer rattles and wipes clean in seconds. Measure each shelf and cut the liner about 2 cm shorter than the depth so it lies flat without curling at the back. Non adhesive smooth liners are easiest, since they lift out for washing and do not leave glue behind.
Choose a pale or patterned liner that suits the cabinet paint, and replace liners every year or two when they dull. In cutlery drawers, a textured liner keeps trays from sliding. The mistake to avoid is gluing down cheap contact paper permanently, which peels paint off when removed. Budget tip: a roll covering six shelves costs about ten dollars.
18. Refresh Toe Kicks and End Panels With Paint or Veneer
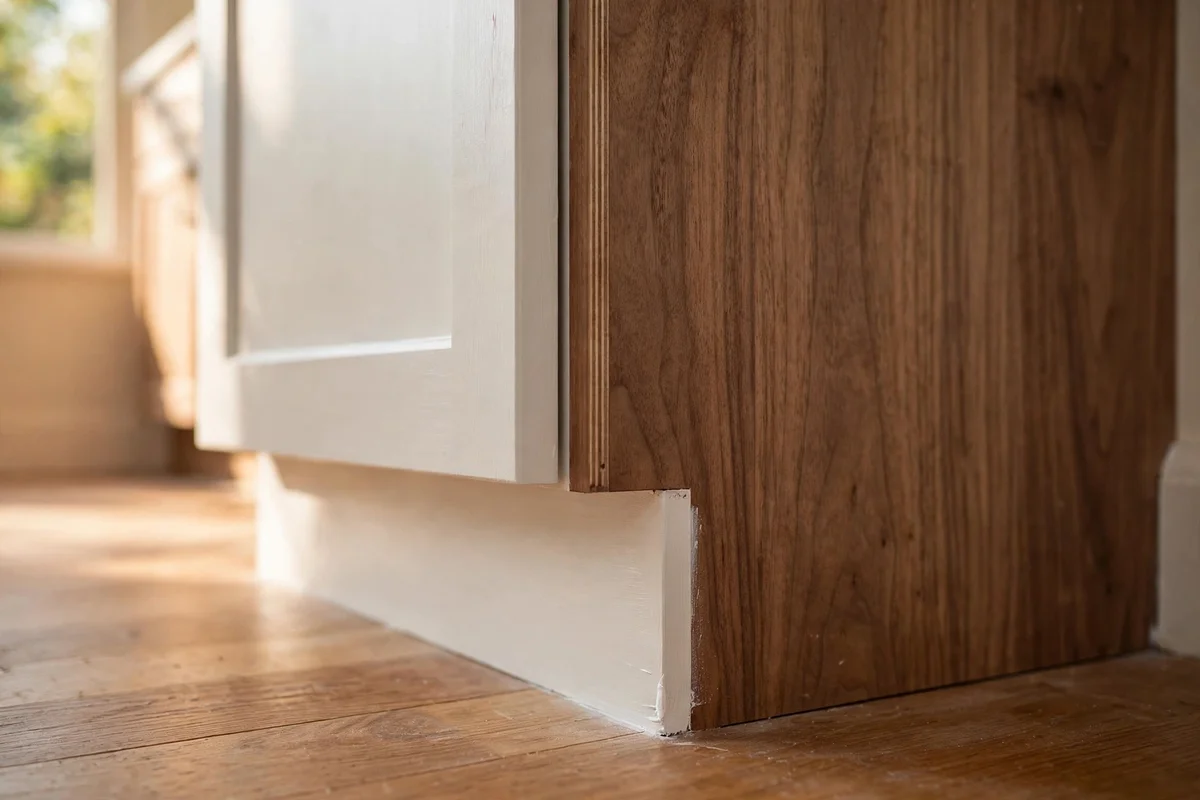
Toe kicks and end panels take the daily knocks that doors escape, and refreshing them lifts the whole run of cabinets. Scuff the toe kick and paint it the same colour as the cabinets, or two shades darker for a grounded look that hides scuffs. For peeling end panels, a self adhesive wood veneer sheet pressed on with a J roller gives a like new face.
Trim veneer slightly oversized, stick it on, then trim the edges with a sharp craft knife and sand lightly. Seal edges with a dab of wood glue so they never lift. The mistake to avoid is leaving raw MDF edges exposed, which swell with the first mop splash. Budget tip: a sheet of veneer large enough for two panels costs about fifteen dollars.
19. Paint Only the Island or Lower Cabinets in a Deeper Colour
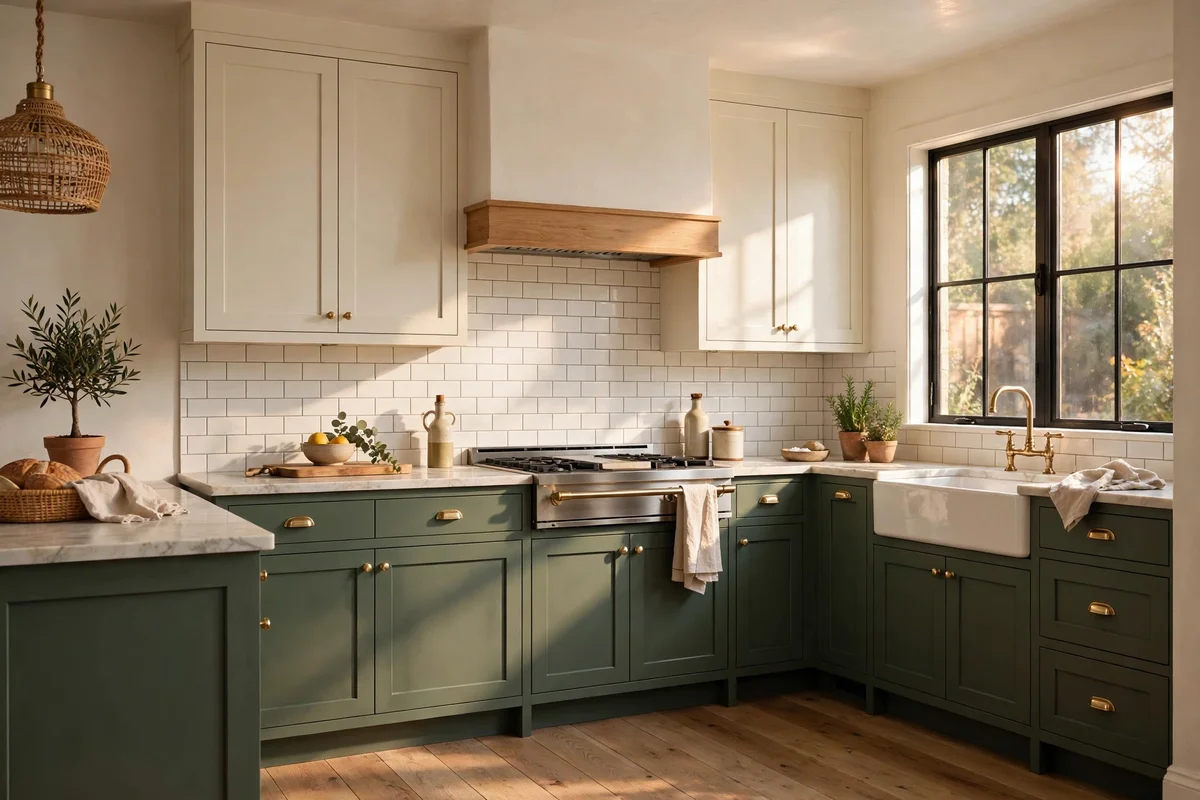
Two tone cabinets give the curated look of a designer kitchen while halving the painting work. Keep the wall cabinets in a warm white or cream, and paint the island or the lower run in a deeper tone like sage green, navy or charcoal. The dark base grounds the room and hides the marks that collect at floor level.
Test the deep colour on one door and live with it for three days before committing, since cabinet paint is work to undo. Use the same enamel and primer system as the uppers so the finish ages evenly. The mistake to avoid is pairing two colours of different undertones, for example a warm cream with a cold grey green. Budget tip: painting only lowers needs about two litres of paint.
20. Weekend Tier: A Cabinet Refresh for Under Fifty Dollars
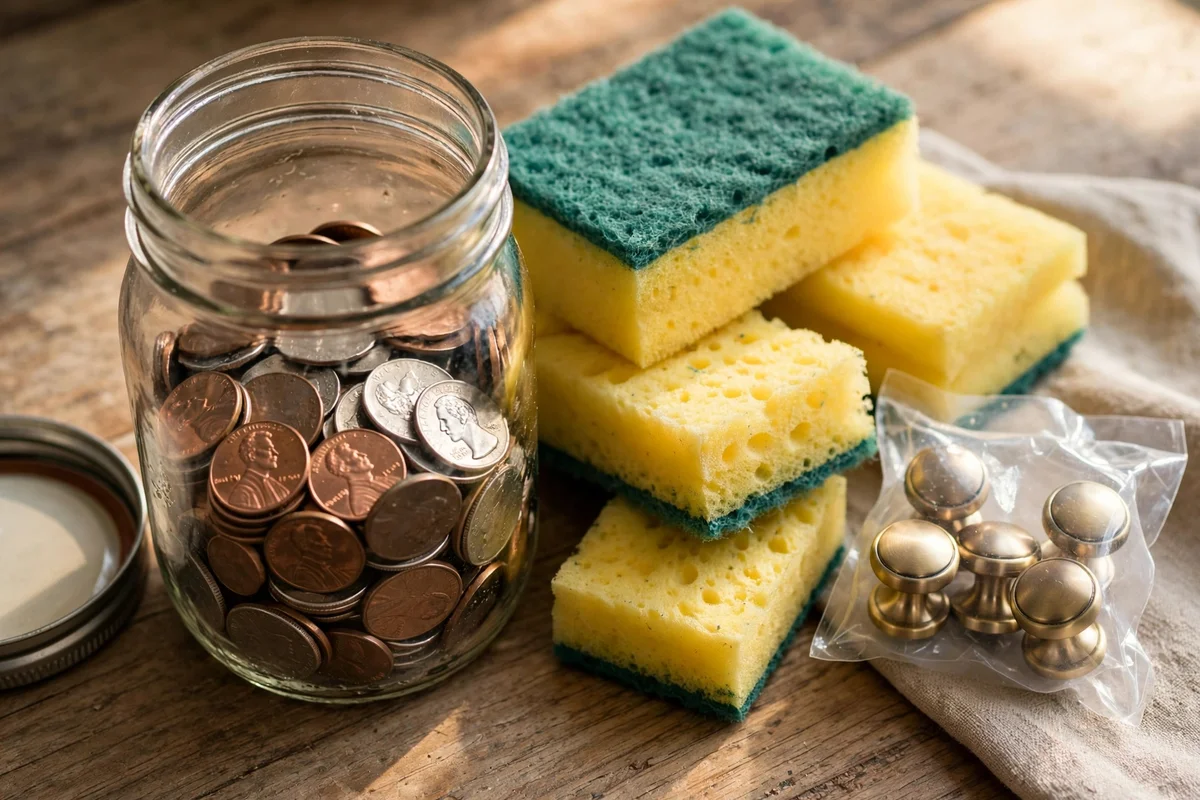
The smallest budget still buys a visible transformation when every dollar goes to cleaning and detail. Spend about ten dollars on degreaser and sponges, fifteen on wood filler and sandpaper, and the rest on a tin of bonding primer for touch ups or one pack of new knobs for the most seen doors. Two full days is enough for one person to degrease, touch up and rehang a small kitchen.
What this tier achieves is freshness, not a colour change: cleaner doors, tighter looking handles and filled chips. It is perfect when the cabinets are sound but tired. The mistake to avoid is spending the fifty on a cheap topcoat without primer, which peels and wastes the whole weekend. Budget tip: buy hardware multipacks, which halve the per knob price.
21. Mid Tier: Full Paint, Primer and Hardware Makeover
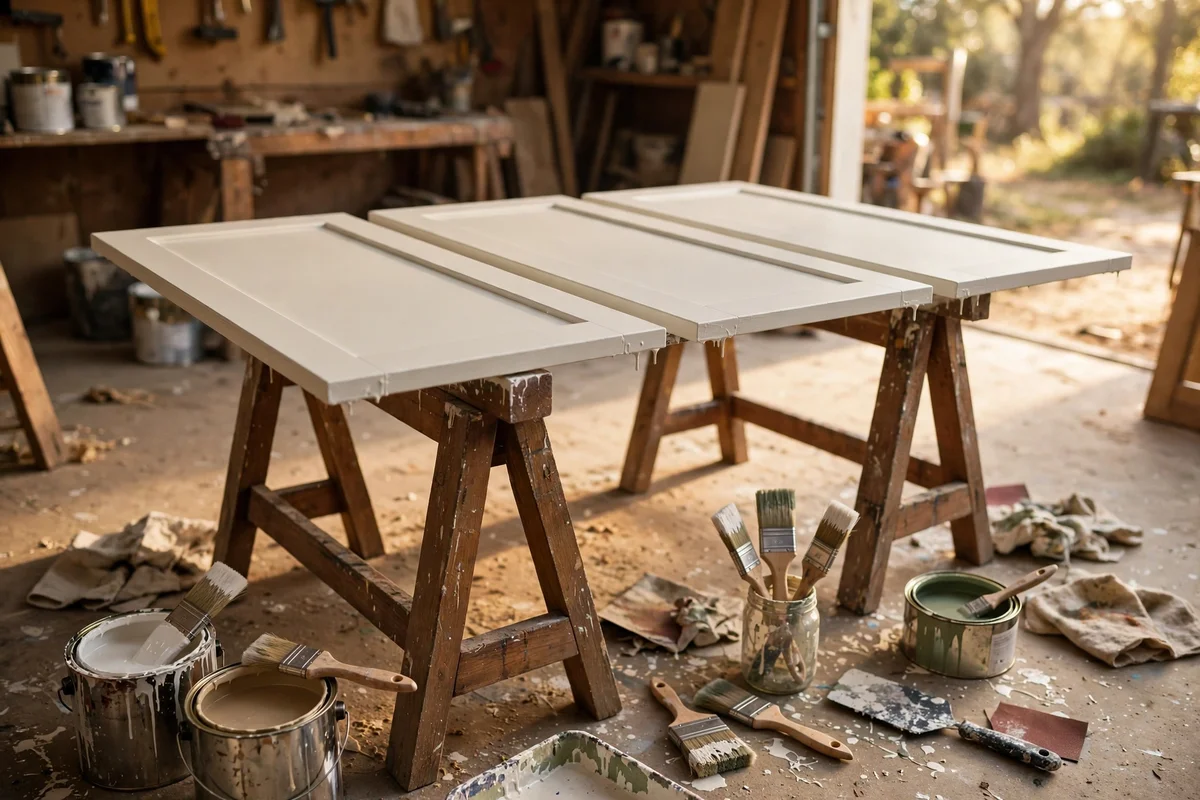
The mid tier, roughly two hundred to four hundred dollars, is where cabinets genuinely change colour and character. Budget about sixty for bonding primer, ninety for two litres of cabinet enamel, forty for knobs and pulls, and fifty for sandpaper, caulk, filler and rollers. Plan a long weekend plus drying time, painting doors flat in a garage or spare room.
What this tier achieves is a full visual reset: new colour, new handles, filled and caulked seams. It suits kitchens where the boxes are solid and the layout already works. The mistake to avoid is rushing the cure time, since paint that feels dry still dents for two to three weeks. Budget tip: mid range enamel performs nearly as well as premium.
22. Investment Tier: Glass, Moulding and Lighting Together
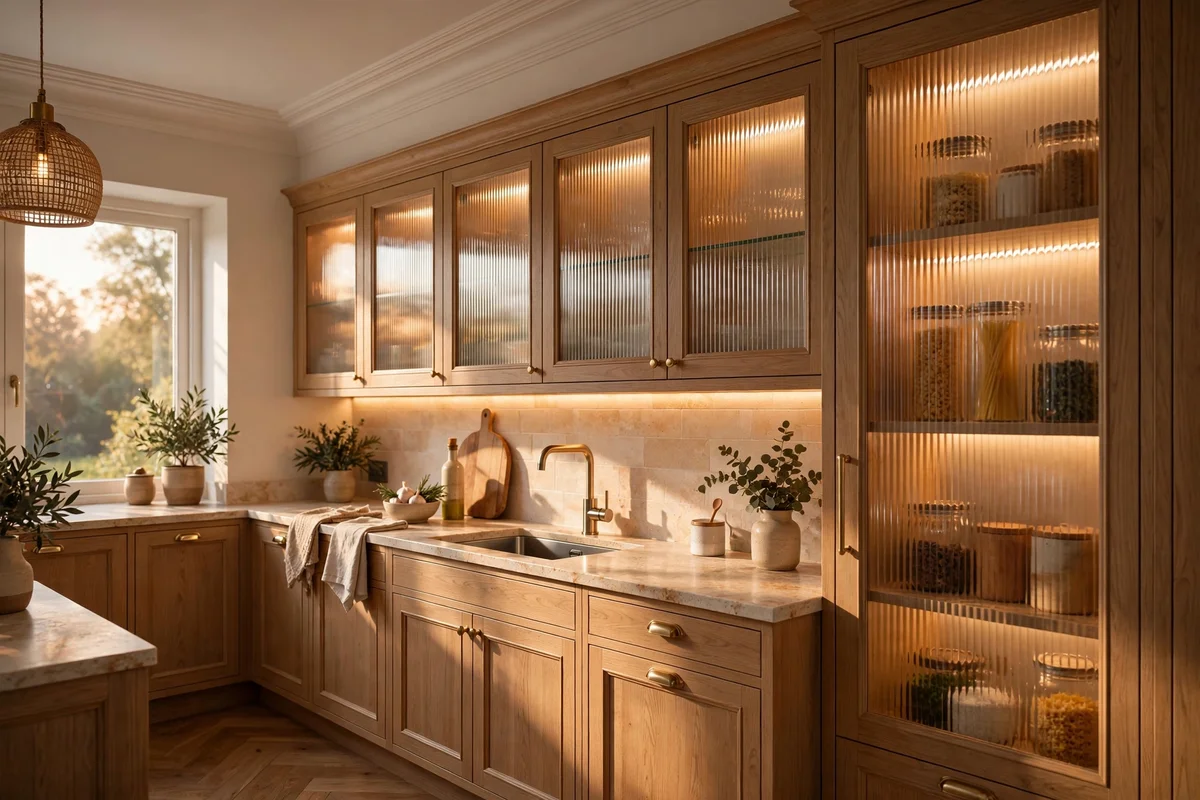
The investment tier, roughly six hundred to one thousand dollars, layers the upgrades that make cabinets look custom built. Plan about one hundred and fifty for two to four glass doors, eighty for crown moulding and light rail, forty for a plug in LED kit, one hundred for soft close hinges and runners, and the rest for paint, primer and premium hardware.
What this tier achieves is a kitchen that reads as fitted furniture: glowing under lights, crowned tops, quiet doors and a glass display. It suits forever kitchens and homes preparing to sell. The mistake to avoid is adding glass and lighting to damaged boxes, since the glow highlights every flaw. Budget tip: phase the work, paint first and add lighting last.
23. Never Paint Over Grease or Skip Primer on Laminate
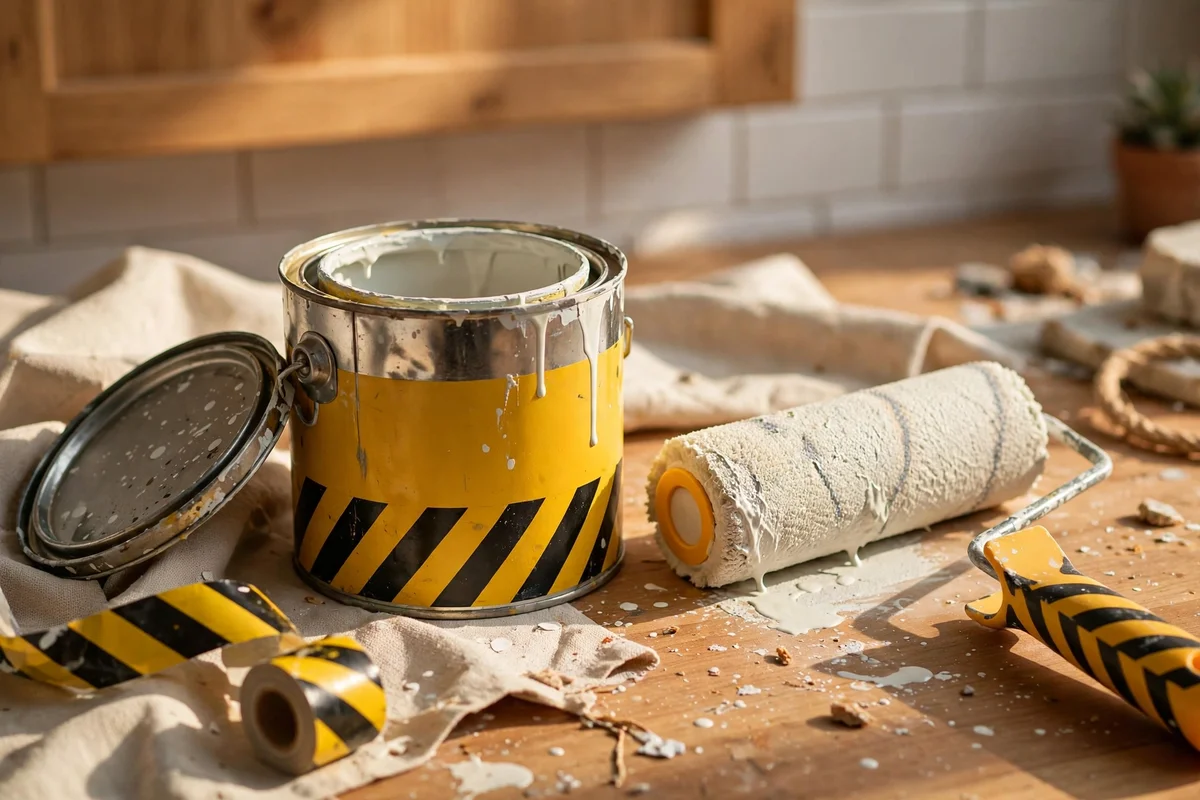
Two mistakes ruin more cabinet projects than all others combined: painting over grease and skipping primer on laminate. Grease is a clear film of cooking oil that builds up over years, and paint laid on it peels off in sheets within weeks no matter how good the paint. Laminate, meanwhile, has a slick melamine face that ordinary primer cannot grip.
The fix is simple and non negotiable: degrease everything twice with TSP substitute, then give laminate one coat of shellac based bonding primer and a full day to cure. Tape test the primer before painting. The mistake to avoid is trusting a paint tin that claims primer is included, because built in primer never bonds to laminate properly. Budget tip: the right primer costs twenty dollars and saves a repaint.
24. Style Finished Cabinets With Jars, Plates and Woven Baskets
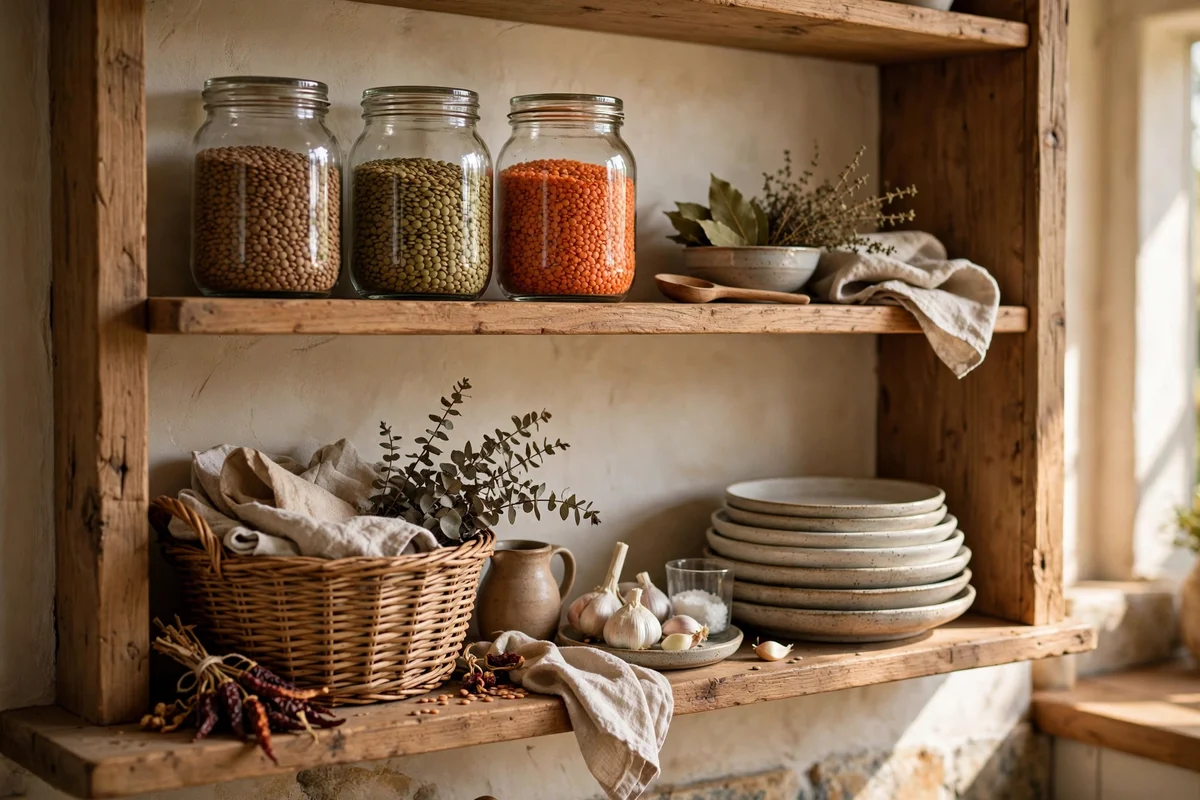
Once the paint has cured, styling is what turns the work into a room that feels finished. Set glass jars of rice, lentils and dried pulses on one shelf, stack pale plates on another, and tuck a small woven basket of cloth napkins beside the hob. Keep the palette to two or three tones that echo the cabinet colour for a calm, collected look.
Leave breathing room between groups, since crowded shelves read as clutter rather than display. A small potted herb by the window adds green life. The mistake to avoid is restyling before the paint cures, because jars and plates leave marks in soft paint for weeks. Budget tip: charity shops and kitchen cupboards already hold most of this styling.
A kitchen does not need a full renovation to feel cared for; it needs one surface treated with attention until it glows. Whether you stop at a deep clean and new knobs or go all the way to glass doors and lighting, each of these 24 ideas moves the same honest needle: cabinets that look built in, work quietly and welcome you in the morning. (71)
Start this week with the easiest win of all, the deep degrease from idea one. Fill a bucket, wash two doors, and watch how much brighter they look: that single hour tells you whether paint is needed or whether a refresh of hardware and liner will do. Small, honest steps are how kitchens are truly made new again, one door at a time. (70)
Frequently Asked Questions
How much does it cost to update kitchen cabinets without replacing them?
A light refresh of cleaning, filler and new knobs costs 40 to 80 dollars. A full paint and primer makeover with new hardware runs 200 to 400 dollars. Adding glass doors, crown moulding and under cabinet lighting brings the total to 600 to 1000 dollars. All three tiers cost far less than replacement, which usually starts above five thousand dollars. (65)
Can I paint laminate or thermofoil cabinets?
Yes, with the right primer. Laminate has a slick face that ordinary paint cannot grip, so degrease twice, scuff with 220 grit paper, and apply one coat of shellac based bonding primer. Let it cure 24 hours and tape test it before painting. Never skip this step: paint over bare laminate peels within months. (60)
Do I need to remove cabinet doors to paint them?
Removing doors gives a far smoother finish, since flat doors shed drips and let you reach every edge. Number each door with tape, photograph the hinge positions, and store screws in labelled bags. If removal is truly impossible, paint in place with thin coats and a small brush, but expect visible brush marks near hinges. (60)
What is the cheapest way to make cabinets look new?
Deep degreasing costs under ten dollars and often revives doors on its own. Next cheapest is new knobs, which transform the look for about one dollar per knob in multipacks, then washable shelf liner at ten dollars a roll. Together these three cost under forty dollars and take one weekend. (56)
How long does cabinet paint need to cure?
Enamel paint feels dry in hours but needs two to three weeks of gentle use to harden fully. Hang doors after 24 to 48 hours, then avoid scrubbing, slamming and heavy objects on shelves until the cure finishes. Rushing this stage causes chips and dents that no touch up fully hides. (55)