Kitchen
25 Pantry Organization Ideas That Make Every Shelf a Pleasure to Open
By Anna Wells · · 21 min read
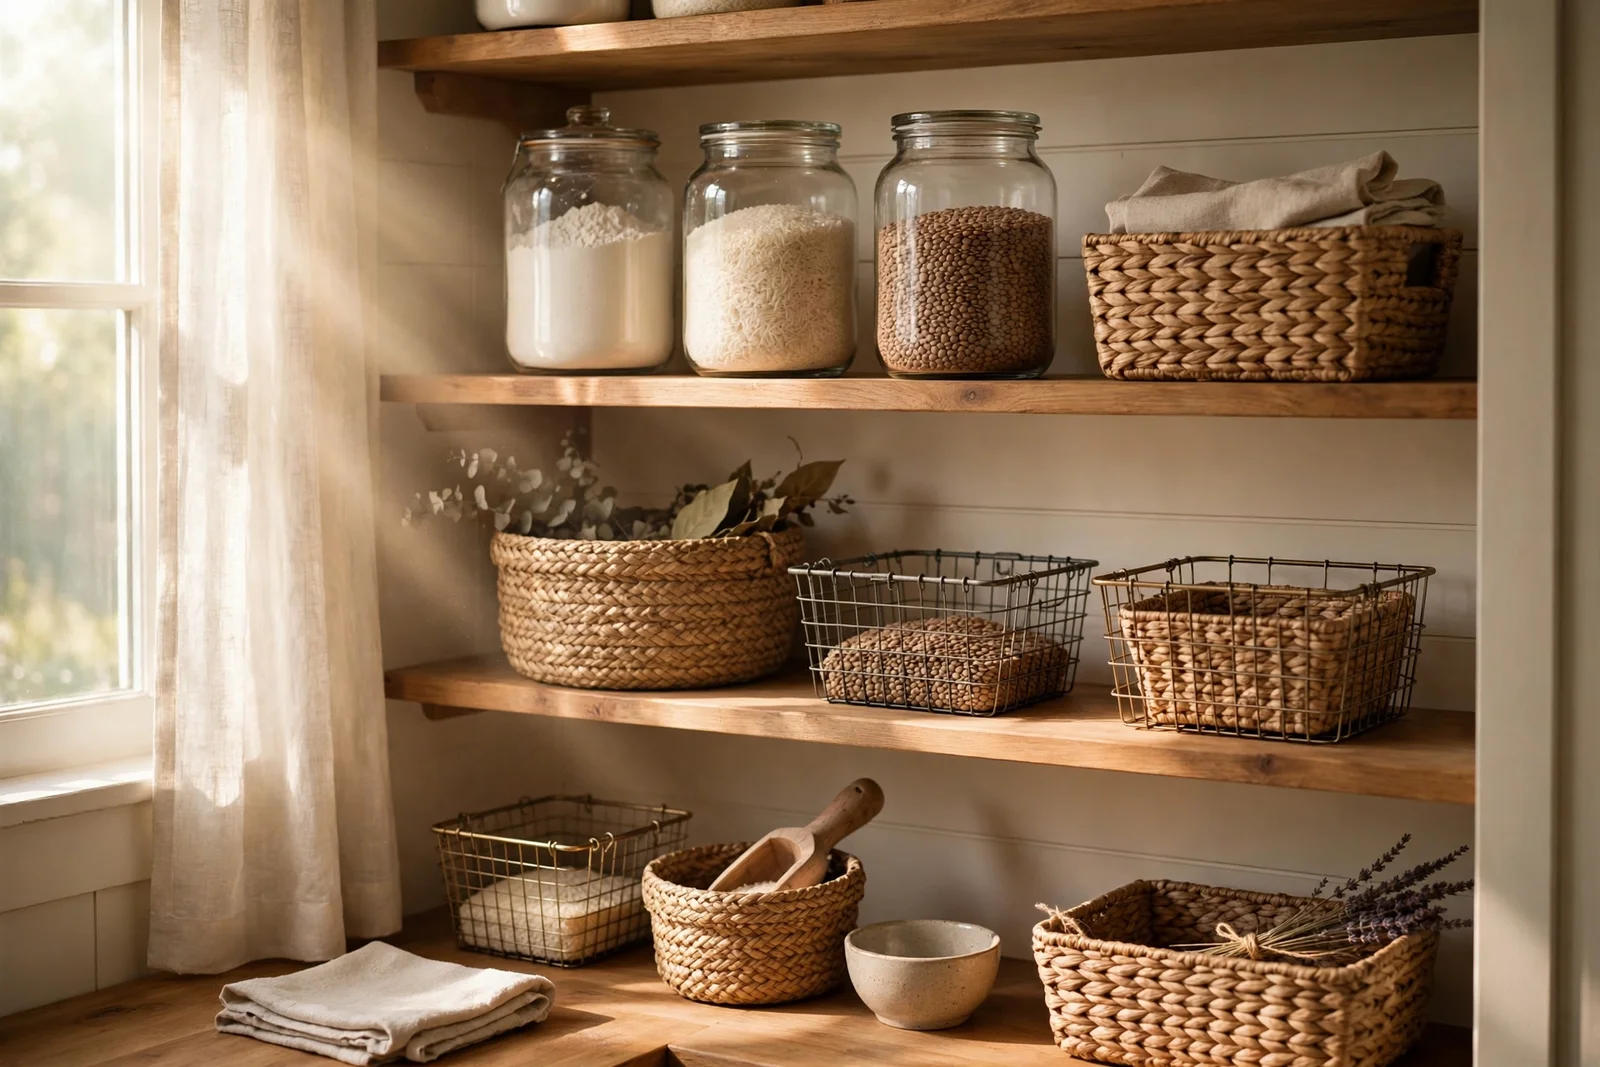
From decanted dry goods in plain glass jars to door racks, clear zones and a ten-minute monthly reset, these 25 pantry organization ideas make every shelf a calm, visible pleasure to open.
Early morning light falls across the kitchen, and the pantry door swings open on shelves that feel quiet and kind. Every jar stands plain and honest, every basket holds exactly one family of ingredients, and nothing hides in a dark corner waiting to expire. That calm is not luck; it is a handful of small, repeatable choices.
A well kept pantry saves money as well as nerves. When you can see the rice, the oats and the last tin of tomatoes, you stop buying doubles and start cooking from what you have. Waste shrinks, shopping lists get shorter, and the whole kitchen works with a steadier rhythm.
These 25 pantry organization ideas are practical and gentle, built for real cupboards and small pantries as well as generous ones. You will find plain glass decanting, woven and wire baskets, clear zones for breakfast, baking and snacks, door racks, simple paper labels and a monthly reset habit that takes ten minutes.
Work through them in any order, or simply pick one shelf and begin there. By the end, every shelf you open will feel like a small, tidy pleasure rather than a chore you keep avoiding.
1. Decant Flour, Rice and Lentils Into Plain Glass Jars
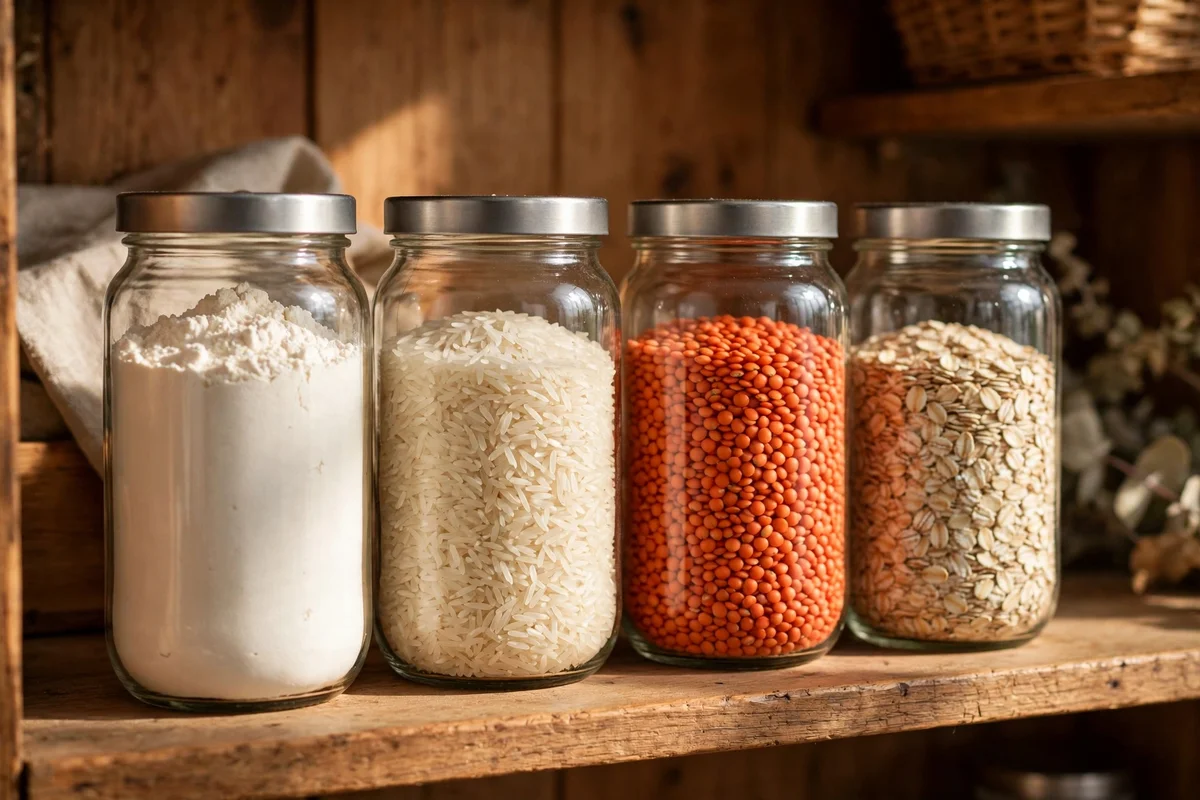
Pour dry staples like flour, rice, red lentils and rolled oats into plain glass jars the moment you unpack them. Wide mouth jars of one to two litres make scooping easy, and straight sided jars sit neatly side by side without wasted gaps. Keep one jar per staple rather than mixing varieties, and fill only to the shoulder so the contents pour cleanly. Plain glass suits every kitchen palette, from cream to sage, and lets you see at a glance what is running low.
A set of six jars usually costs less than twenty pounds or dollars at a discount store, and they last for years. Wash and dry jars fully before refilling so old crumbs do not sour the new batch. The mistake to avoid is decanting into a jar with no room for the full packet, which leaves half the packet open anyway; measure your tallest packet first. Keep the look calm with simple paper labels, described in a later section, and no readable branding on the jars themselves.
2. Group Like With Like in Woven Seagrass Baskets
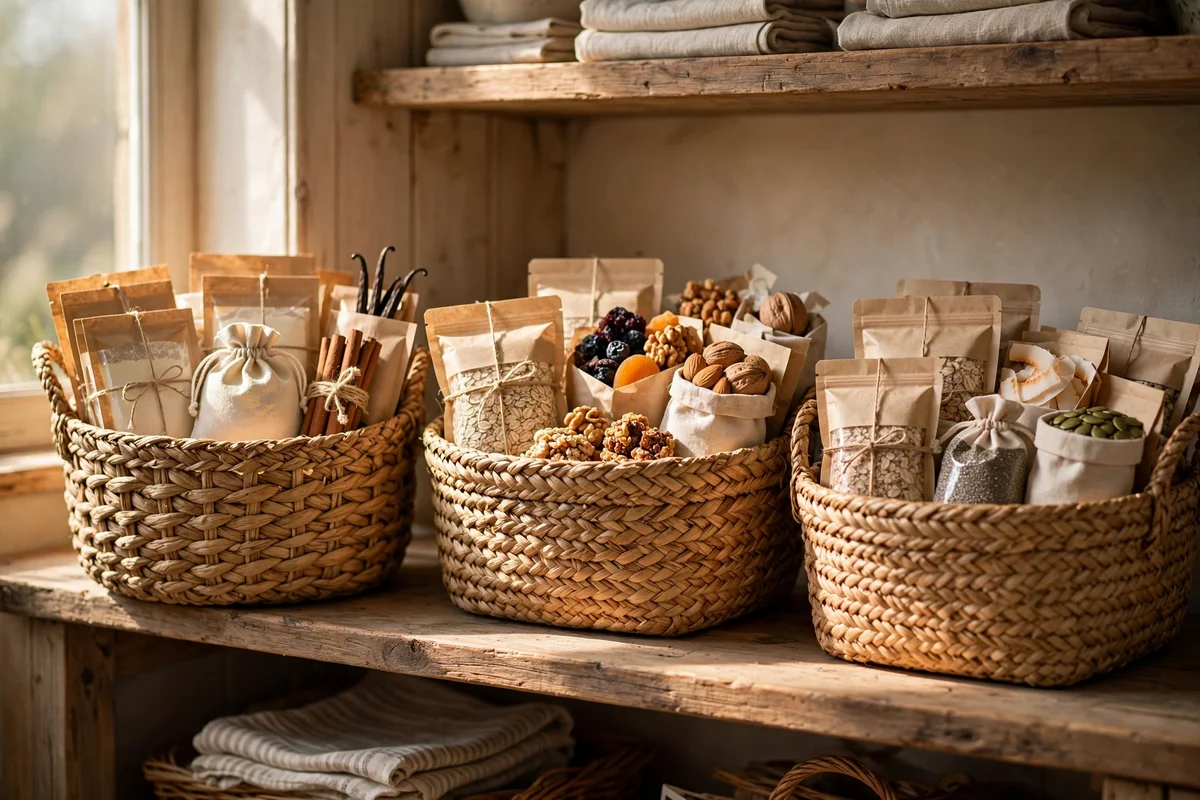
Woven seagrass baskets turn a jumble of packets into tidy families. Use one basket for baking ingredients, one for breakfast items and one for snacks, choosing a size around 30 by 20 cm so each fits a standard shelf. The open weave lets air move around dry goods, and the natural texture softens the look of glass and metal beside it. Grouping like with like means you reach for one basket and find everything a recipe needs.
Two or three baskets usually cost ten to fifteen pounds or dollars, less at charity shops. Keep each basket to a single visible layer so nothing hides underneath; if a basket is full, that is your signal to use things up before buying more. The mistake to avoid is one giant basket for everything, which becomes a second junk drawer. Smaller baskets, honestly sorted, stay useful for years.
3. Sort Cans and Packets in Wire Baskets You Can See Through
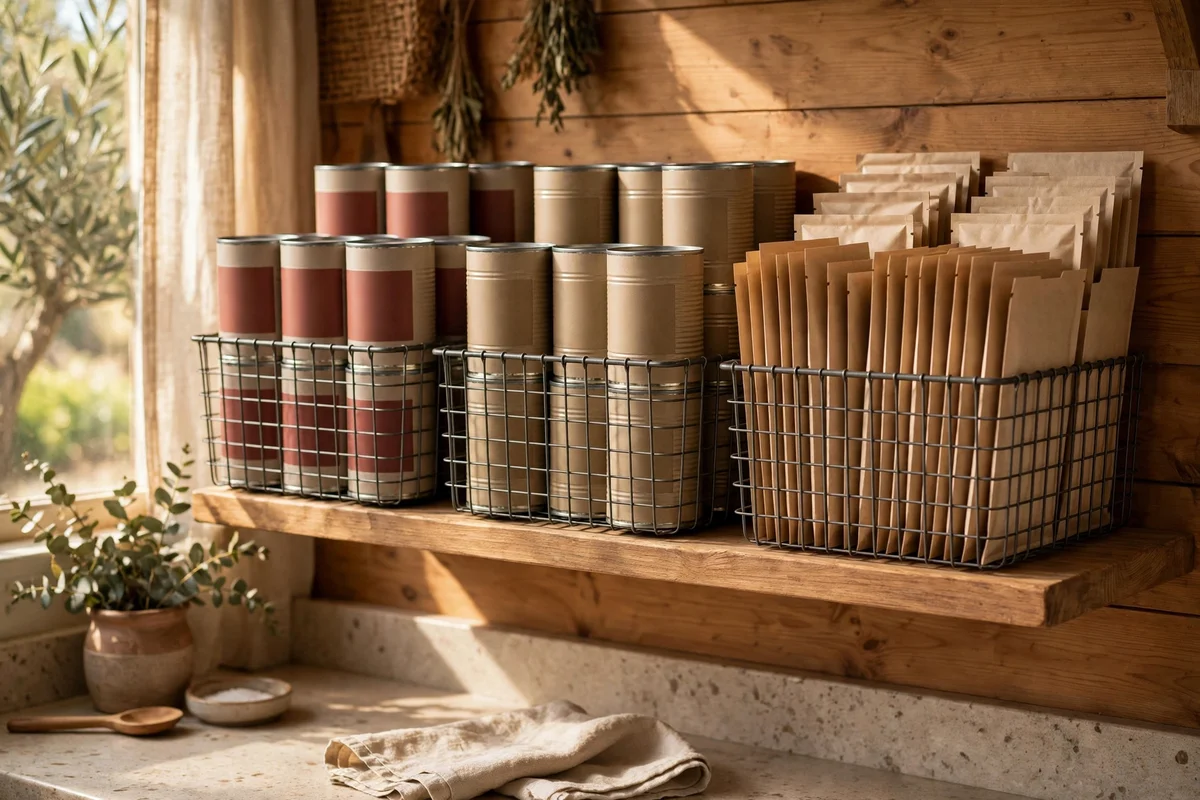
Wire baskets do the same sorting job as woven ones but keep everything visible from the side. Line tins of tomatoes, beans and coconut milk upright in one, and stand soup or sauce packets in another like files in a drawer. A basket about 25 cm long suits most shelves and holds roughly eight standard tins. Because you can see through the mesh, you notice instantly when the tuna or the chickpeas are down to the last tin.
Stack wire baskets no more than two high, and only if the lower one is sturdy enough to carry the weight. Wipe the mesh with a damp cloth each month so dust does not settle on tin lids. The mistake to avoid is tossing loose packets in without standing them up; flat piles slide and hide. File them vertically and the basket reads like a neat little shop shelf.
4. Create a Breakfast Zone With Oats, Honey and Dried Fruit
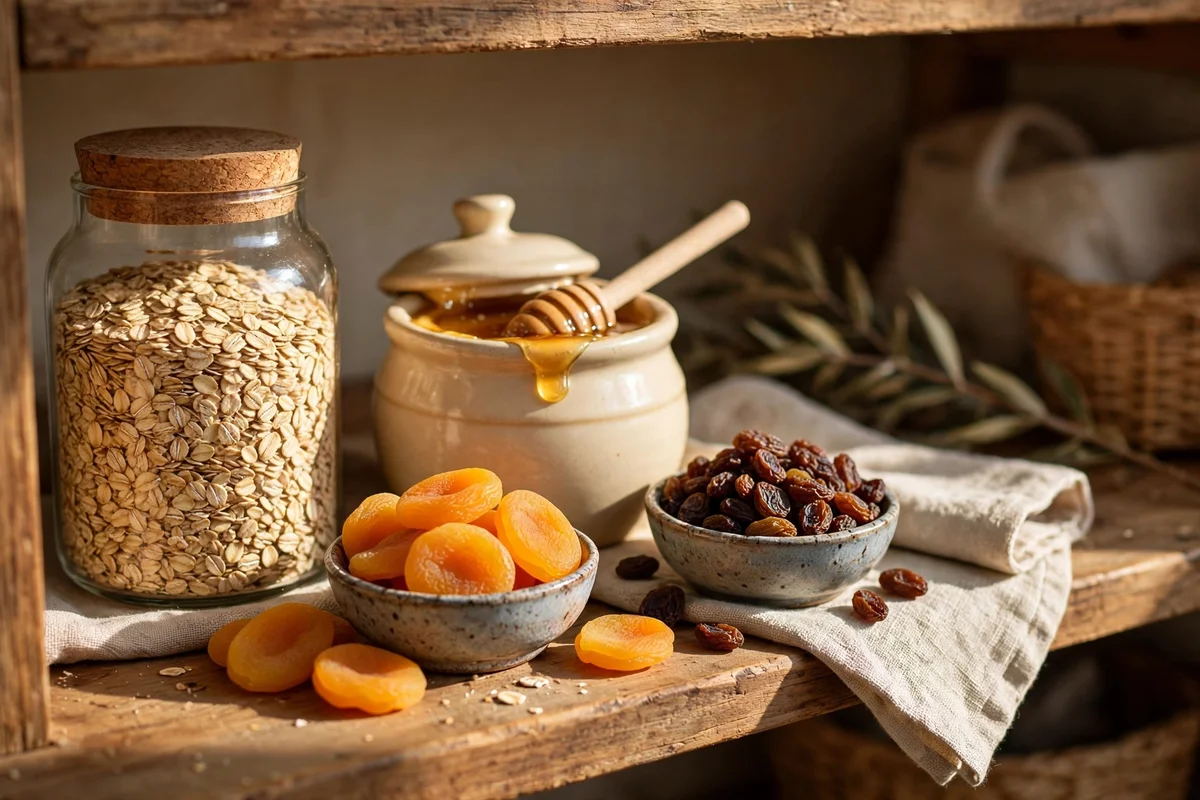
Give breakfast its own shelf or basket so the morning rush flows in one place. Set the oats jar beside honey, dried apricots, raisins and a small pot of nuts, with bowls on the shelf just above or below. Everything you need for porridge or a quick bowl of cereal sits within one arm’s reach. A dedicated zone also stops breakfast packets drifting across three different shelves through the week.
Place the breakfast zone at eye level or on the lowest shelf children can reach, so everyone serves themselves without climbing. Keep it small, five to seven items, so it never sprawls. The mistake to avoid is letting lunch and dinner ingredients creep in; a zone only works if it keeps its borders. When an item runs out, the empty gap tells you exactly what to add to the shopping list.
5. Build a Baking Corner With Flour, Sugar and Tools Together
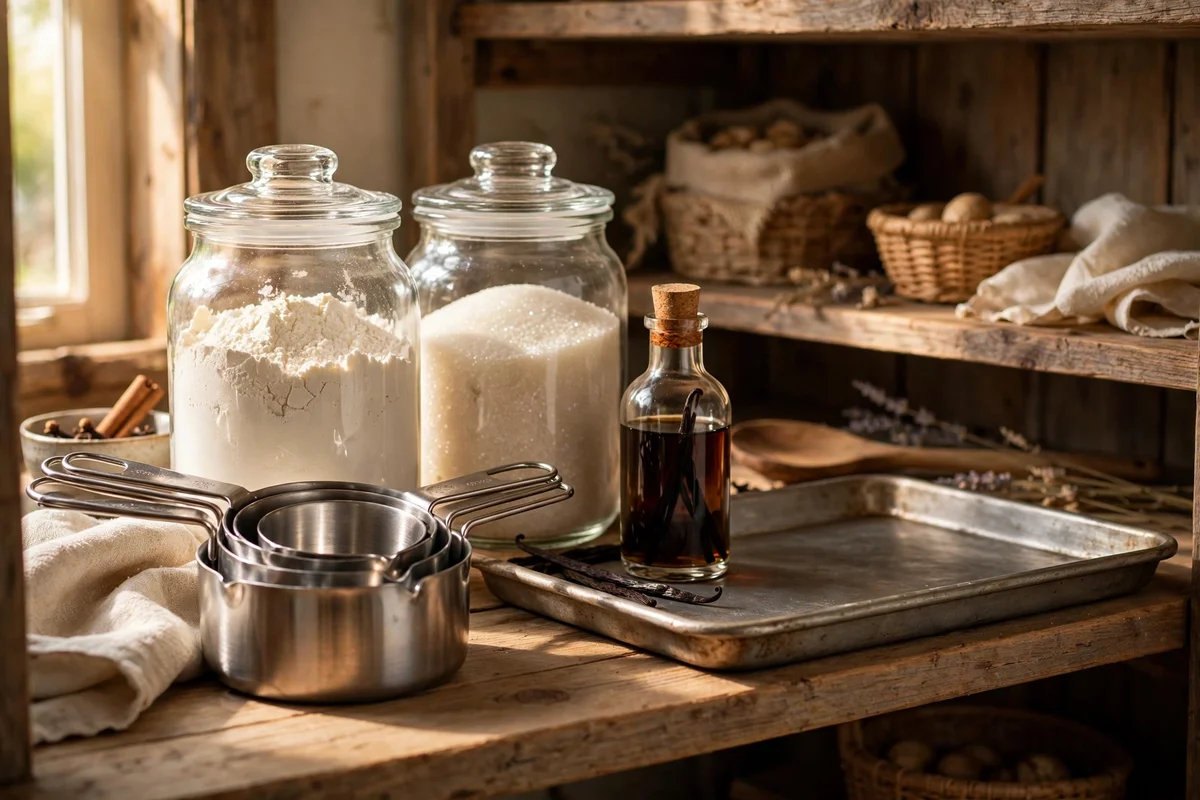
Baking goes smoothly when flour, sugar, baking powder, vanilla and a set of measuring cups live together. Corral them in one basket or on one shelf, and keep the essentials in plain jars so you can judge quantities at a glance. Add a small tray underneath so the whole corner lifts out for a baking afternoon and slides back afterwards. Grouping tools with ingredients means no more hunting for the bicarbonate mid recipe.
Check the dates on leavening agents twice a year, since stale baking powder quietly ruins cakes. The mistake to avoid is keeping three half used bags of specialty flour you will never finish; decant what you will actually use and pass the rest to a friend. A compact baking corner, honestly stocked, beats a sprawling one full of good intentions.
6. Set Up a Snack Station the Whole Family Can Maintain
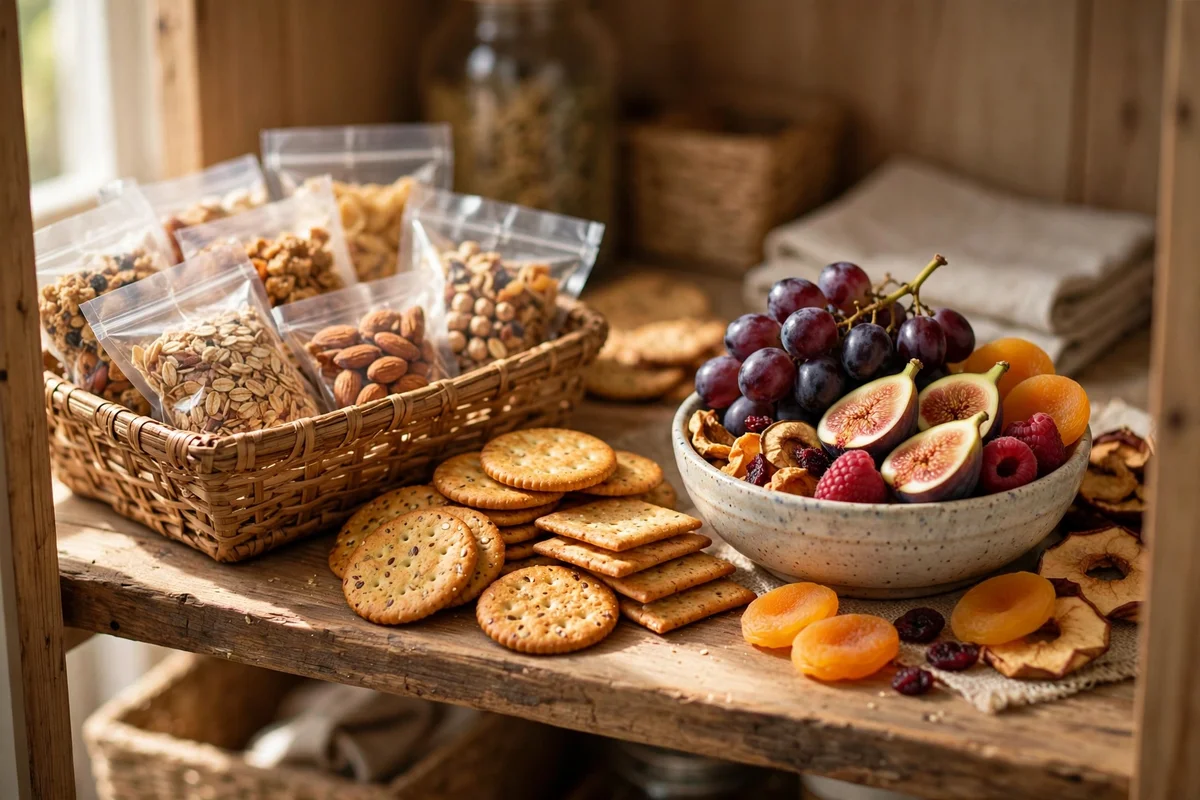
Choose a low shelf and give snacks a basket the whole household can reach and restock. Fill it with portioned treats, dried fruit, crackers and a few fresh pieces of fruit in a small bowl, keeping the count to about eight to ten items. When snacks have one home, wrappers stop appearing on every shelf and counters stay clearer. Children learn the system quickly because the rule is simple: snacks live here and only here.
Refill the station once a week, ideally right after the main shop, and toss anything stale at the same time. The mistake to avoid is mixing adult ingredients with family snacks; keep cooking chocolate and plain crackers in the baking or breakfast zones instead. One calm snack basket, refilled regularly, keeps the peace far better than scattered packets.
7. Spin a Turntable in Deep Corners to Stop Losing Jars
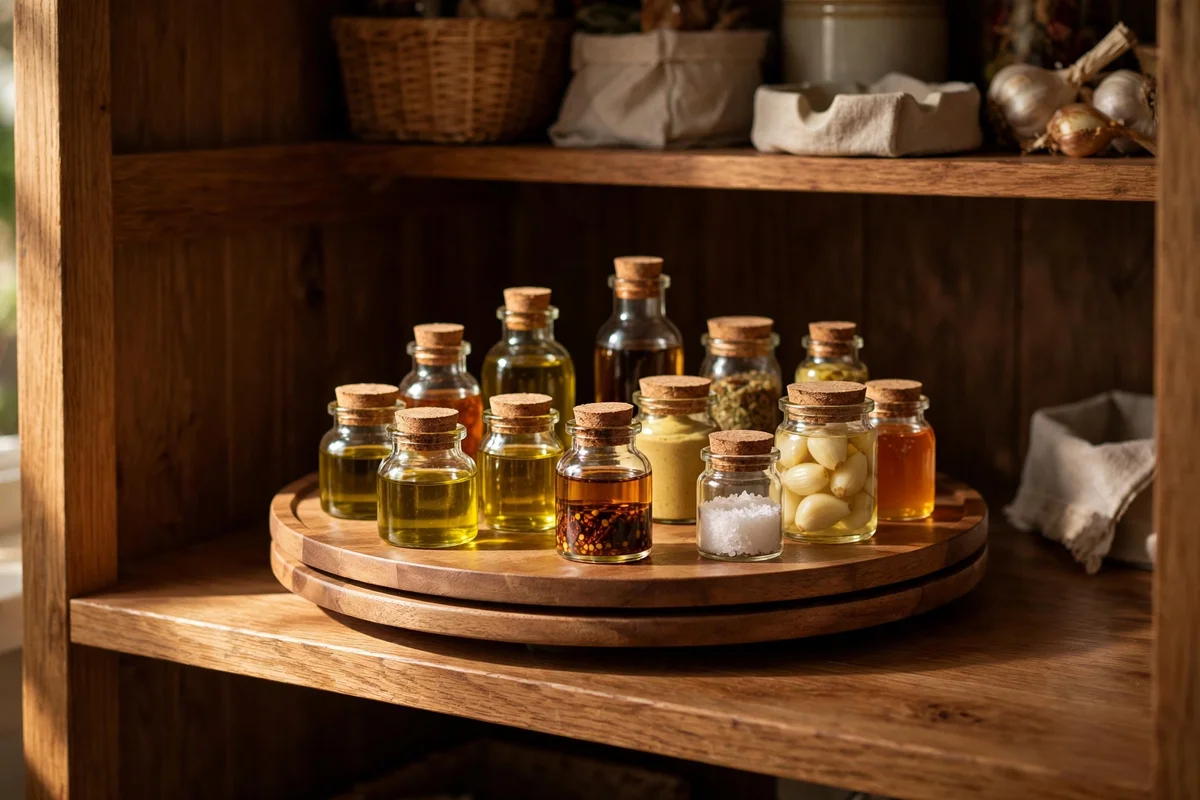
Deep shelves swallow small jars, but a turntable of 25 to 30 cm brings the back row forward with one spin. Place oils, vinegars, soy sauce and small condiment jars on it, keeping taller bottles at the back and shorter ones at the front so nothing topples when it turns. One smooth rotation shows you everything, which ends the familiar ritual of buying a second jar of something you already owned.
Choose a turntable with a non-slip base and a low rim so jars stay put, and keep the total load under about five kilograms so it spins freely. The mistake to avoid is crowding it with twenty tiny bottles that jam against each other; leave a finger of space between neighbours. Two calm turntables, one per deep shelf, usually cost less than fifteen pounds or dollars.
8. Hang Slim Door Racks for Spices and Small Jars
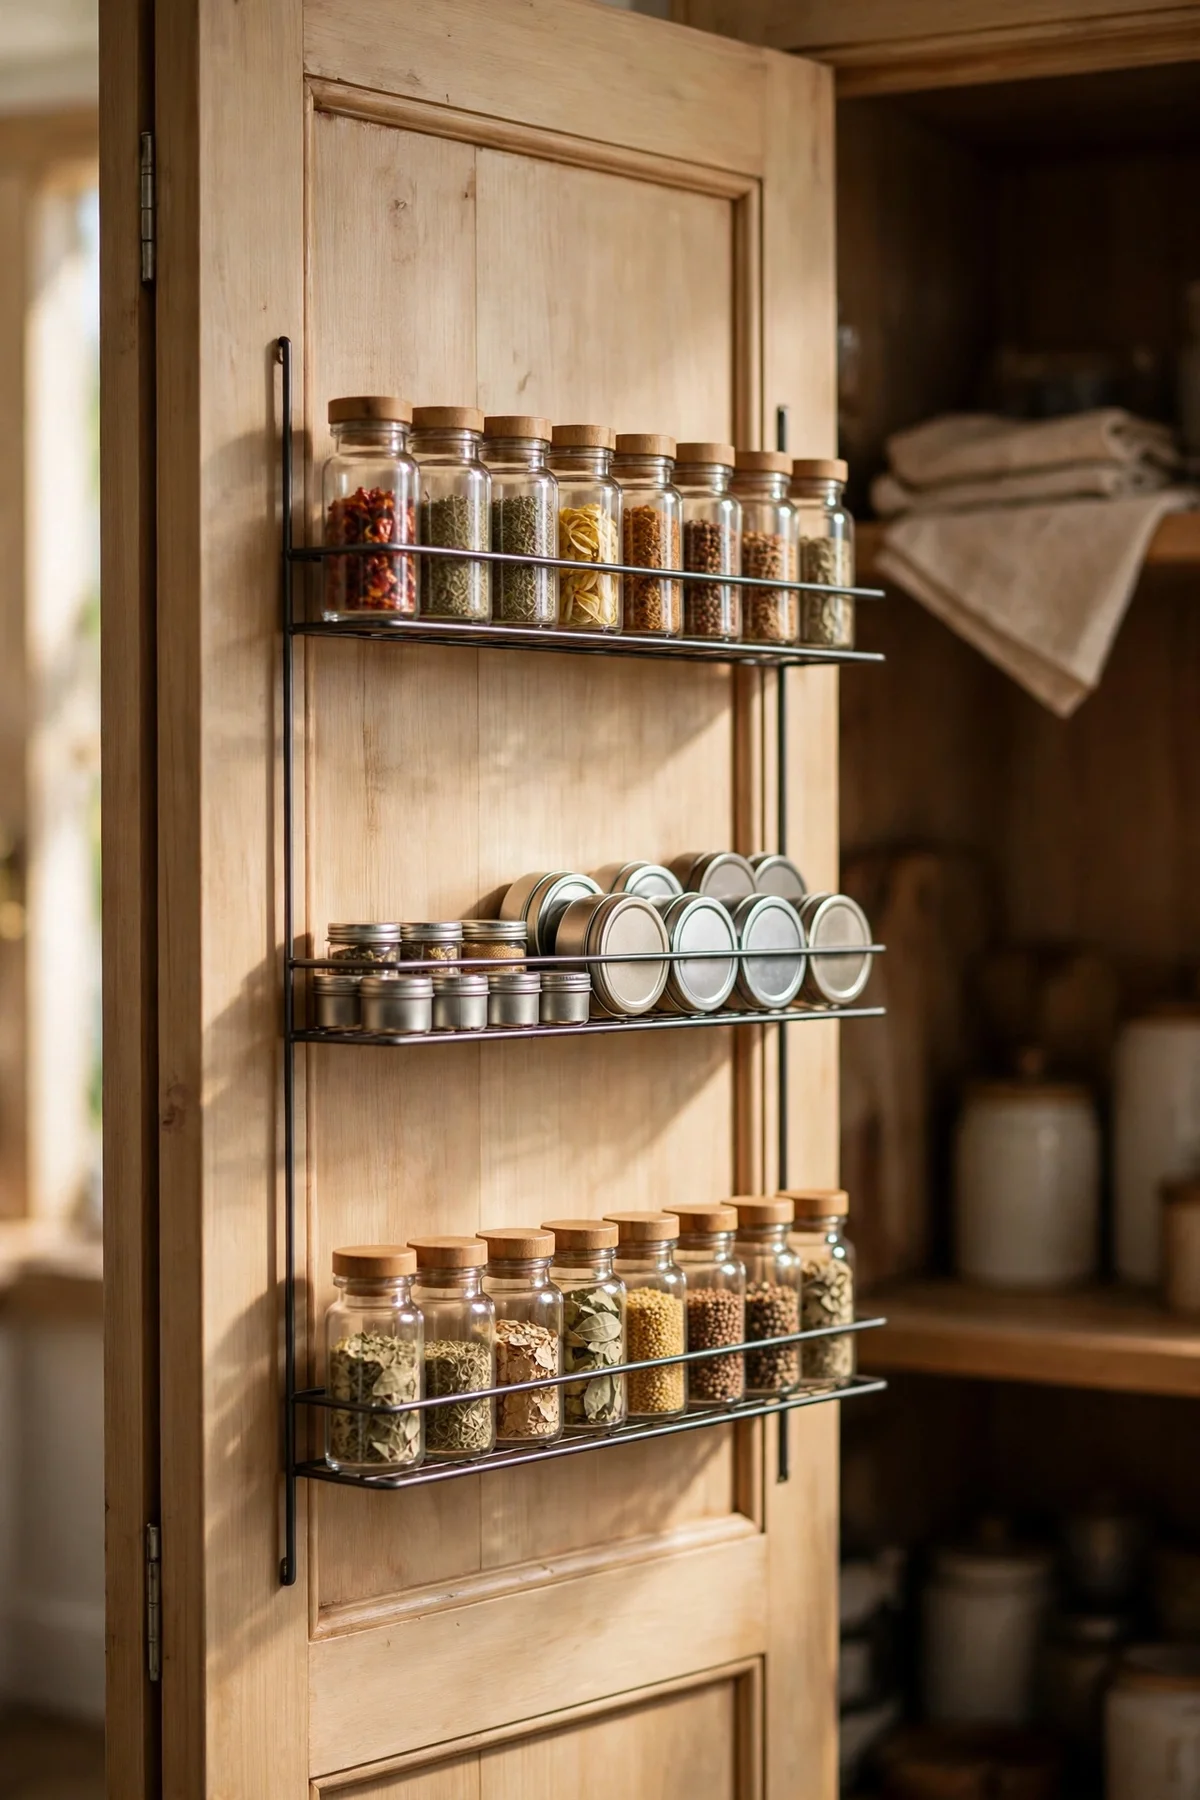
The inside of a pantry or cupboard door is free storage waiting to be used. Fit one or two slim racks, eight to ten centimetres deep, and line them with spice jars, small tins and sachets of yeast or gelatine. Mounting over the door needs no drilling, and screw fixed racks suit solid doors for heavier loads. Suddenly the spices are visible the moment you open the door, instead of hiding behind the cereal.
Before buying, close the door slowly and check the racks clear the shelves inside; most need at least three centimetres of clearance. Keep each rack under two kilograms and reserve them for light items, since heavy bottles strain hinges over time. The mistake to avoid is a rack so deep the door will not shut. Slim and light beats roomy and wobbly every time.
9. Decant Cooking Oils Into Plain Glass Bottles
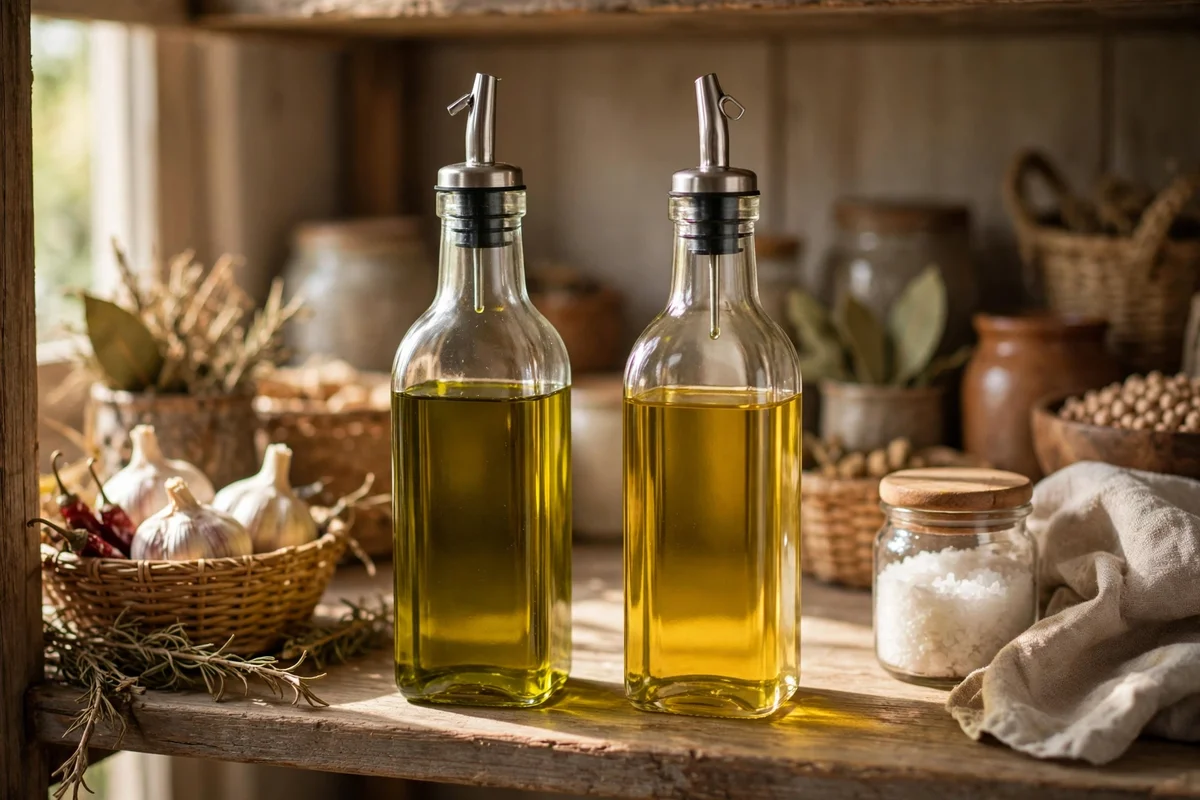
Decant everyday olive oil and sunflower oil into plain glass bottles with a simple pourer or cork. A 500 ml bottle is easy to lift and control, which means fewer drips down the side and less waste at the pan. Plain bottles look calm beside the plain jars, and you can see the level at a glance. Keep the big original bottles in a dark cupboard as back stock and refill the counter bottles as needed.
Oil keeps best away from heat and light, so store the working bottle on a middle shelf rather than beside the cooker. The mistake to avoid is decanting a huge bottle that takes months to finish; oil turns stale and the flavour dulls. Refill small bottles monthly instead. Two plain bottles with pourers usually cost under ten pounds or dollars and last for years.
10. Write Simple Paper Labels With a Dark Pen
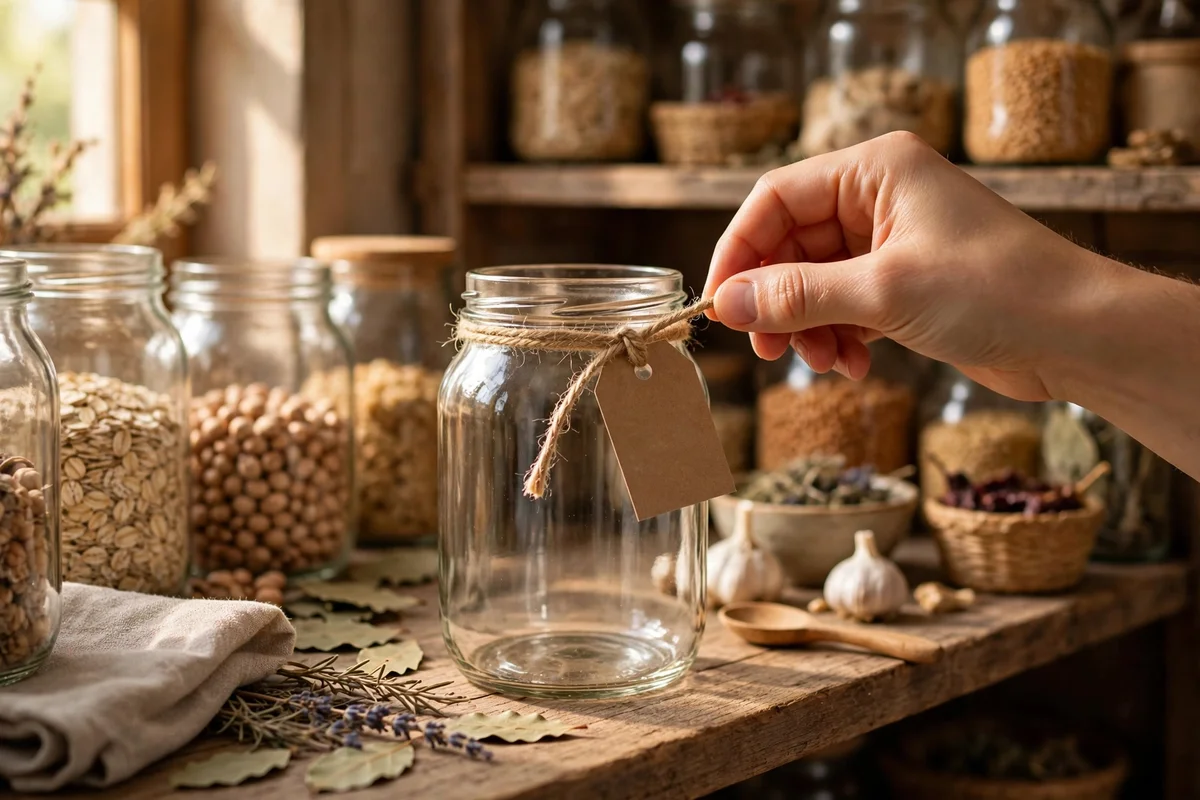
Plain jars look their calmest with plain paper labels: a small rectangle of kraft paper, a dab of removable tape or a loop of string, and the contents written in a dark pen. Add the date you decanted and, for anything with a short life, the use by date from the original packet. Because the labels are described in text and kept simple, the jars stay unlabeled in spirit: no readable branding, just your own neat handwriting.
The mistake to avoid is buying a label maker you will abandon after one enthusiastic weekend. A pen and a stack of paper tags cost almost nothing and, crucially, you will actually keep using them. Replace any label that fades or peels during the monthly reset. Simple, honest labels make the whole pantry feel cared for without a trace of fuss.
11. Fix a Ten Minute Monthly Reset Into Your Routine
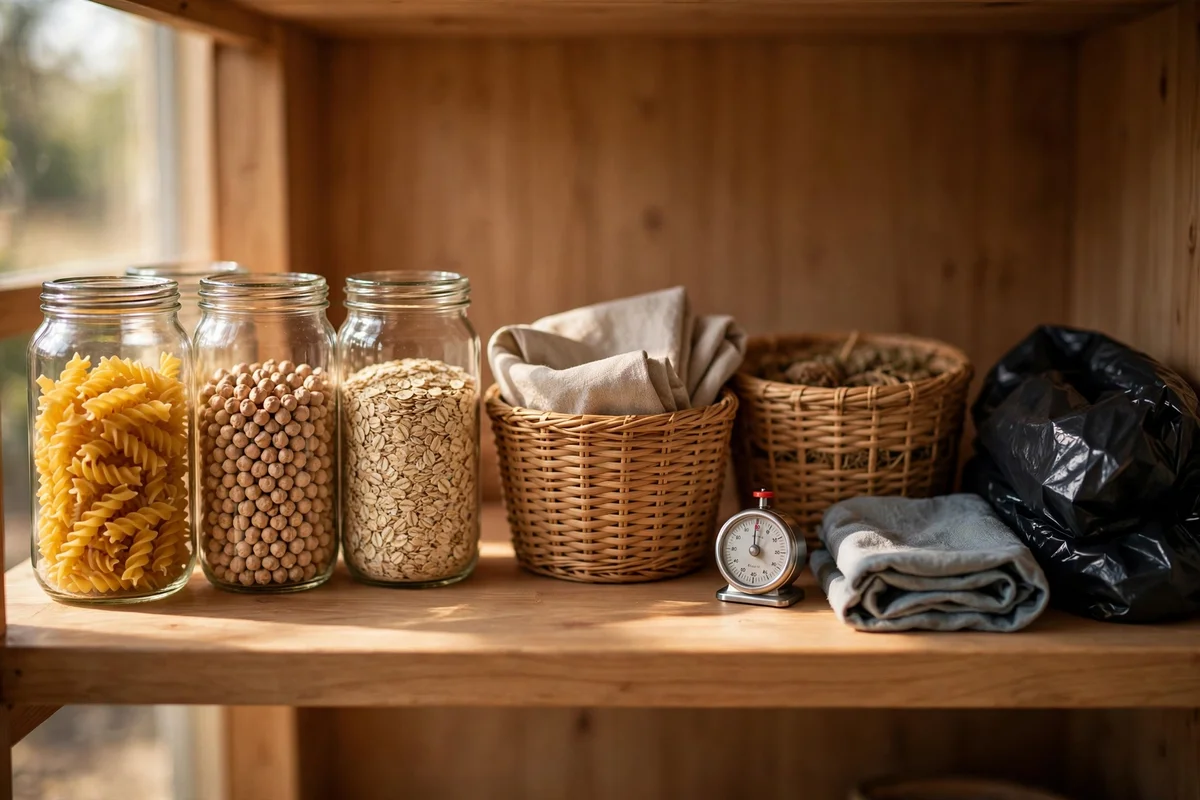
Choose one regular day, such as the first Saturday of the month, and set a timer for ten minutes. Pull one shelf’s baskets forward, wipe the shelf, toss anything past its date, regroup what drifted and straighten the labels. Work shelf by shelf and you will usually finish the whole pantry before the timer ends. A short, scheduled reset stops the slow slide back into clutter far better than an annual overhaul.
Keep a small rubbish bag and a damp cloth to hand so the job flows without trips to the bin. The mistake to avoid is waiting until the pantry feels overwhelming; the reset works precisely because it is short and frequent. Invite the family to join in and ten minutes becomes five. Little and often is the whole secret of a pantry that stays a pleasure to open.
12. Add Shelf Risers to Double Vertical Space
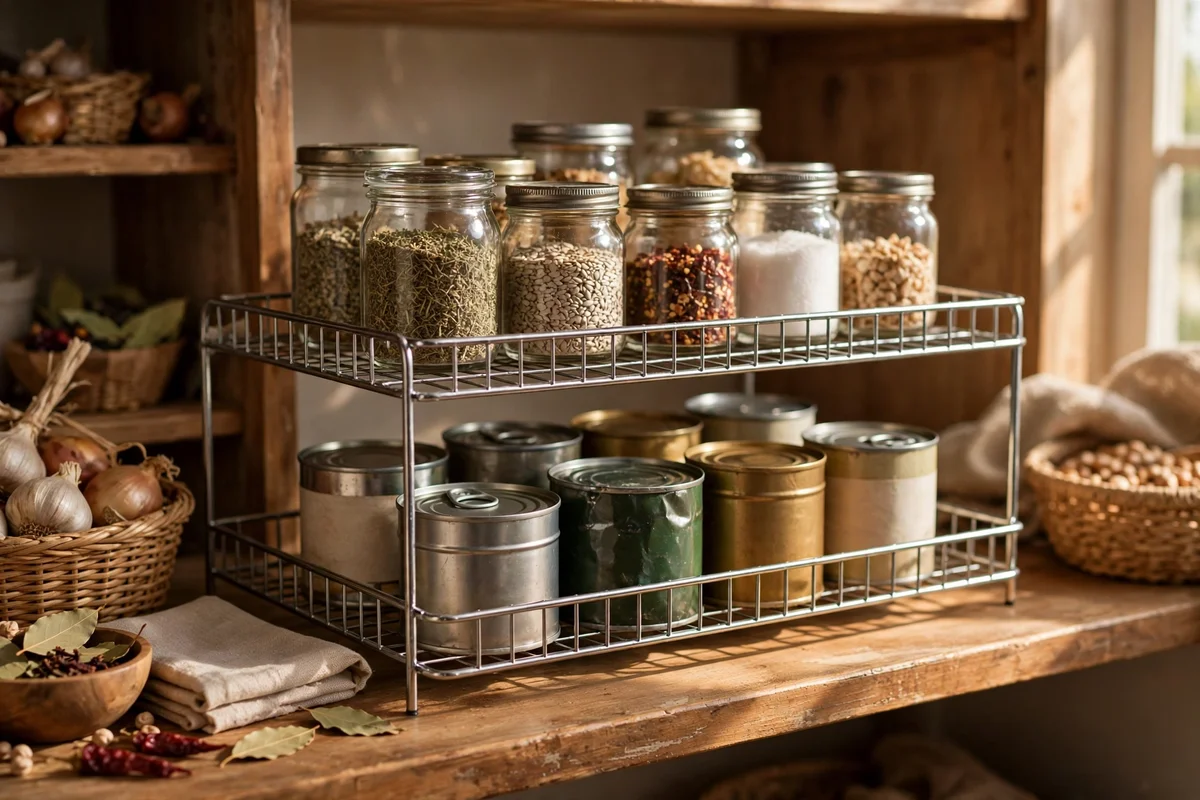
Most pantry shelves waste the air above short tins and jars. A wire or wooden riser, fifteen to twenty centimetres tall, creates a second tier: tins below, small jars and packets above. Measure the gap between shelves first and leave at least five centimetres of finger room above the riser for easy lifting. Two risers on one shelf effectively double its storage without a single new hole in the wall.
Risers cost five to twelve pounds or dollars each, or nothing if you repurpose a sturdy small crate. The mistake to avoid is choosing a riser so tall that items on top scrape the shelf above; measure twice. Keep heavier tins on the lower level for stability. For renters, risers are ideal because they lift out on moving day and leave no trace behind.
13. Line Cans on Tiered Steps So Every One Stays Visible
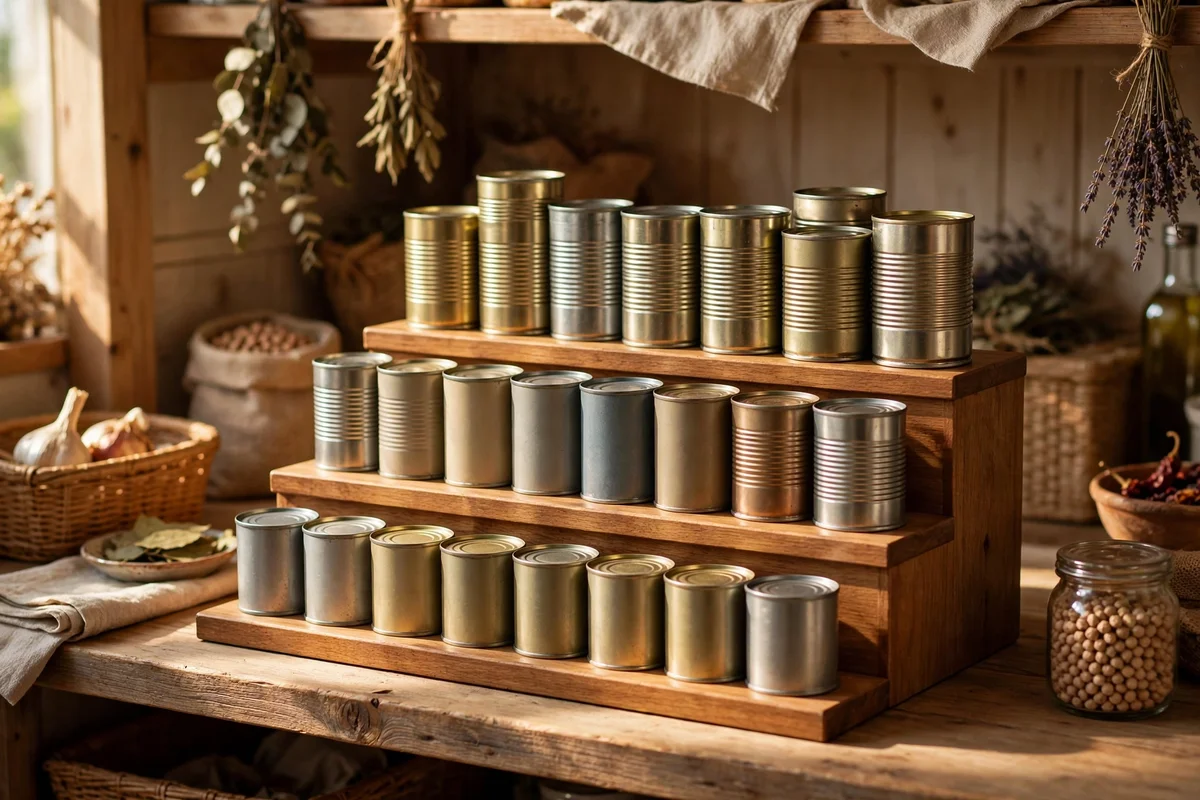
A three tier step, thirty to forty centimetres wide, arranges tins like a little stadium so the back row rises above the front. Stand tomato tins, beans and soups on it, tallest at the back, and every label stays readable without moving a thing. Steps suit the deepest shelves best, where single rows hide half their stock. One glance tells you the full inventory, which cuts duplicate buying to almost nothing.
Group tins by type on the steps, vegetables on one, beans and pulses on another, so the visual order holds. The mistake to avoid is mixing very different tin heights on the same step, which makes the arrangement wobble. Keep sizes consistent and the steps stay rock steady. A basic three tier step costs around eight to fifteen pounds or dollars and fits most standard shelves.
14. Rotate Oldest First With a Small Use Next Basket
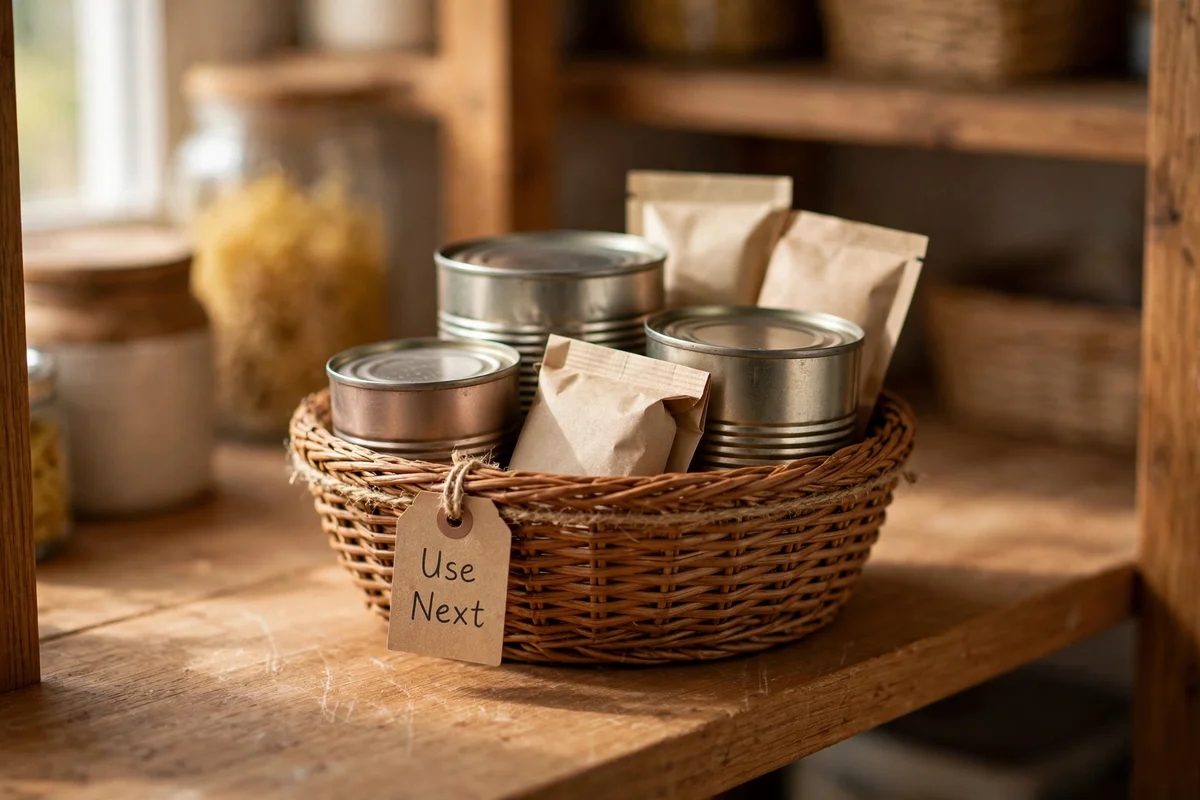
Food waste shrinks when the oldest items get used first. Keep a small basket marked with a paper tag reading Use Next, and move anything approaching its date into it during your weekly shop unpack. Cook from this basket first and the rest of the pantry naturally rotates behind it. It is the simple FIFO habit shops have used for decades, shrunk to fit one basket on your shelf.
Check the basket once a week and plan one meal around whatever sits in it; a tin of tomatoes near its date becomes pasta sauce, not rubbish. The mistake to avoid is buying a duplicate of something already waiting in the basket. Glance inside before you write the shopping list and you will stop feeding the bin. One small basket can save a surprising amount of money over a year.
15. Hang Under Shelf Baskets Beneath Fixed Shelves
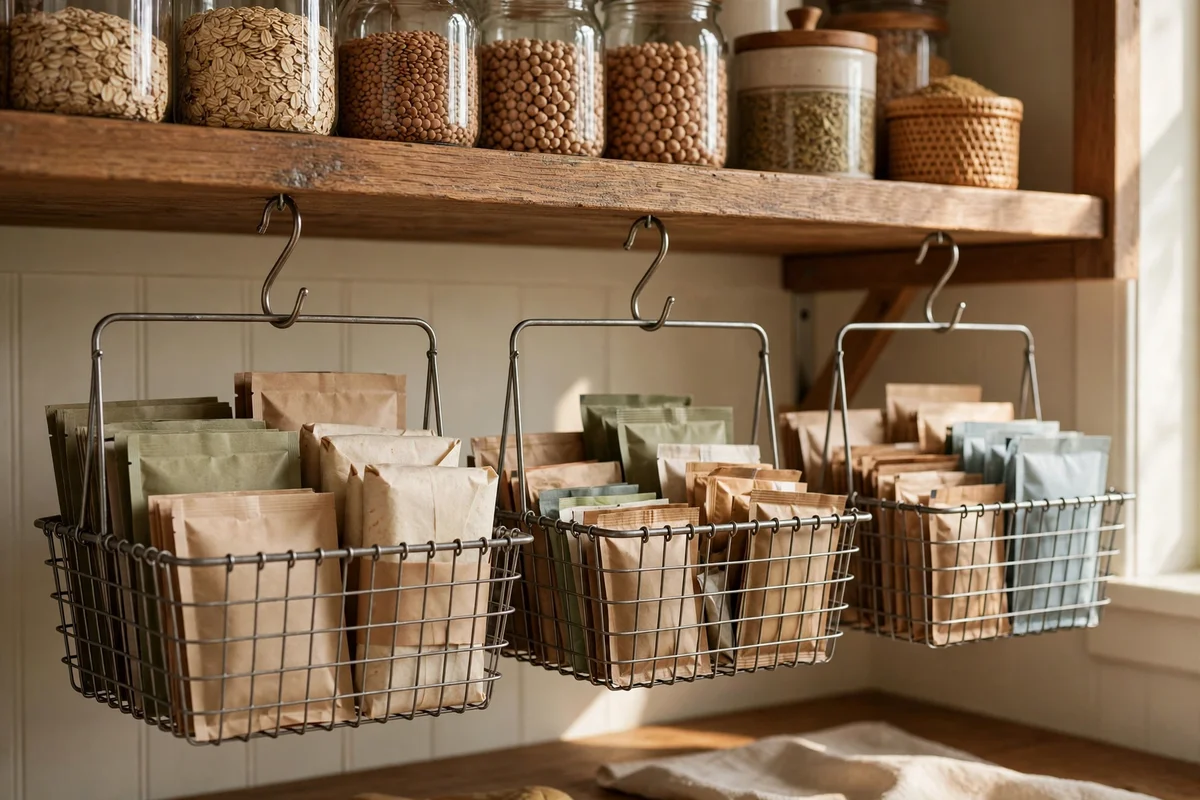
The dead space under a fixed shelf can hold a surprising amount. Slide on wire baskets that grip the shelf above and fill them with flat packets, wraps, spare lids and seasoning sachets. They need no screws and lift off in seconds, which makes them perfect for renters. What was empty air becomes a slim extra drawer, and the shelf below still keeps its full height for taller jars.
Measure your shelf thickness before buying so the arms grip snugly without wobbling. Keep the contents light and flat; heavy jars will strain the arms and block the shelf beneath. The mistake to avoid is loading them so full they snag items below. Slim, light and tidy is the rule. Two under shelf baskets usually cost under twelve pounds or dollars.
16. Fit a Full System Into One Tall Cupboard Pantry
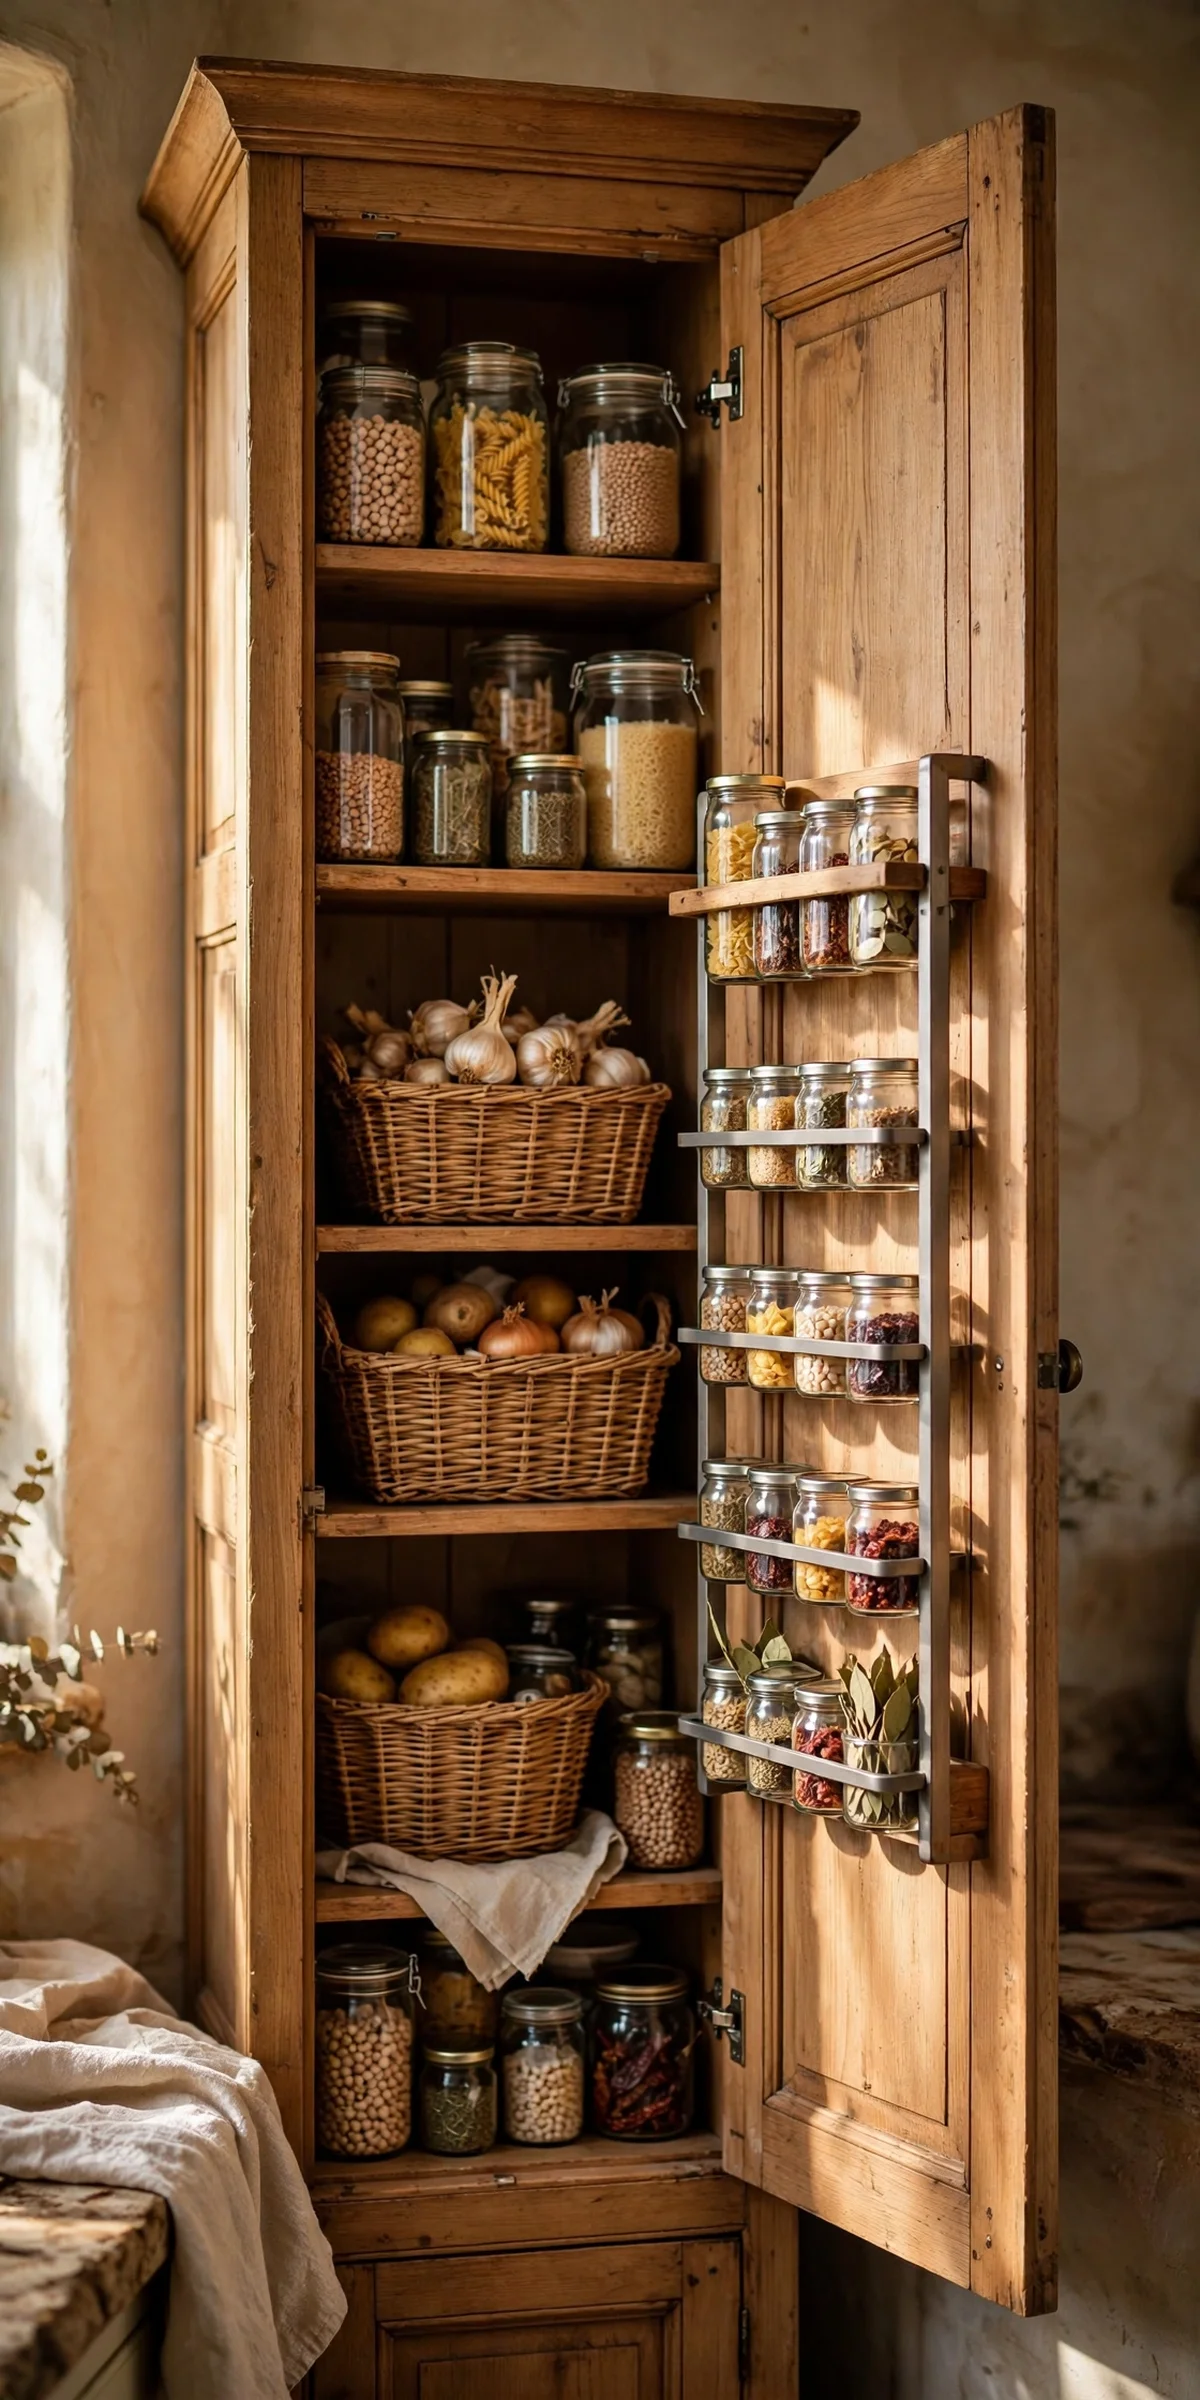
A small pantry is no barrier to order; one tall cupboard can hold the whole system. Stack the zones vertically: breakfast at eye level, baking below, snacks low enough for children, with a turntable in the deepest corner and a slim door rack inside the door. Add one riser where tins live and the cupboard works twice as hard. Small spaces reward strict zones because every centimetre has a named job.
Start by emptying the cupboard completely and measuring each shelf before buying a single organizer. The mistake to avoid is purchasing baskets first and discovering they are two centimetres too wide. Measure, then shop. A one cupboard system needs fewer pieces than you think: three baskets, one riser, one door rack and a handful of jars cover most households.
17. Convert a Narrow Gap Into a Pull Out Pantry
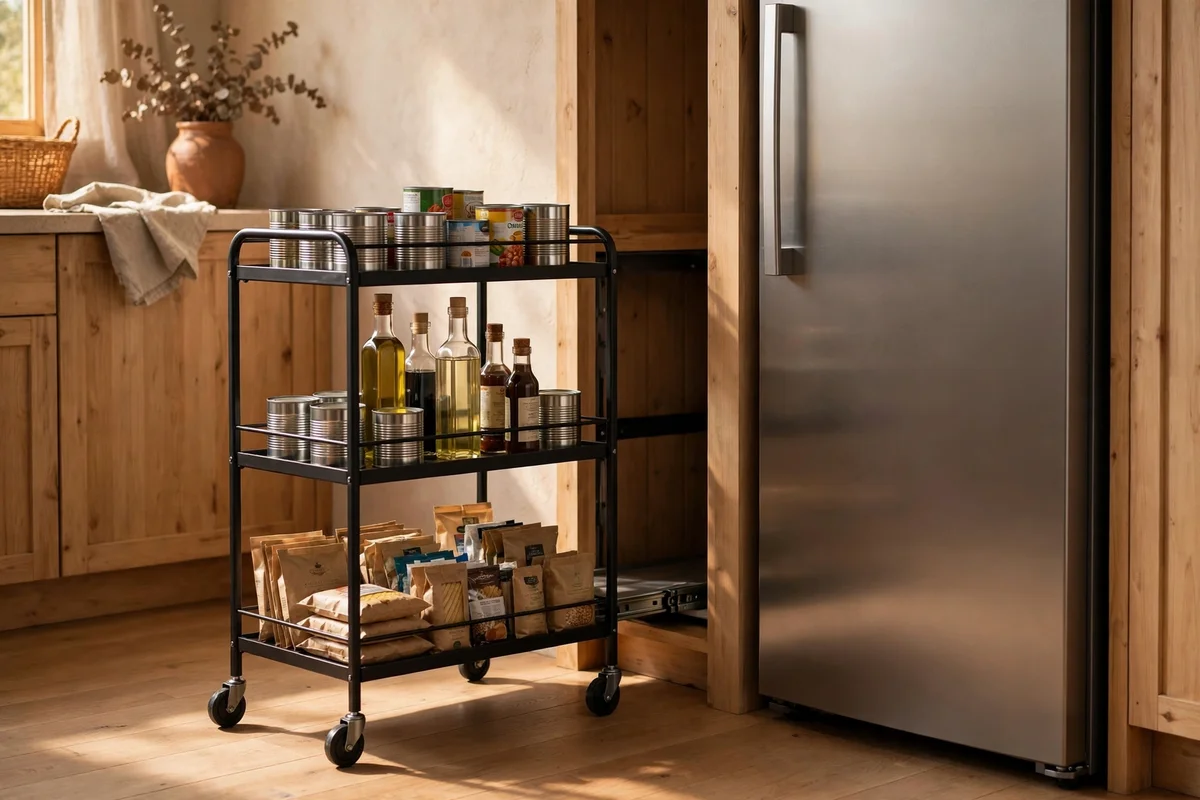
The slim gap between the fridge and the wall, often fifteen to twenty centimetres, fits a rolling pull out cart perfectly. Load its tiers with tins, bottles and packets, tallest at the bottom for stability, and the whole pantry glides out with one pull. Narrow carts turn wasted filler space into serious storage and keep everyday items within easy reach of the cooking zone.
Measure the gap carefully, including skirting boards, before ordering; most carts need one centimetre of clearance on each side. The mistake to avoid is a cart wider than the gap, which then lives permanently in the hallway. Choose one with lockable wheels so it stays put while you cook. A slim three tier cart usually costs twenty to forty pounds or dollars.
18. Line Shelves With Washable Mats to Catch Spills
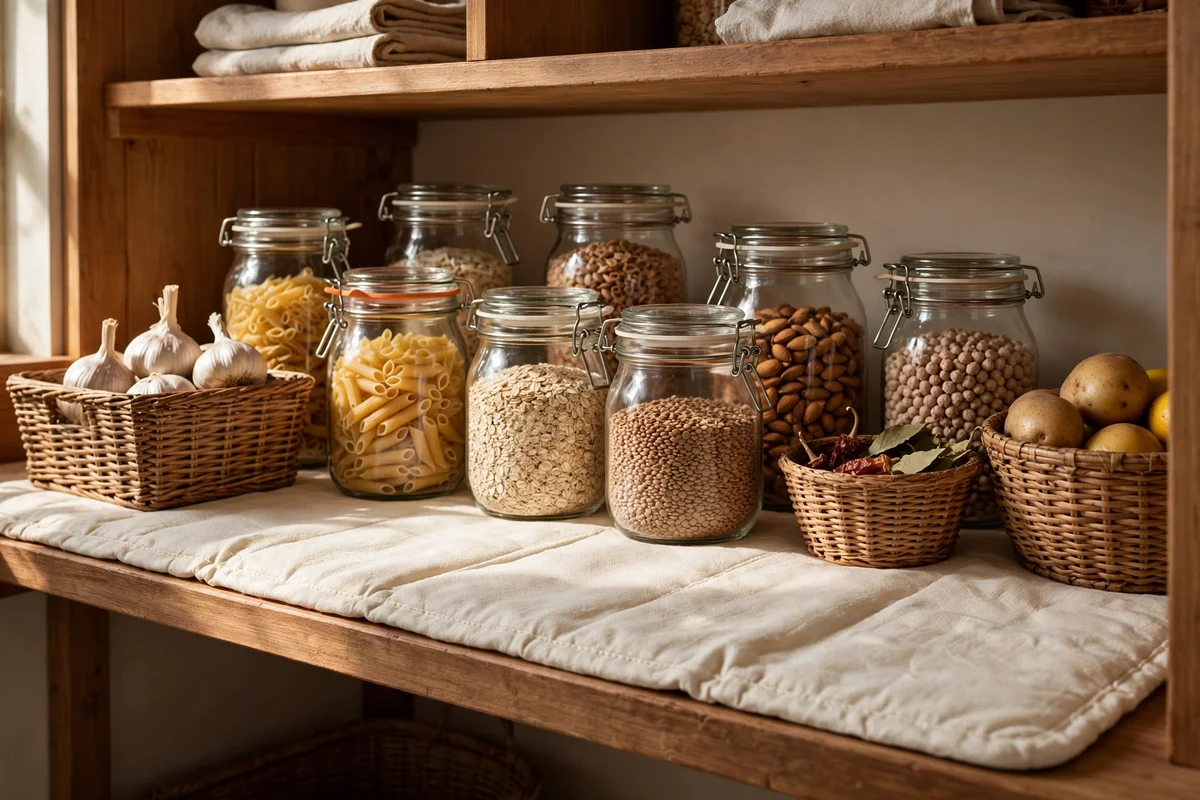
Honey drips, oil weeps and flour dusts, so line each shelf with a washable non-slip mat cut to size. Spills sit on the mat instead of soaking into the wood, and a quick lift and rinse restores the shelf in seconds. Mats also stop jars from sliding when you reach past them. Choose a plain cream or soft grey that suits the kitchen rather than a loud pattern that fights the calm look.
Avoid adhesive liners, which can tear paint and leave residue on wooden shelves; non-adhesive mats stay put by grip alone. The mistake to avoid is cutting mats too small so spills run off the edges. Measure each shelf and cut generously, tucking the mat into the corners. A roll of mat costs a few pounds or dollars and covers a whole pantry.
19. Keep Spices in Uniform Jars Arranged by Use
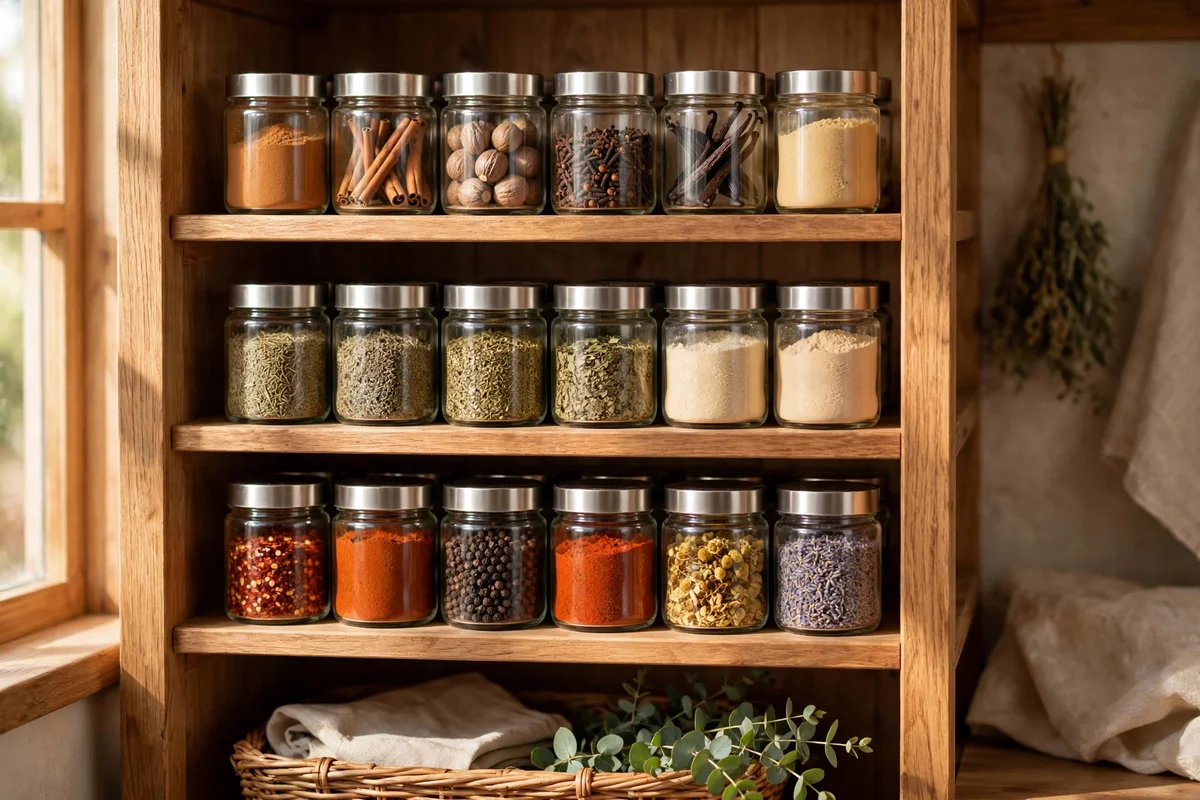
Spices look calm and cook faster when they live in matching small jars of one hundred to one hundred and fifty millilitres. Group the daily ones, salt, pepper, cumin, paprika, at the front, and the occasional baking spices behind. Uniform jars line up neatly, pour evenly and show their levels clearly. Arrange them on one shelf, a tiered step or the door rack from an earlier section, wherever you reach most naturally.
Decant new spices straight into the jars and discard the crinkly packets so duplicates never accumulate. The mistake to avoid is keeping three half jars of the same spice; combine them at the monthly reset. Whole spices keep their strength for about a year, ground ones for six months, so date each jar. A set of twelve small jars costs very little and transforms the shelf.
20. Clip an Inventory List Inside the Door to Cut Waste
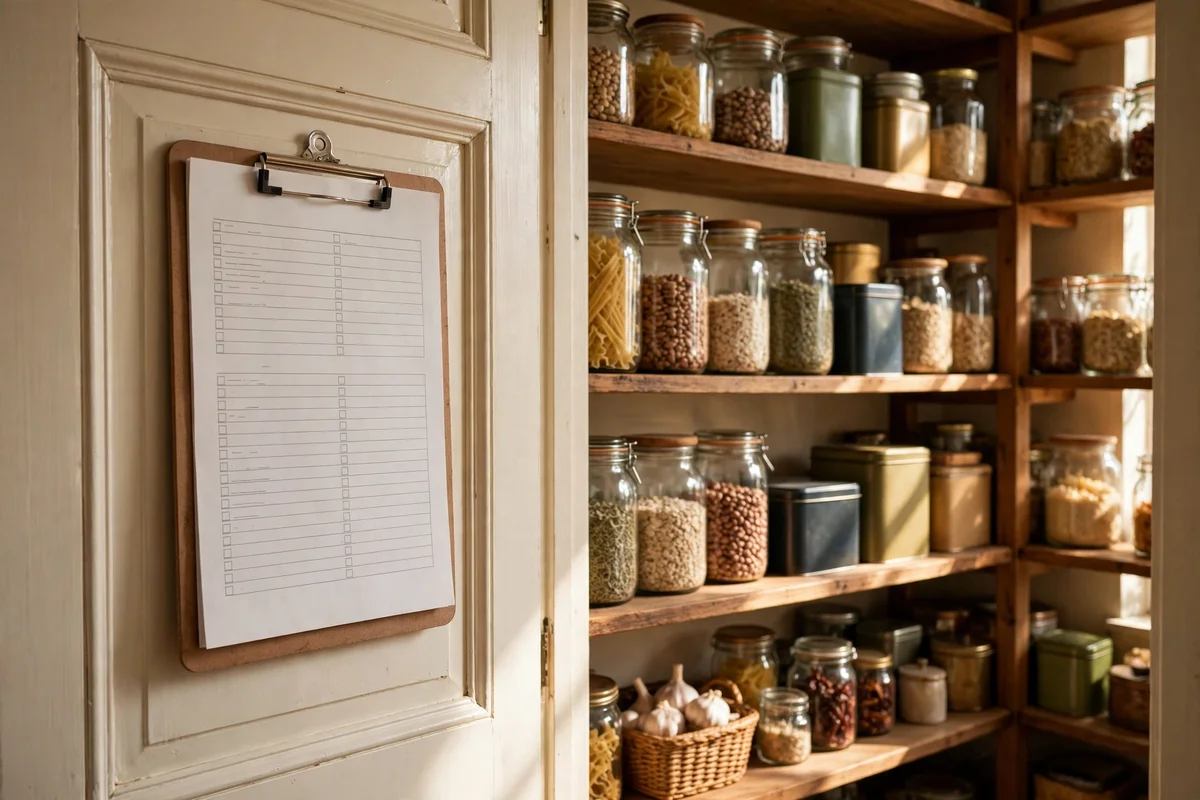
A simple paper inventory clipped inside the pantry door tells you what you own before you shop. List the staples, flour, rice, oats, tins, oils, with a tick column for running low, and update it during the monthly reset. Because it hangs where you see it daily, it gets used, unlike a phone note buried three apps deep. Shopping from the list stops the duplicate buying that quietly fills bins and empties wallets.
Keep the list short, twenty to thirty staples at most, or it becomes a chore nobody maintains. The mistake to avoid is writing it once and never updating it; a stale list is worse than none because you trust it. Refresh it at the monthly reset while the shelves are in your hands. One sheet of paper, one clip and a pen is all this system needs.
21. Add a Battery Puck Light to Brighten Dark Corners
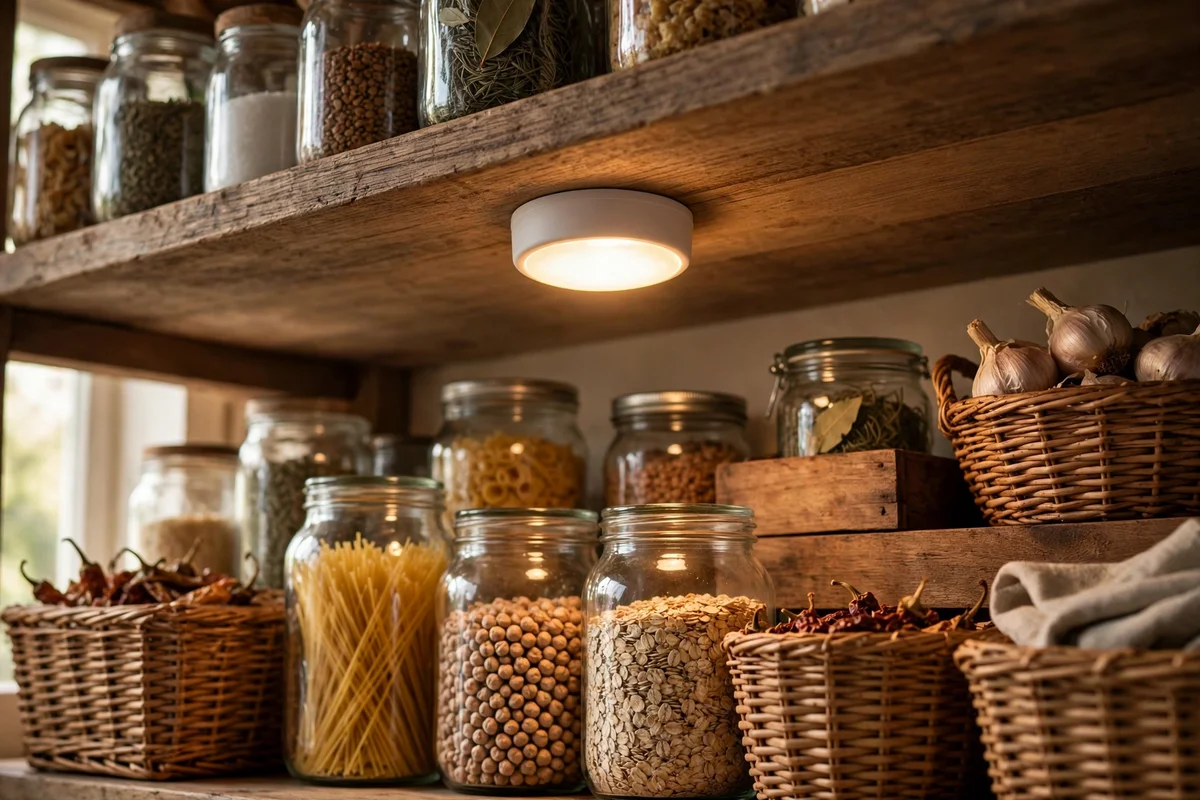
Deep pantries go dark at the back, and dark corners hide expired food. Stick one or two battery puck lights with motion sensors under the top shelf and the interior glows the moment the door opens. Warm white light, around 2700K, keeps the pantry feeling calm rather than clinical. Suddenly every jar, tin and basket is visible, and the back of the shelf stops being a place where things go to be forgotten.
Puck lights cost a few pounds or dollars each and the batteries last for months of daily use. The mistake to avoid is choosing cool blue white light, which makes food look unappetising and the pantry feel harsh. Warm light flatters wood, glass and packaging alike. For renters, adhesive backed pucks are ideal: no wiring, no drilling, and they peel off cleanly on moving day.
22. Decant Bulk Buys Into Smaller Jars After Every Shop
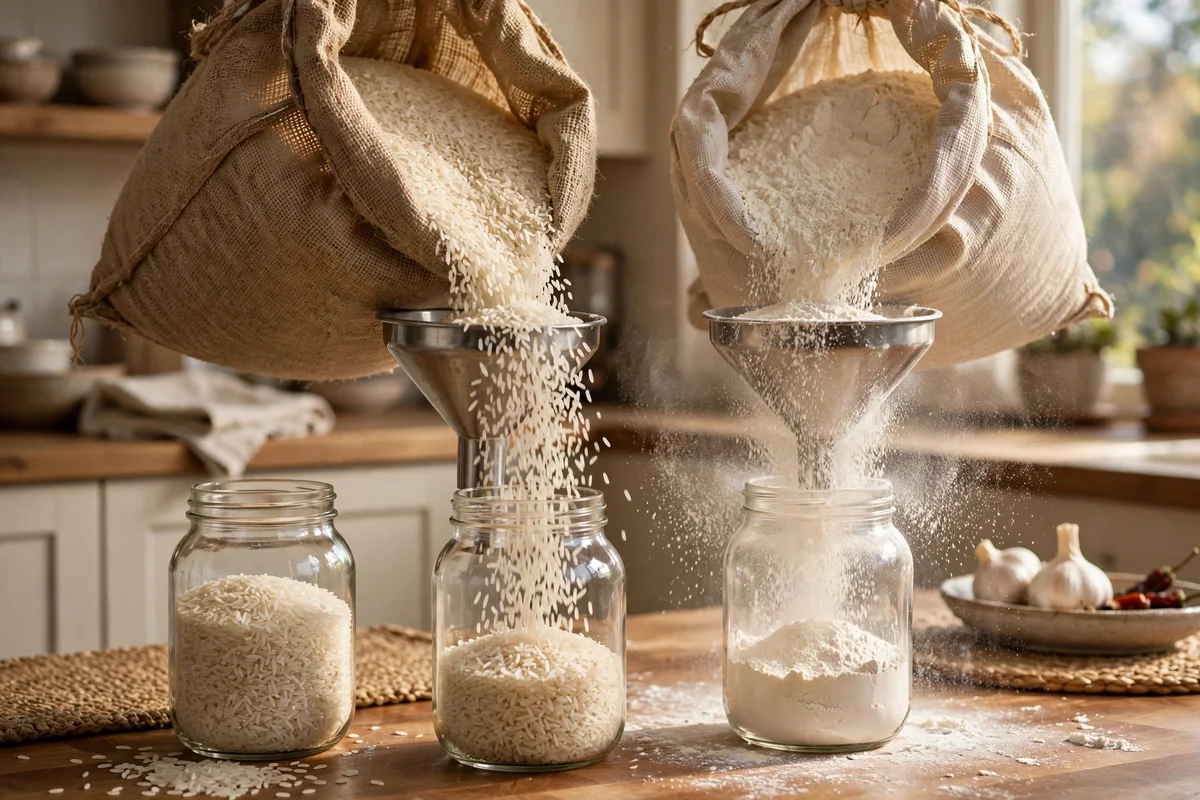
Big bags of rice, flour and sugar stay fresh far longer once decanted into airtight jars. Make it a habit: unpack the shop, then portion bulk buys into plain glass jars before anything goes on the shelf. Smaller jars keep the working supply handy while the sealed remainder waits in a back stock bin. Decanting the same day also forces you to check dates and spot anything damaged while returns are still easy.
The mistake to avoid is leaving bulk bags half open on the shelf, where they spill, stale and attract pantry moths. Fold the empty bag into the recycling only after the jar is filled and labelled. Keep a funnel in the baking zone to make pouring tidy. Ten minutes of decanting after each big shop protects food worth far more than the time it costs.
23. Hold Back Stock in One Labeled Bin per Category
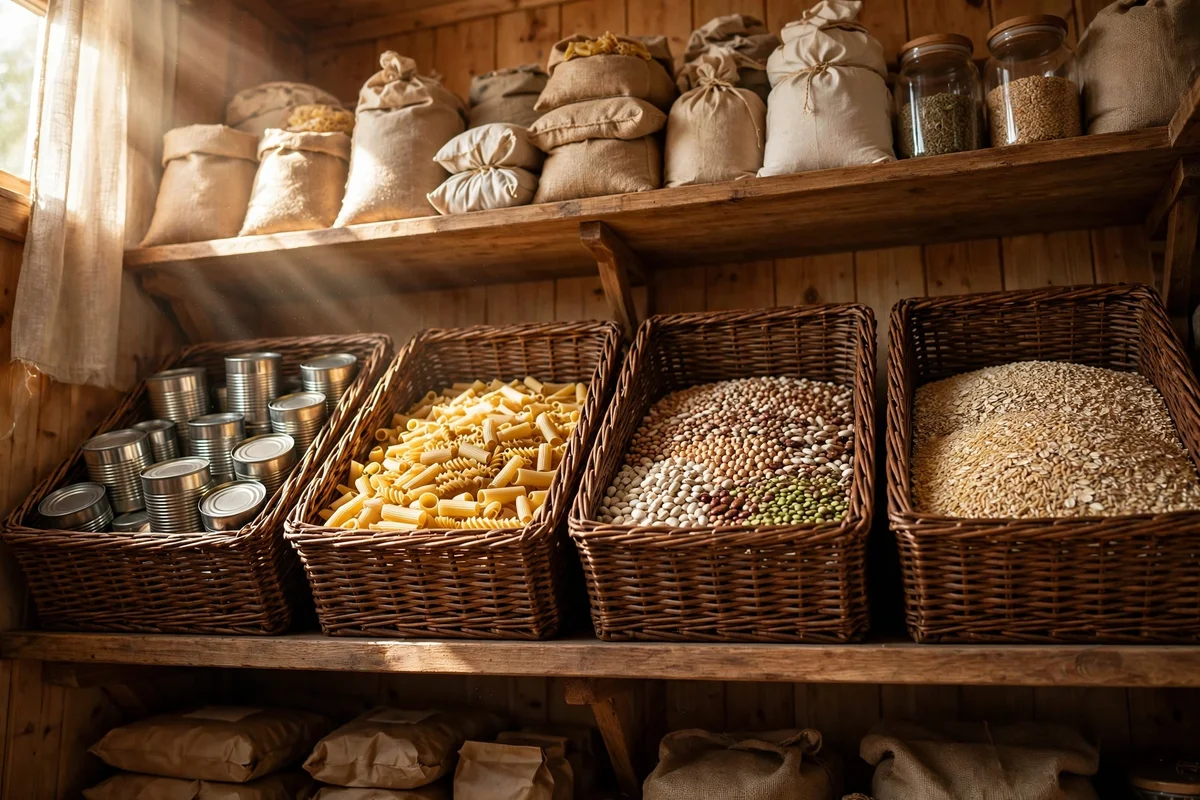
Extra tins, spare pasta and duplicate jars belong in back stock, not crowding the daily shelves. Keep one deep bin per category on the highest shelf or the pantry floor: tins in one, dry goods in another, cleaning supplies in a third. When the working shelf runs low, shop the back stock bin first. This simple separation keeps everyday shelves breathable while nothing you paid for goes missing.
The mistake to avoid is scattering back stock across three cupboards, where it gets forgotten and expires. One bin per category, honestly labelled with a paper tag, is easy to check before shopping. Review back stock at the monthly reset and move anything near its date into the Use Next basket. Three deep bins usually cost under fifteen pounds or dollars total.
24. Assign Each Person a Personal Snack Basket
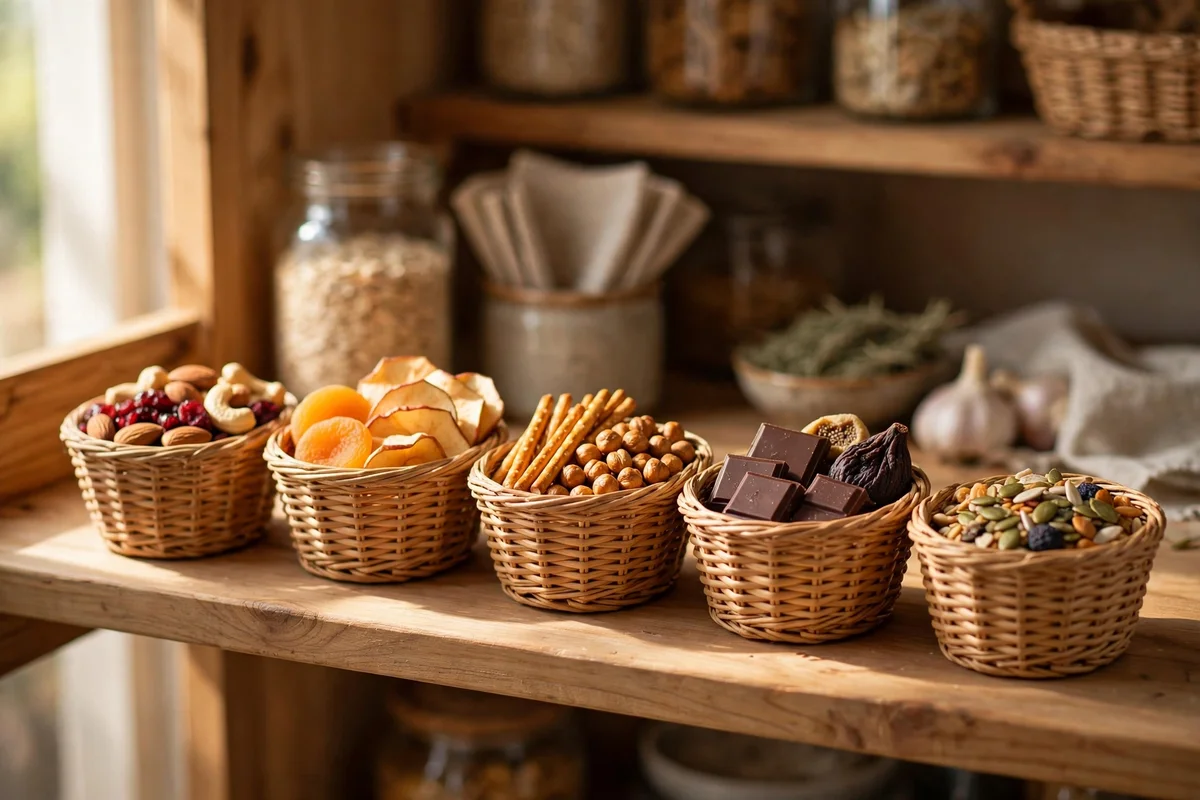
One shared snack pile disappears fast and pleases nobody, so give each person their own small basket on the snack shelf. Everyone chooses their favourites during the weekly shop, within whatever budget and house rules you set, and the basket makes portions visible. Raiding each other’s treats drops sharply when ownership is clear. Children especially love a basket that is truly theirs to manage and keep tidy.
Refill the baskets together once a week so the habit sticks and nothing goes stale unnoticed. The mistake to avoid is letting one basket swell to double the size of the others; keep them roughly equal so the shelf stays fair and calm. Small baskets, about twenty centimetres long, cost little and teach gentle lessons in sharing, budgeting and looking after one’s own things.
25. Run a Five Minute Put Away Routine After Every Shop
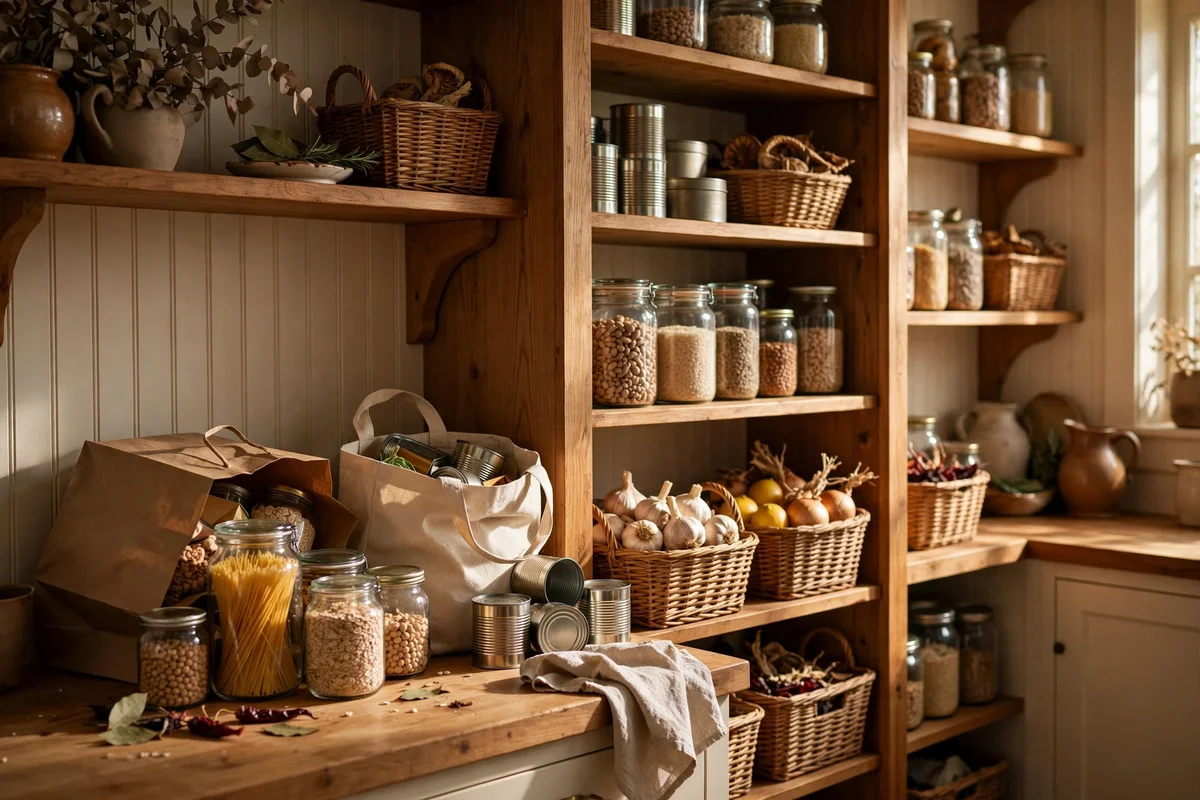
The pantry stays calm when shopping goes straight to its home. After each shop, set a five minute timer and unpack directly into the zones: breakfast items to the breakfast shelf, tins to the steps, bulk buys decanted into jars. Bags off the counter, packaging in the recycling, and the kitchen is calm before the kettle boils. This tiny routine prevents the slow pile up that makes the next tidy feel like a project.
The mistake to avoid is leaving bags on the counter for later, because later becomes tomorrow and tomorrow becomes the weekend. Five minutes now saves an hour later. Keep the routine realistic: decant only the bulk buys, and leave fiddly jobs for the monthly reset. Done consistently, this habit alone keeps the whole pantry system working between resets.
A calm pantry is built from small, honest choices: plain jars you can see through, baskets that give every category a home, zones that match the way you cook, and light that reaches the darkest corner. None of these ideas demands a renovation or a big budget, only a little attention given regularly. Visible food gets eaten, tidy shelves get kept, and the waste bin grows lighter month by month.
Begin this week with the easiest win of all: choose one shelf, group like with like into a single basket, and decant one staple into a plain glass jar. That small start shows you how good the system feels, and the ten minute monthly reset will carry it forward from there. Open the pantry door, take a breath, and enjoy a shelf that is finally a pleasure to open.
Frequently Asked Questions
How much does it cost to organize a pantry from scratch?
Most pantries need between thirty and eighty pounds or dollars. A starter kit of six glass jars, three baskets, one turntable and a pack of paper labels covers the essentials for around fifty. Buy organizers only after measuring your shelves, and check charity shops first, where baskets and jars cost a fraction of new prices.
What works best for a very small pantry or single cupboard?
Stack strict zones vertically, add one shelf riser and a slim door rack, and use a turntable in the deepest corner. Under shelf baskets claim dead space without screws. Keep the item count low, about thirty staples, since small pantries stay tidy only when every centimetre has a named job and nothing extra creeps in.
Can I organize a pantry in a rented home without drilling?
Yes. Choose over door racks, slide on under shelf baskets, freestanding tiered steps, turntables and non-adhesive shelf mats, none of which need screws or glue. Battery puck lights stick on and peel off cleanly. Everything lifts out on moving day, so you keep your deposit and take the whole system with you.
How do I keep the pantry tidy after the first big sort?
Two habits do the work: a five minute put away routine after every shop, and a ten minute reset once a month with a timer. Cook from the Use Next basket first, update the door inventory list at each reset, and resist buying organizers you do not need. Little and often beats one exhausting annual overhaul every time.
Should I decant everything or keep some items in original packaging?
Decant dry staples like flour, rice, oats and lentils into plain airtight jars, since packets spill and hide levels. Keep tins, sealed spice refills and anything you use rarely in original packaging until opened. Always copy the use by date onto your paper label when decanting, and store the empty packet briefly in case of allergy questions.